Cookies & Cream Ice Cream

Growing up, I thought ice cream trucks were a concept from movies, widely seen in theaters, but rarely present in reality. Ice cream trucks were as mysterious to me as superheros, talking animals, or something going smoothly for the main characters in a movie just once. Along with the other remnant misconceptions from childhood, my disbelief in ice cream trucks held strong into my teenage years. A truck overflowing with popsicles, ice cream, and frozen treats seemed too good to be true; it must certainly be another trick that parents and television producers played on their children.

It wasn't until I saw an actual truck ambling down my very own street, loudly playing such hits as Turkey in the Straw and The Entertainer, that I began to accept that perhaps ice cream trucks were not as fictional as I once thought.

The ice cream truck rolled down the street earlier this week, calling the children over with a round of Oh! Susanna. Even though it was just before dinner, and a few of the parents were grumbling about the timing, the children still ran around, eating popsicles and chasing each other down the road.

Even though I didn't get to enjoy these things when I was younger, I'm happy to watch the neighborhood children get excited about it, dragging their parents by the hand to pay for a little piece of happiness.

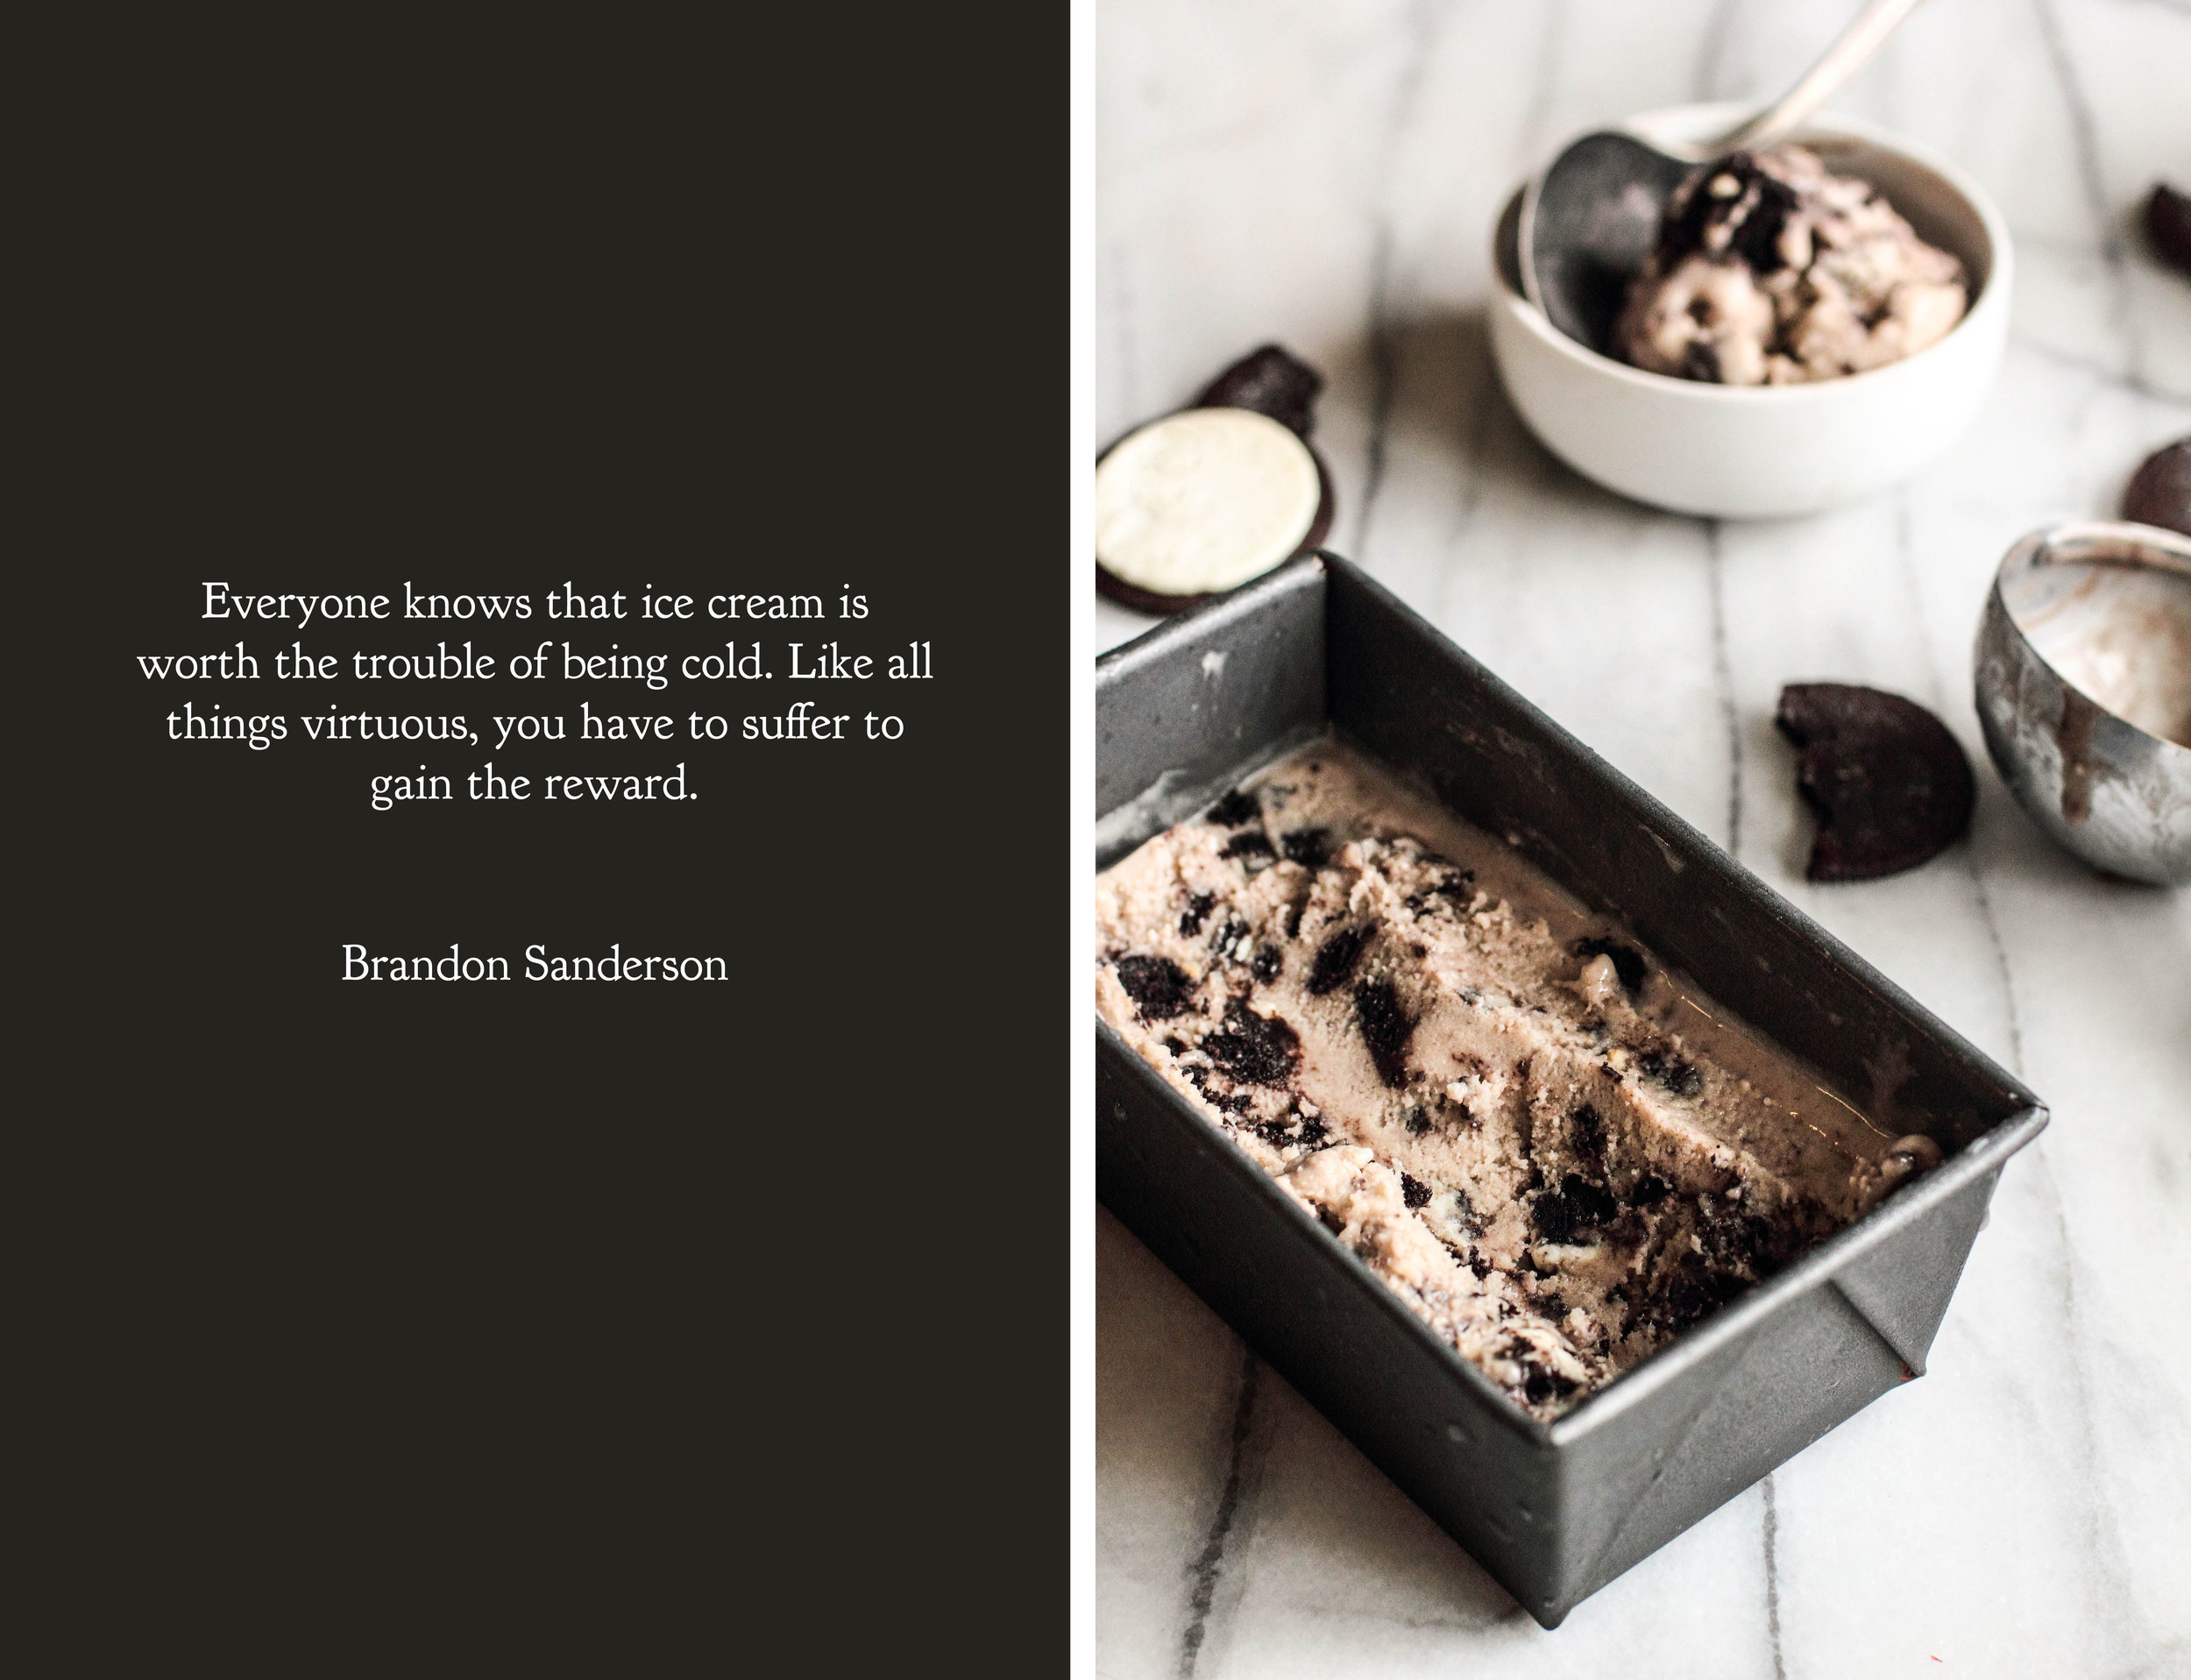
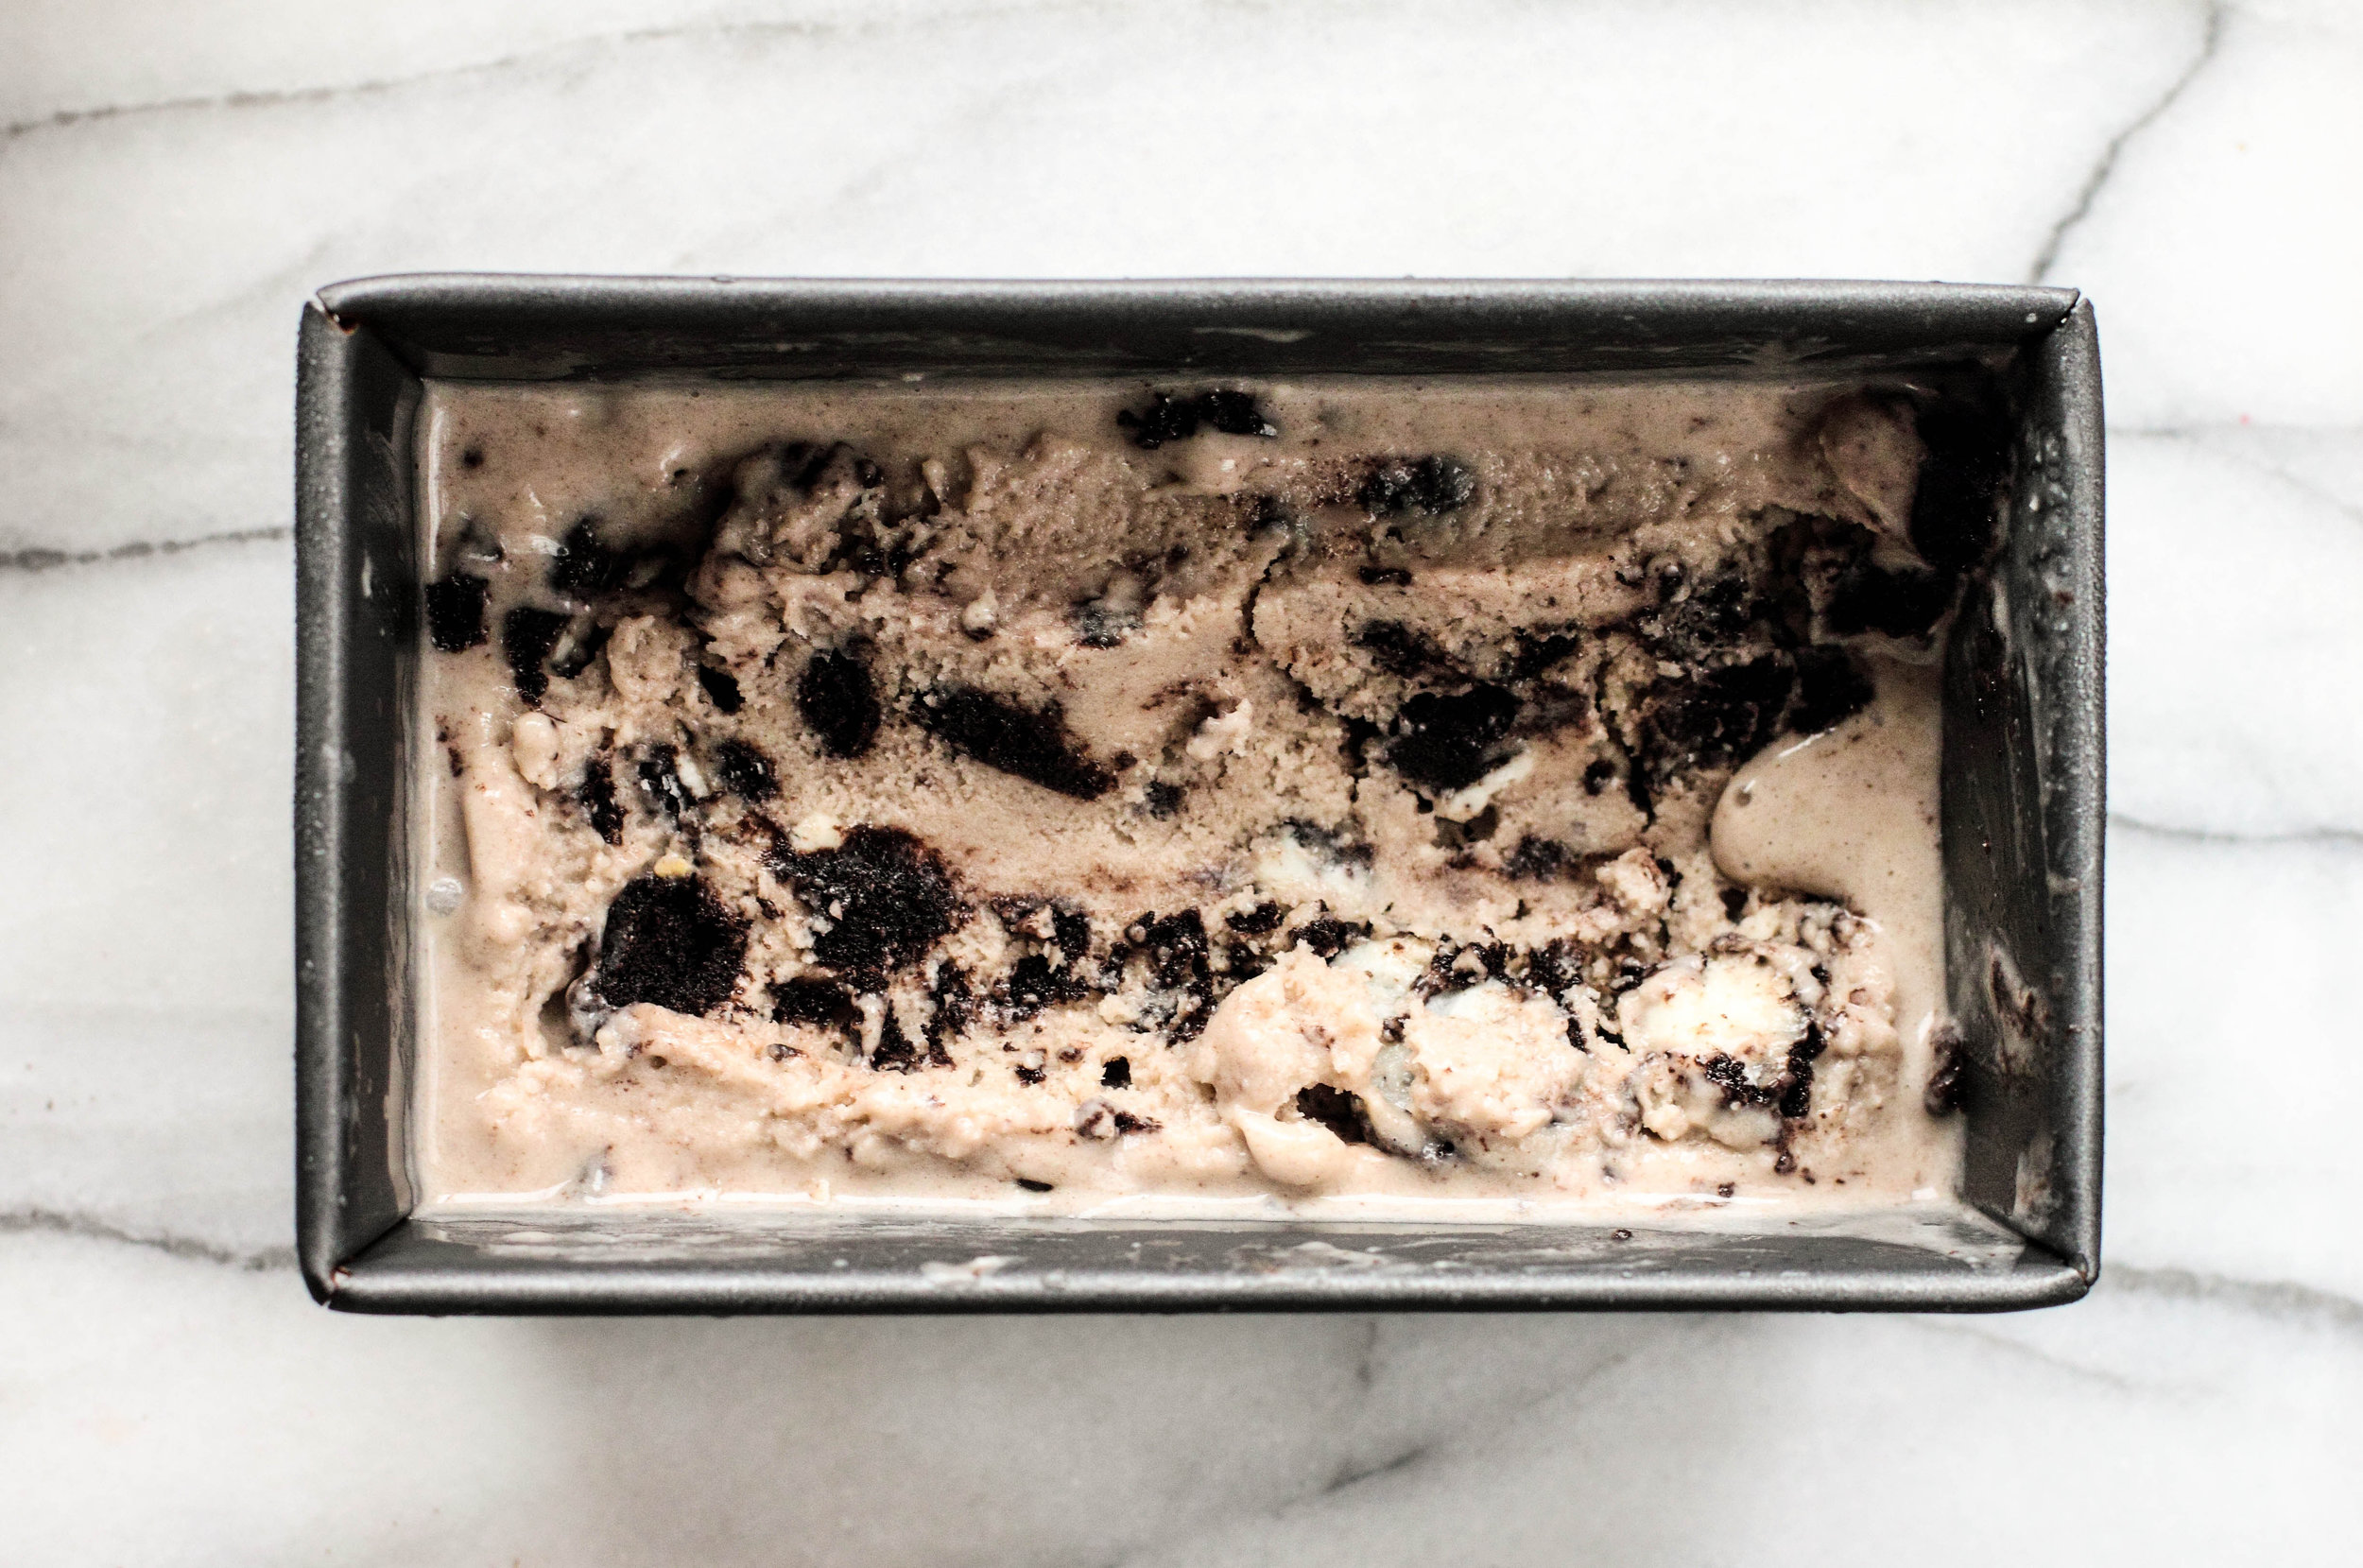
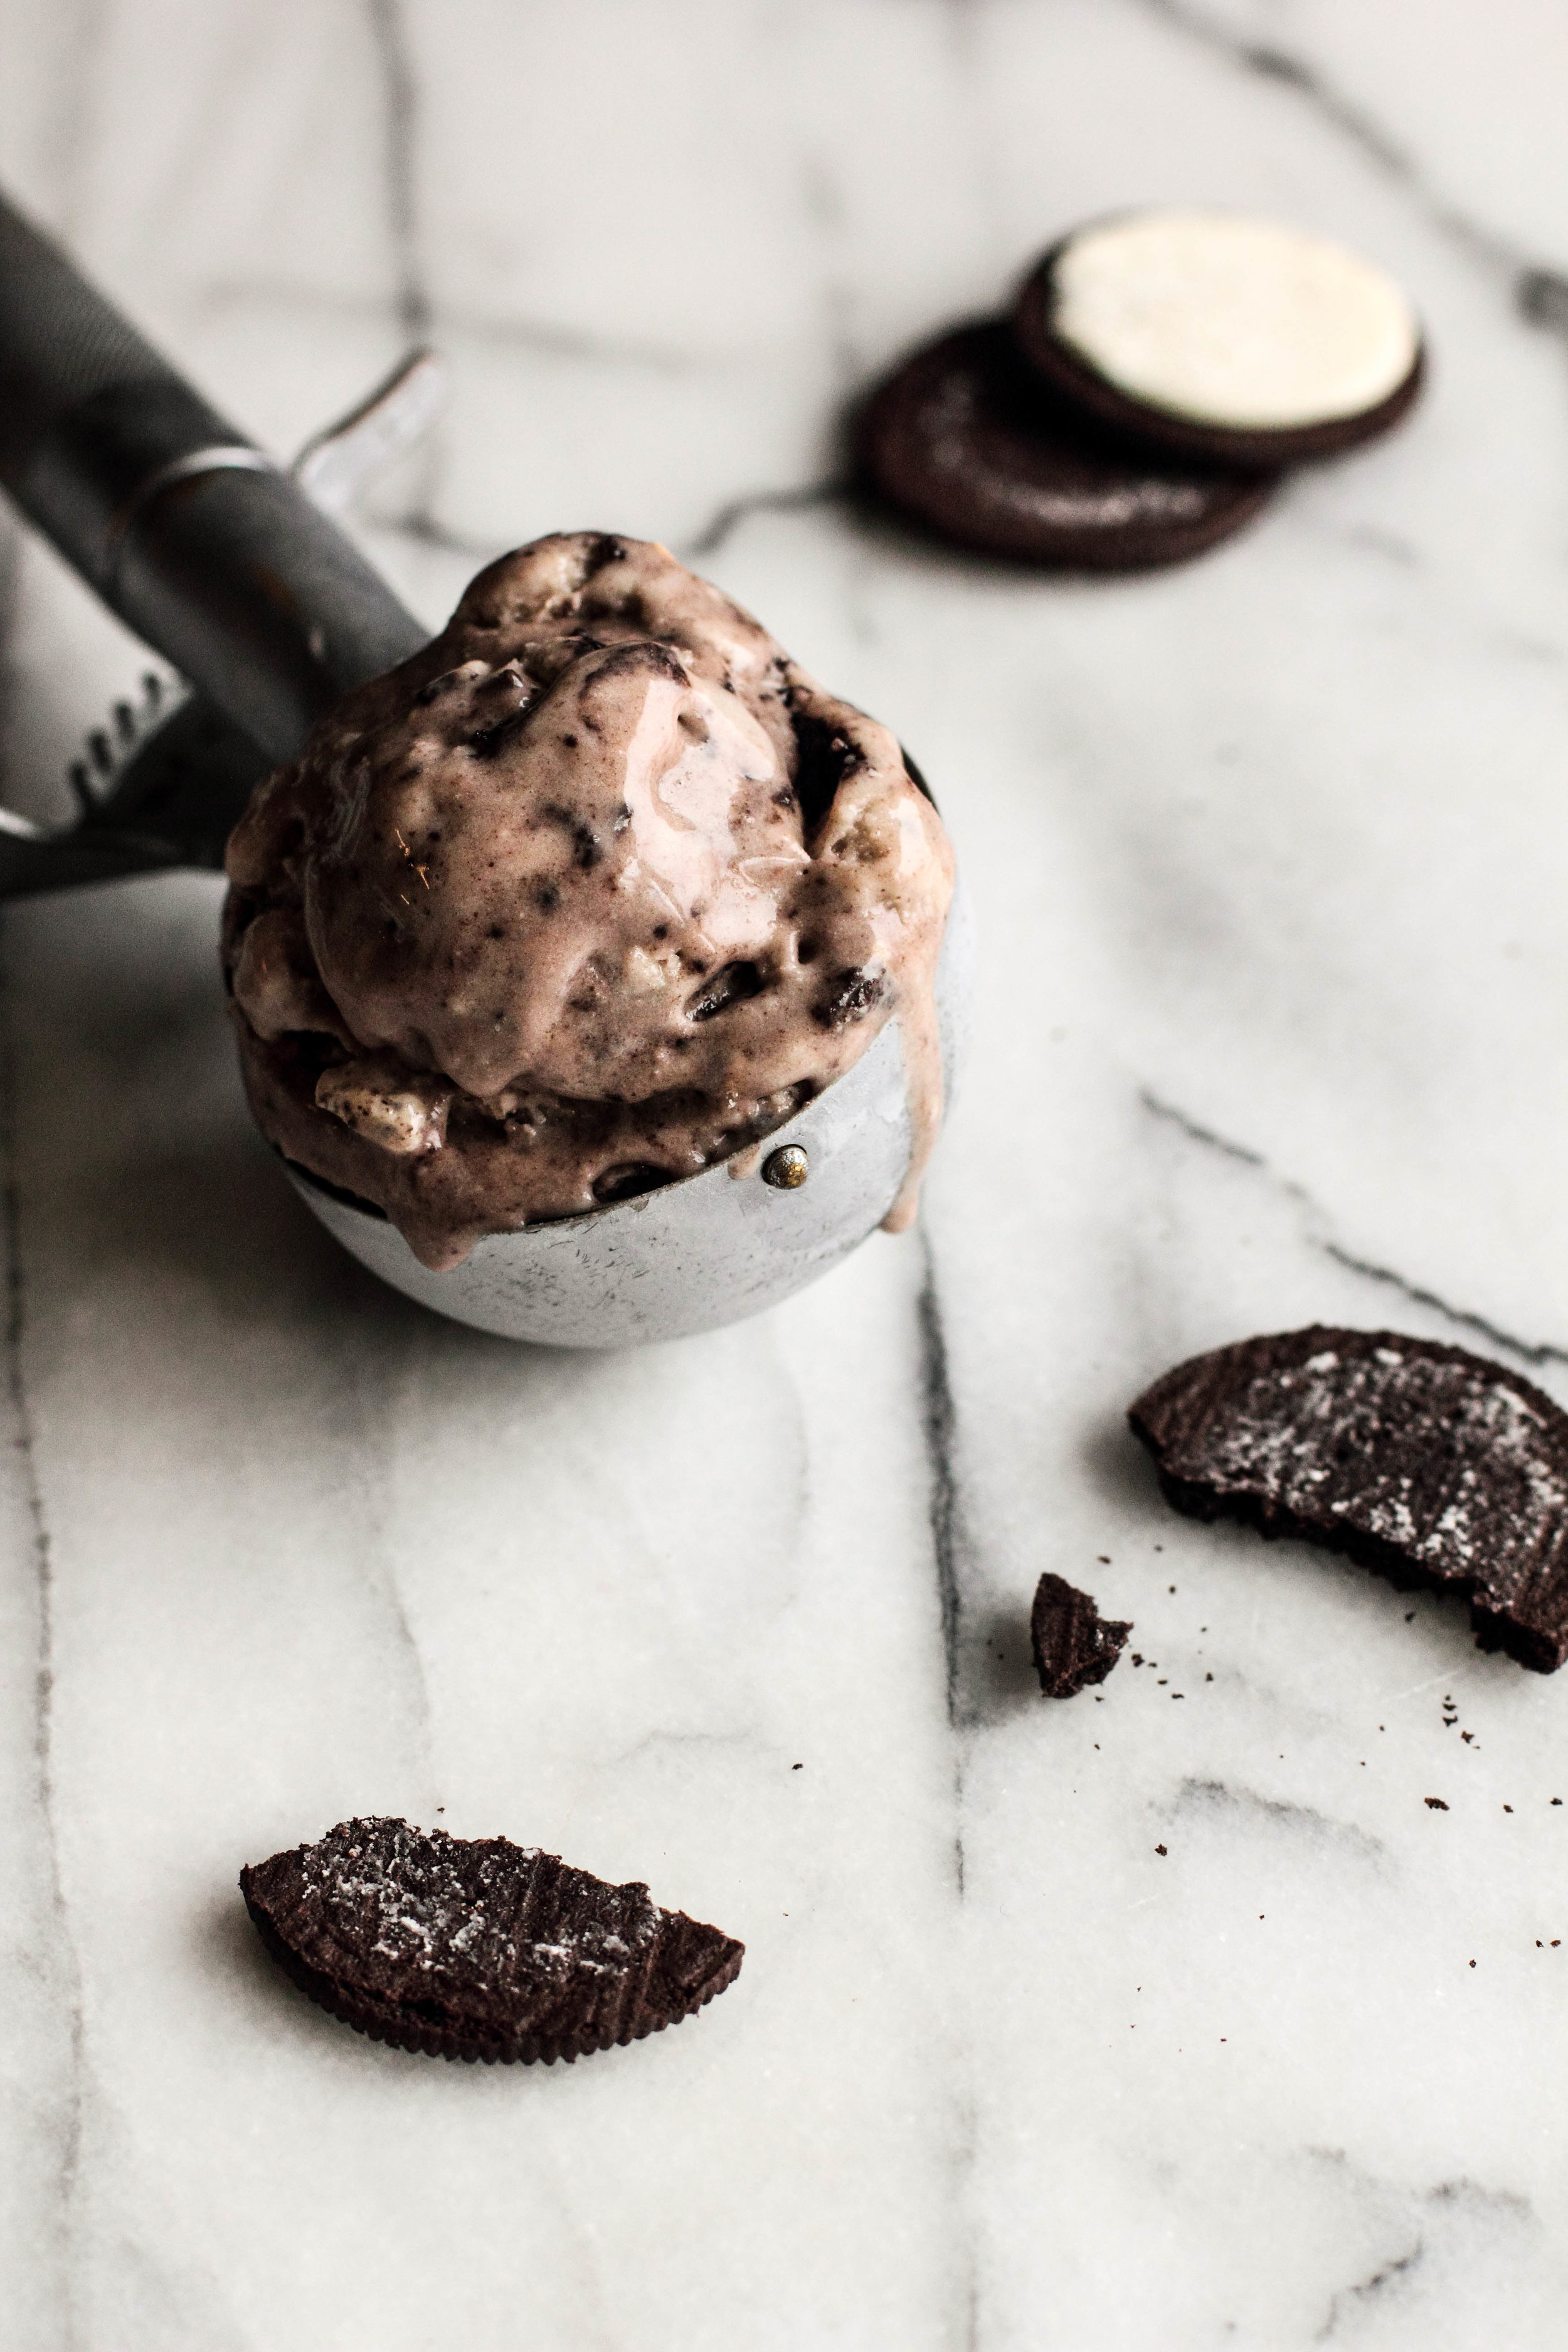
Cookies and cream ice cream seems to fall distinctly into the realm of childhood desserts. Even so, I don't believe that should stop the adults from partaking in the fun. After all, no one grows too old for a good cookie. This particular version is dairy-free, made with coconut milk instead of a combination of whole milk and heavy cream (though certainly those ingredients could be substituted in to make a more traditional ice cream). While the coconut flavor is noticeable on the first bite, it seems to hide from then on, as your palate adjusts to the cookies' sweetness.

This ice cream was a dangerous one to keep in the house. I could never seem to forget about it and often stole spoonfuls before breakfast and dinner.

As a side note, I will be in France(!) for the next two weeks as I spend time in Paris, travel through Provence, and end in Nice. I will be posting pictures and stories throughout the trip. If you'd like to keep up with my adventures, you can follow me on instagram, twitter, or facebook for updates! 

Cookies & Cream Ice Cream is a sweet dessert to enjoy any time of the year. The cookies soften in the ice cream, helping the ice cream retain a smooth texture. The flavor, however, is quite pronounced in each and every bite. For best results, allow the ice cream to thaw on the counter for 10-15 minutes before servingthe rest time transforms the texture from icy to smooth and creamy.

One Year Ago: Mint Sugar, Frozen Strawberry Bars, and Coconut Sorbet (a personal favorite!)
Two Years Ago: Toffee Chocolate Chip Cookies, Coconut Nutmeg Pudding, and Lavender Lemonade
Three Years Ago: Citrus Roasted Rhubarb, Roasted Cherry Dark Chocolate Brownies, and Honey Peach Bubble Tea
Four Years Ago: Margaritas, Chocolate Chip Raisin Oatmeal Cookies, and Mocha Frappuccino

Cookies & Cream Ice Cream

Yields about 1 quart

28 fluid ounces (828 ml) full-fat coconut milk
3 large egg yolks
1/2 cup (112 grams) granulated sugar
1/2 teaspoon salt
2 teaspoons vanilla extract
15 chocolate sandwich cookies (180 grams), lightly crushed*

In a large saucepan, bring the coconut milk to a simmer over medium-high heat.

In a separate bowl, whisk together the egg yolks, sugar, and salt. When the milk is simmering, add a small amount to the eggs and whisk quickly to incorporate. Do this a second time to temper the egg yolks. 

Transfer the ingredients back into the saucepan and simmer over medium to medium-low heat until the milk thickens enough to coat the back of a spoon, about 10 minutes. Remove from heat and stir in the vanilla. Refrigerate mixture until cold.

Freeze mixture in ice cream maker, following the manufacturer's instructions. In the final minute of churning, add the crushed cookies and shut off the ice cream maker when incorporated. Transfer ice cream to a plastic air-tight container and freeze for 3-4 hours before serving.

* Use a dairy-free sandwich cookie, like Oreos, to keep the ice cream dairy-free.

Mixed Berry Quinoa Crumble

Around each March, when I feel as if winter will never end and the snow will never melt, I throw a package or two of berries into my basket at the market. It's an impulse buythe berries may be brightly colored, but the flavor is so faint and lacking I often feel as if I shouldn't have bothered in the first place. Yet, year after year, the berries are there, a reminder that summer is a few months away, even if the weather outdoors does not reflect it. The berries carry memories of happy moments, long afternoons, and picnics out on the porch.

And now, finally, my basket is overflowing with berries of all kinds. 

The last few days have been cold and windy. I've stayed indoors, buried in books, and enjoying the heat from the oven, a rarity in these summer months. To take advantage, I've taken out the mixing bowls and have been working on whipping up a few desserts here and there.

Lately, I've had a tendency to go a little overboard when buying berries and this week was no exception. I like to throw a handful blueberries in my breakfast each morning. I enjoy eating blackberries slowly, with a side of chocolate. But when these habits aren't enough to to make the berries disappear, I gather the rest together, cover them with a crunchy topping, and bake them up until the juices begin to sizzle.

Crumbles are one of my favorite ways to enjoy fruit. While any fruit could really be used, berries are the most reminiscent of summer to me. While I prefer to eat mine cold and plain, straight from the refrigerator, crumbles are just as nice served warm with a topping of whipped cream or vanilla ice cream. With the holiday weekend coming up, the natural color scheme of this particular version seems like an apt way to celebrate. 

Mixed Berry Quinoa Crumble is a wonderful way to use up summer berries. Whether fresh or frozen, blueberries, blackberries, strawberries, and raspberries come together with a crumble topping to create a simple dessert. With the red and blue berries, this dessert can make a great addition to your Independence Day celebrations.

One Year Ago: Dill Dinner RollsSparkling Lemon Drop, and Berry Cheesecake Tarts
Two Years Ago: Multigrain BreadBlueberry Lemon Crumble, and Vanilla Cupcakes
Three Years Ago: Baby Sugar CookiesStrawberry Smoothie, and Strawberry Rhubarb Lemonade
Four Years Ago: Strawberry Panna CottaTapioca Pudding, and Blueberry & Raspberry Tartlets

Mixed Berry Quinoa Crumble

Yields 6-8 servings

24 ounces (680 grams) fresh or frozen berries
1/3 cup (75 grams) granulated sugar
1 teaspoon ground cinnamon
3 tablespoons cornstarch
1 teaspoon lemon juice
4 tablespoons butter, room temperature
1/4 cup (50 grams) brown sugar, packed
1/2 cup (85 grams) quinoa, uncooked
1/2 cup (45 grams) old fashioned oats
1/4 cup (25 grams) sliced or chopped almonds
Pinch of salt

Preheat oven to 375 degrees F (190 degrees C).

In a large mixing bowl, stir together the berries, sugar, cinnamon, cornstarch, and lemon juice until evenly coated. Transfer the berries to a deep pie pan. Set aside.

In another mixing bowl, beat together the butter and brown sugar until light and fluffy. Stir in the quinoa, oats, almonds, and salt until evenly mixed. Using your fingers, tear off small pieces of dough and sprinkle it evenly over the top of the berries.

Bake for 40 to 50 minutes, or until the top is browned and the berries have released their juices. Allow to cool before serving. When serving, top with vanilla ice cream, whipped cream, or leave it plain. To store, cover and keep refrigerated.

Chocolate Espresso Custard

When I gave myself the gift of summer, I hoped for adventure and I hoped for leisure. While adventure is on the horizon (I'm headed off to France in two weeks!), this week was spent catching up on a year's worth of much needed relaxation. I pulled a deck chair out into the sun, slathered on the sunscreen, and read my way through a couple good books. With a tall glass of ice water at my side, it felt very much like a dream.

I have been savoring these little moments, taking them in and bundling them up for a rainy day. When summer ends and the responsibilities start up once again, I'll take one of these memories out, smooth out the edges, and remember the feeling of the sun and the smell of the grass.

Custards are among the things I do not need to be reminded to savor. As a part of my own tradition, I use the smallest spoon in the drawer. Eating it slowly, one small bite at a time, letting the flavor linger. These custards are simple to prepare, an afterthought to create after dinner, but they can be enjoyed for several evenings after.

Chocolate and espresso go together effortlessly and it shows in this simple dessert. Perhaps this can be your own reminder to slow down and take in the moment with a little more awareness than before.

Chocolate Espresso Custard is a sweet, cool treat to enjoy any time of the year. While this version is dairy-free, utilizing coconut milk and coconut whipped cream, I have added substitutions to make it a bit more traditional. The smooth flavors of chocolate and espresso are both pronounced. When garnished with whipped cream, chocolate shavings, and chocolate covered espresso beans, this custard will disappear in no time.

One Year Ago: Rhubarb Ginger Bars and Nutty Rhubarb Oatmeal
Two Years Ago: Coconut WafflesDark Cherry Fruit-On-The-Bottom Yogurt, and Mocha Granola
Three Years Ago: Creamy Grape SaladCornmeal Parmesan & Poppy Seed Crackers, and Piña Colada Cupcakes
Four Years Ago: Chocolate Orange Miniature CakesSimple Rhubarb Jam, and Twix Cookies

Chocolate Espresso Custard

Yields 4-6 servings

14 ounces (400 grams) full-fat coconut milk (can also substitute half and half or whole milk) 
1 tablespoon espresso powder 
1/4 teaspoon salt 
4 large egg yolks 
4 ounces (113 grams) bittersweet or semi-sweet chocolate, chopped finely 
1 teaspoon vanilla 
Coconut Whipped Cream (or regular whipped cream), optional 
Shaved chocolate, optional 
Chocolate covered espresso beans, optional

In a large saucepan, whisk together the coconut milk, espresso powder, and salt. Bring to a simmer over medium to medium-high heat. Turn the heat down to low.

In a separate bowl, whisk together the egg yolks. Pour a small amount of the milk mixture into the eggs and stir quickly to prevent the eggs from cooking. Pour the egg mixture back into the saucepan and whisk everything together.

Turn the heat back up to medium and continue cooking, while stirring. Once the pudding thickens enough to thickly coat the back of a spoon, about 5-10 minutes or more, remove from heat.

Stir in the chopped chocolate until the pudding is smooth and completely melted. Stir in vanilla extract. Pour pudding evenly between serving dishes, cover, and place in the refrigerator to cool.

Just before serving, garnish with coconut whipped cream, chocolate shavings, and chocolate covered espresso beans.