Banana Peanut Butter Green Smoothie

bananapeanutbuttergreensmoothie2.jpg

Travel allows for a glimpse into another lifea different pace, a divergent culture, an opportunity to live as someone else, if only for a short time. These differences may be large and bold, shouting out from every brick and every stone, or they may be quiet and subtle, a difference in the smell of the breeze, but the variations are there, waiting to be detected.

Last week, I was in Vermont on a "bake-cation," a term coined by my fellow classmate, where I happily spent my entire holiday in the kitchen, taking baking classes to learn the science of pastry. There was no sightseeing or a rushed to-do list; it was just butter, sugar, and me. After a long day on my feet, my evenings were spent sitting in a rocker on an old-fashioned porch, a glass of wine in one hand and a homemade pastry in the other, listening to a birdsong I did not recognize. It was a dream.

I'll give you details about the classes soon. Stay tuned.

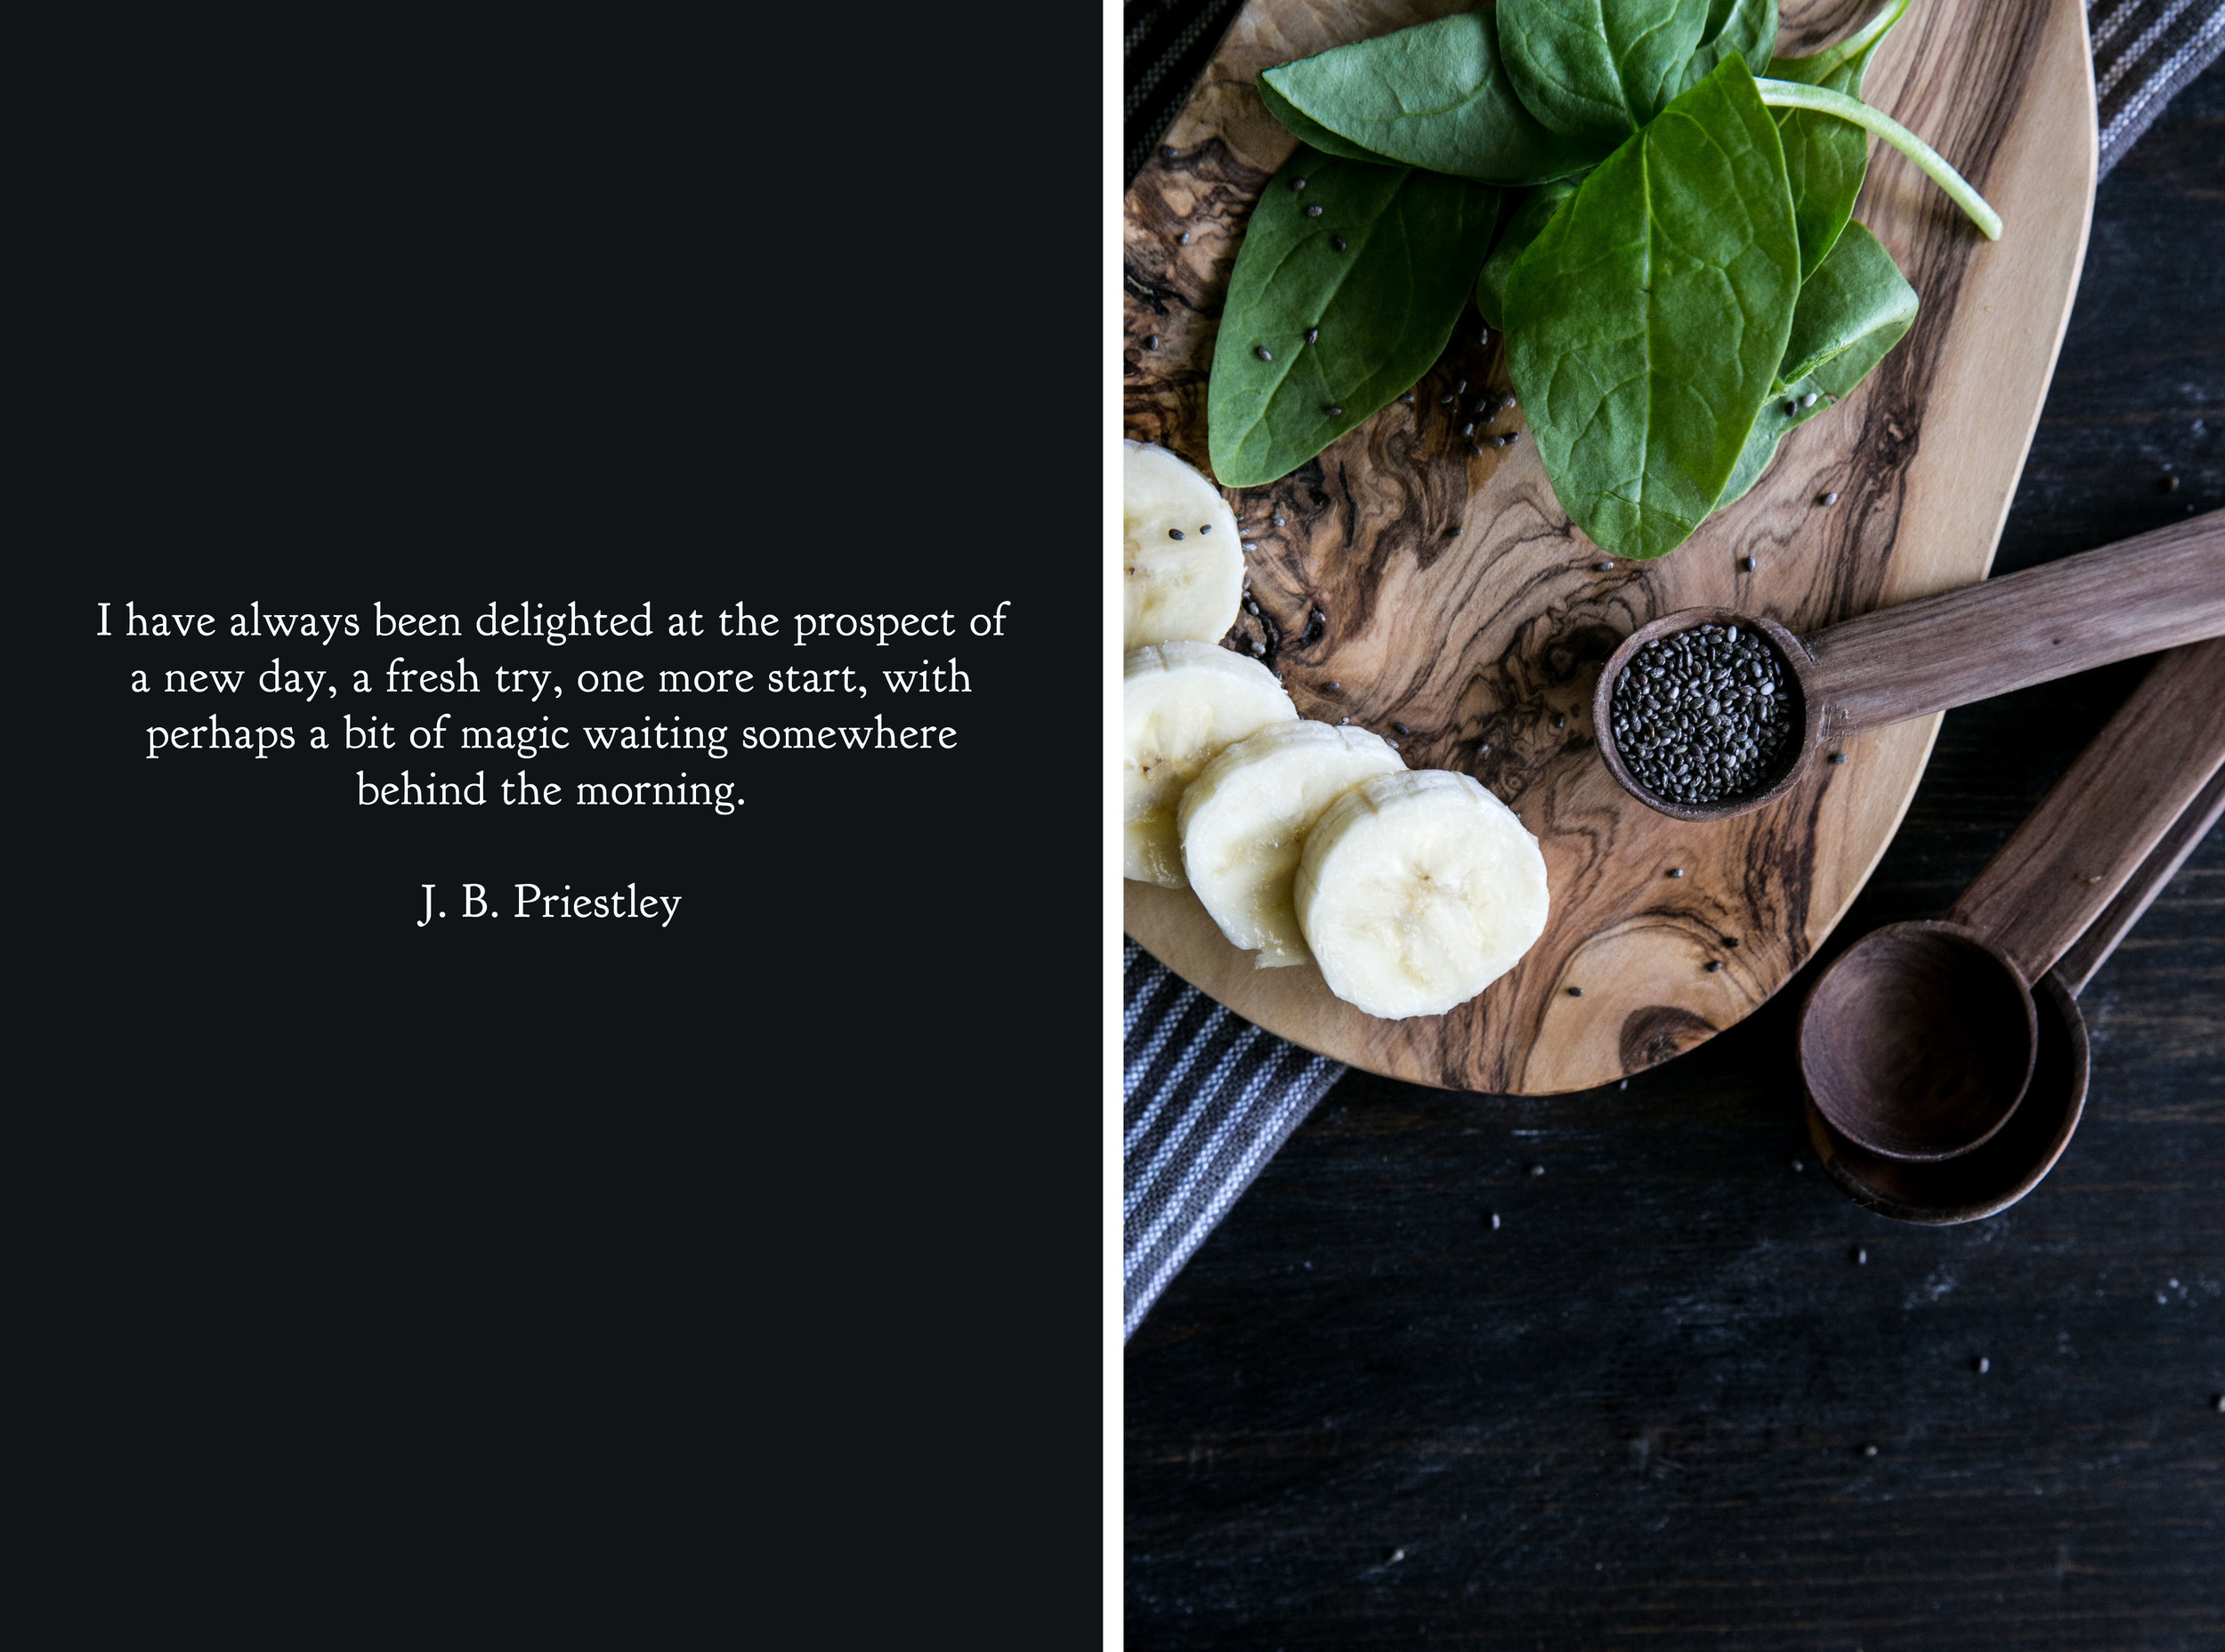
When traveling in New York City last June, I started the first morning with a green banana smoothie from a small shop down the street from the hotel. Even though I had a list of coffee and bagel shops to visit, the drink was so refreshing that I tossed the list to the wayside and got myself the same exact smoothie every morning hence. The drink I am sharing with you today is inspired by that smoothie, featuring bananas, peanut butter, avocado, and spinach. Though the smoothie may appear green, the flavor of the banana and peanut butter mask the others, making it more pleasant for adults (and kids) alike.

After a week of consuming more than my fair share of butter, sugar, and cream, I could use a few more of these smoothies to get back on track.

IMG_8860.jpg

Banana Peanut Butter Green Smoothie acts as a great start to the day, especially during the warm summer months. The smoothie's primary flavors are of banana and peanut butter, which cover up those of the green additions. Honey is added for sweetness, and milk is used to blend. I preferred almond milk in this recipe, but soy milk or regular cow's milk will do just as well.

One Year Ago: Lavender Vanilla Bean Cake
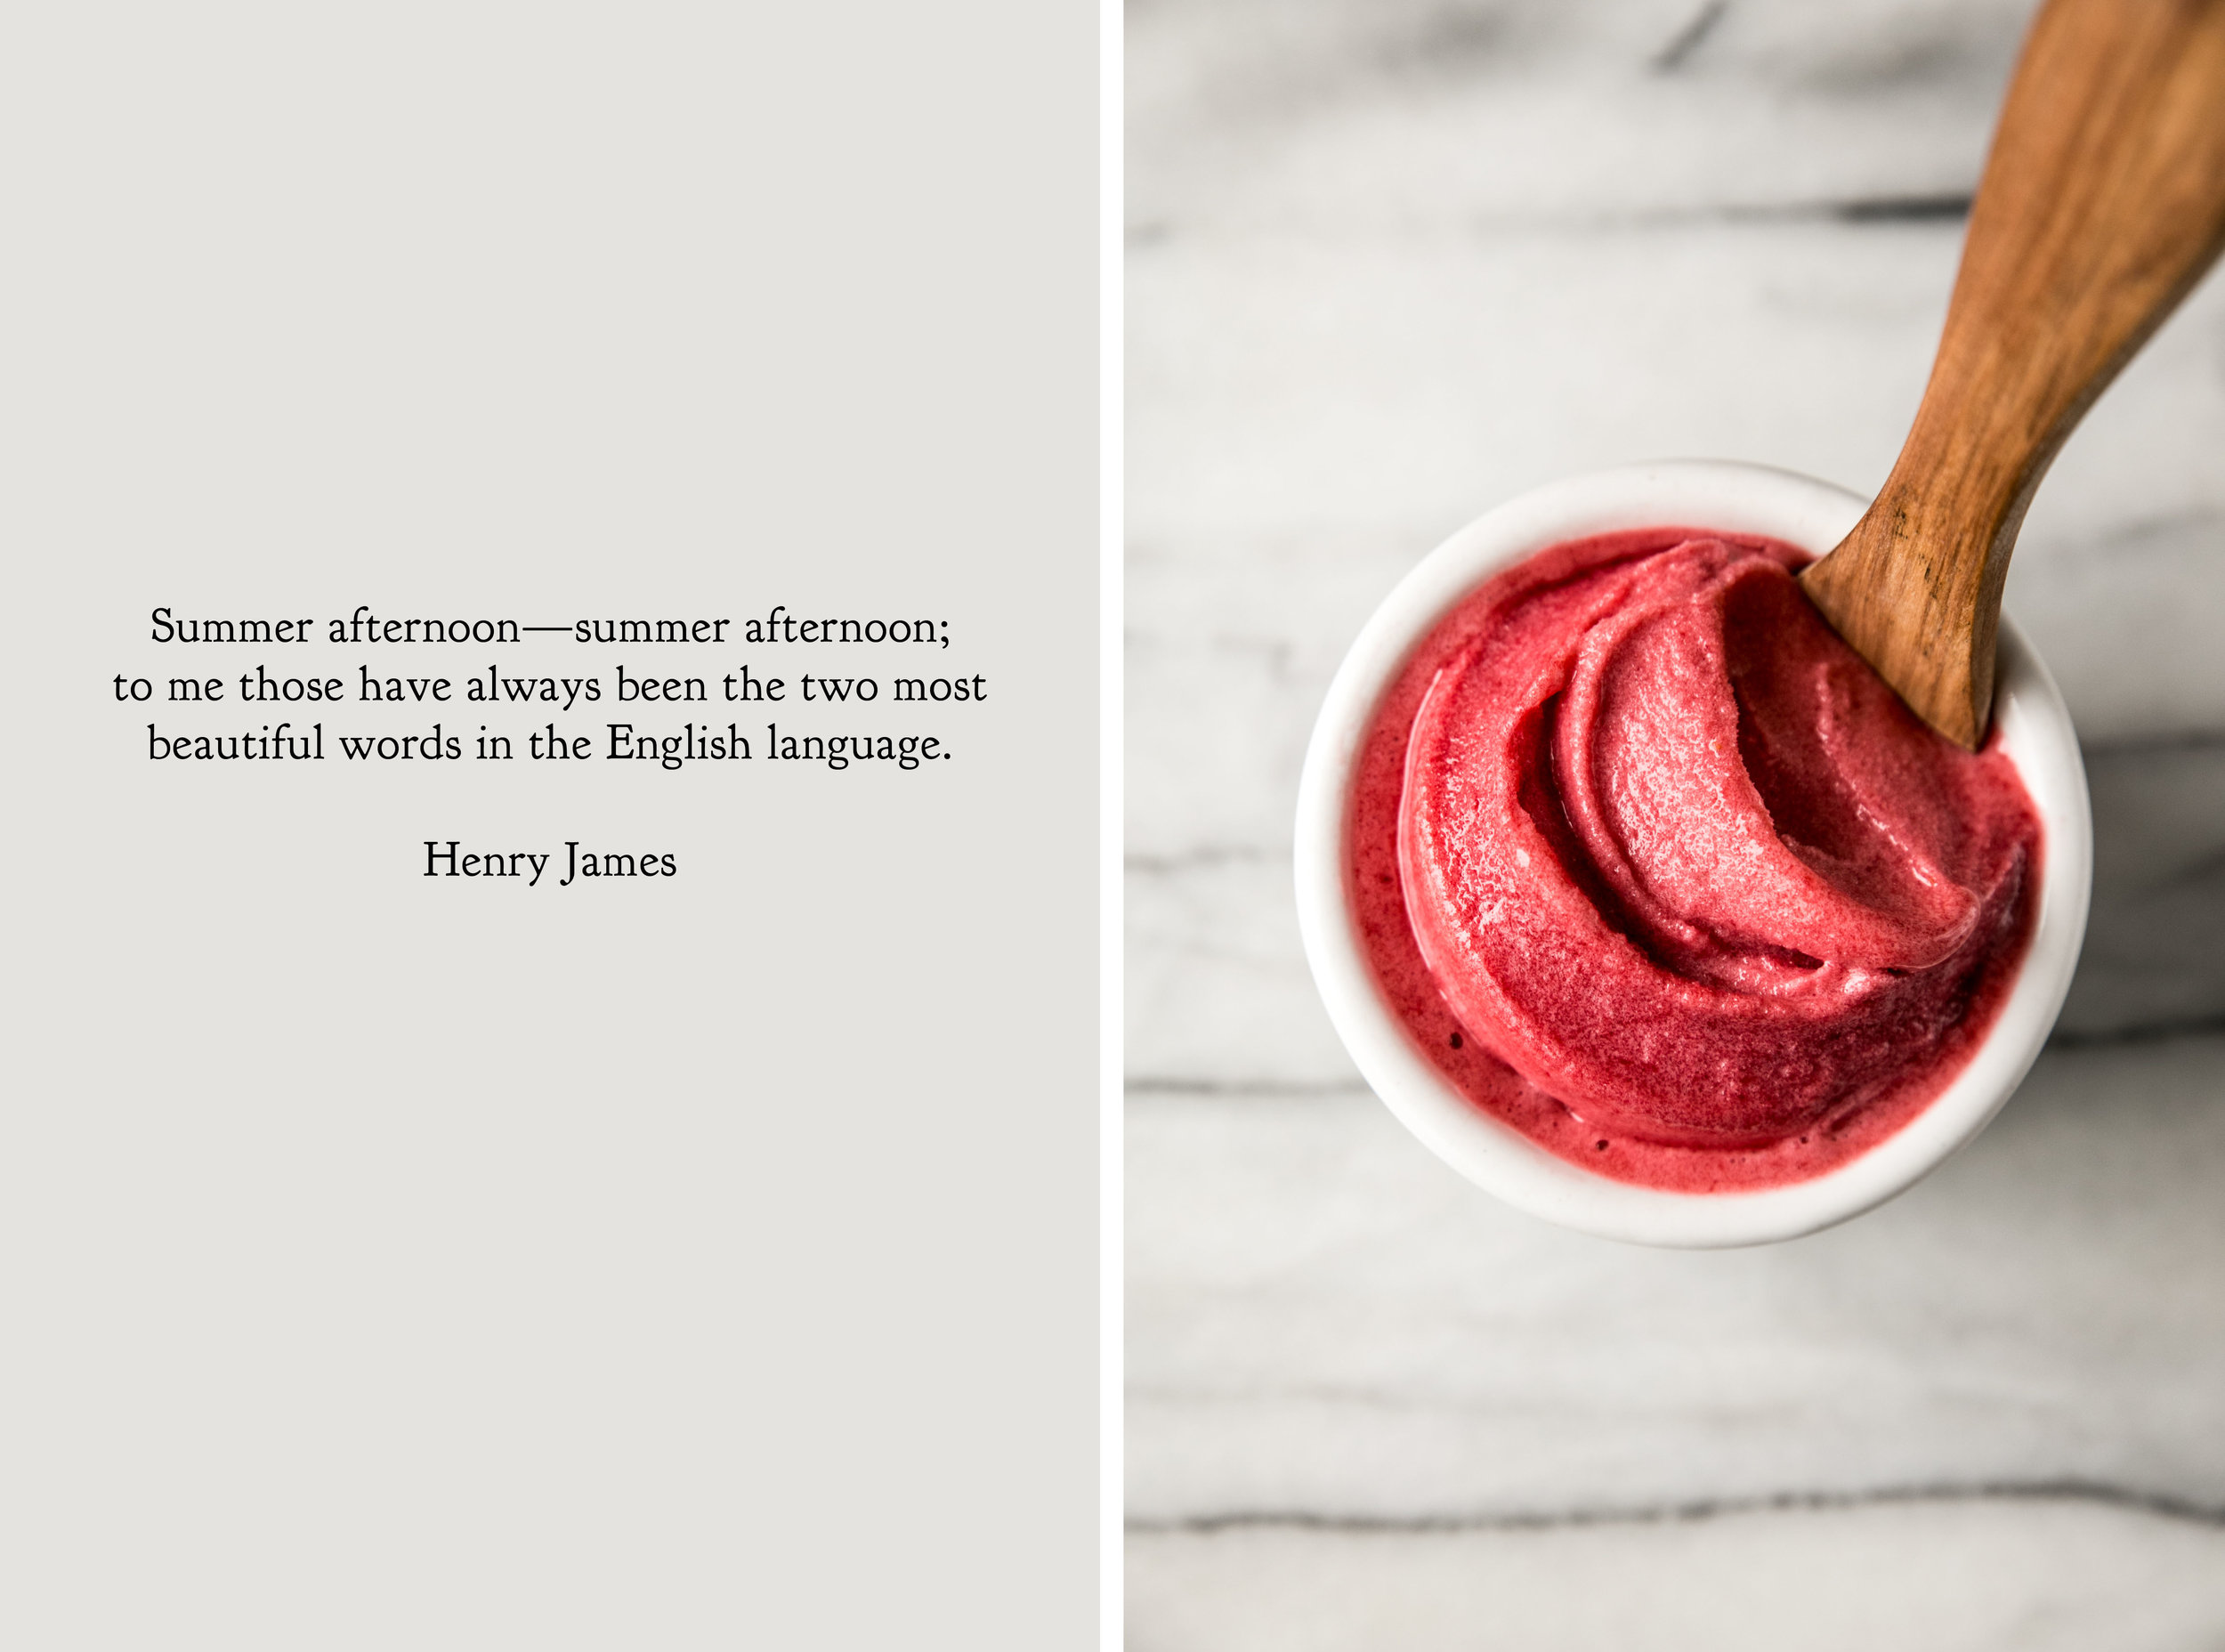
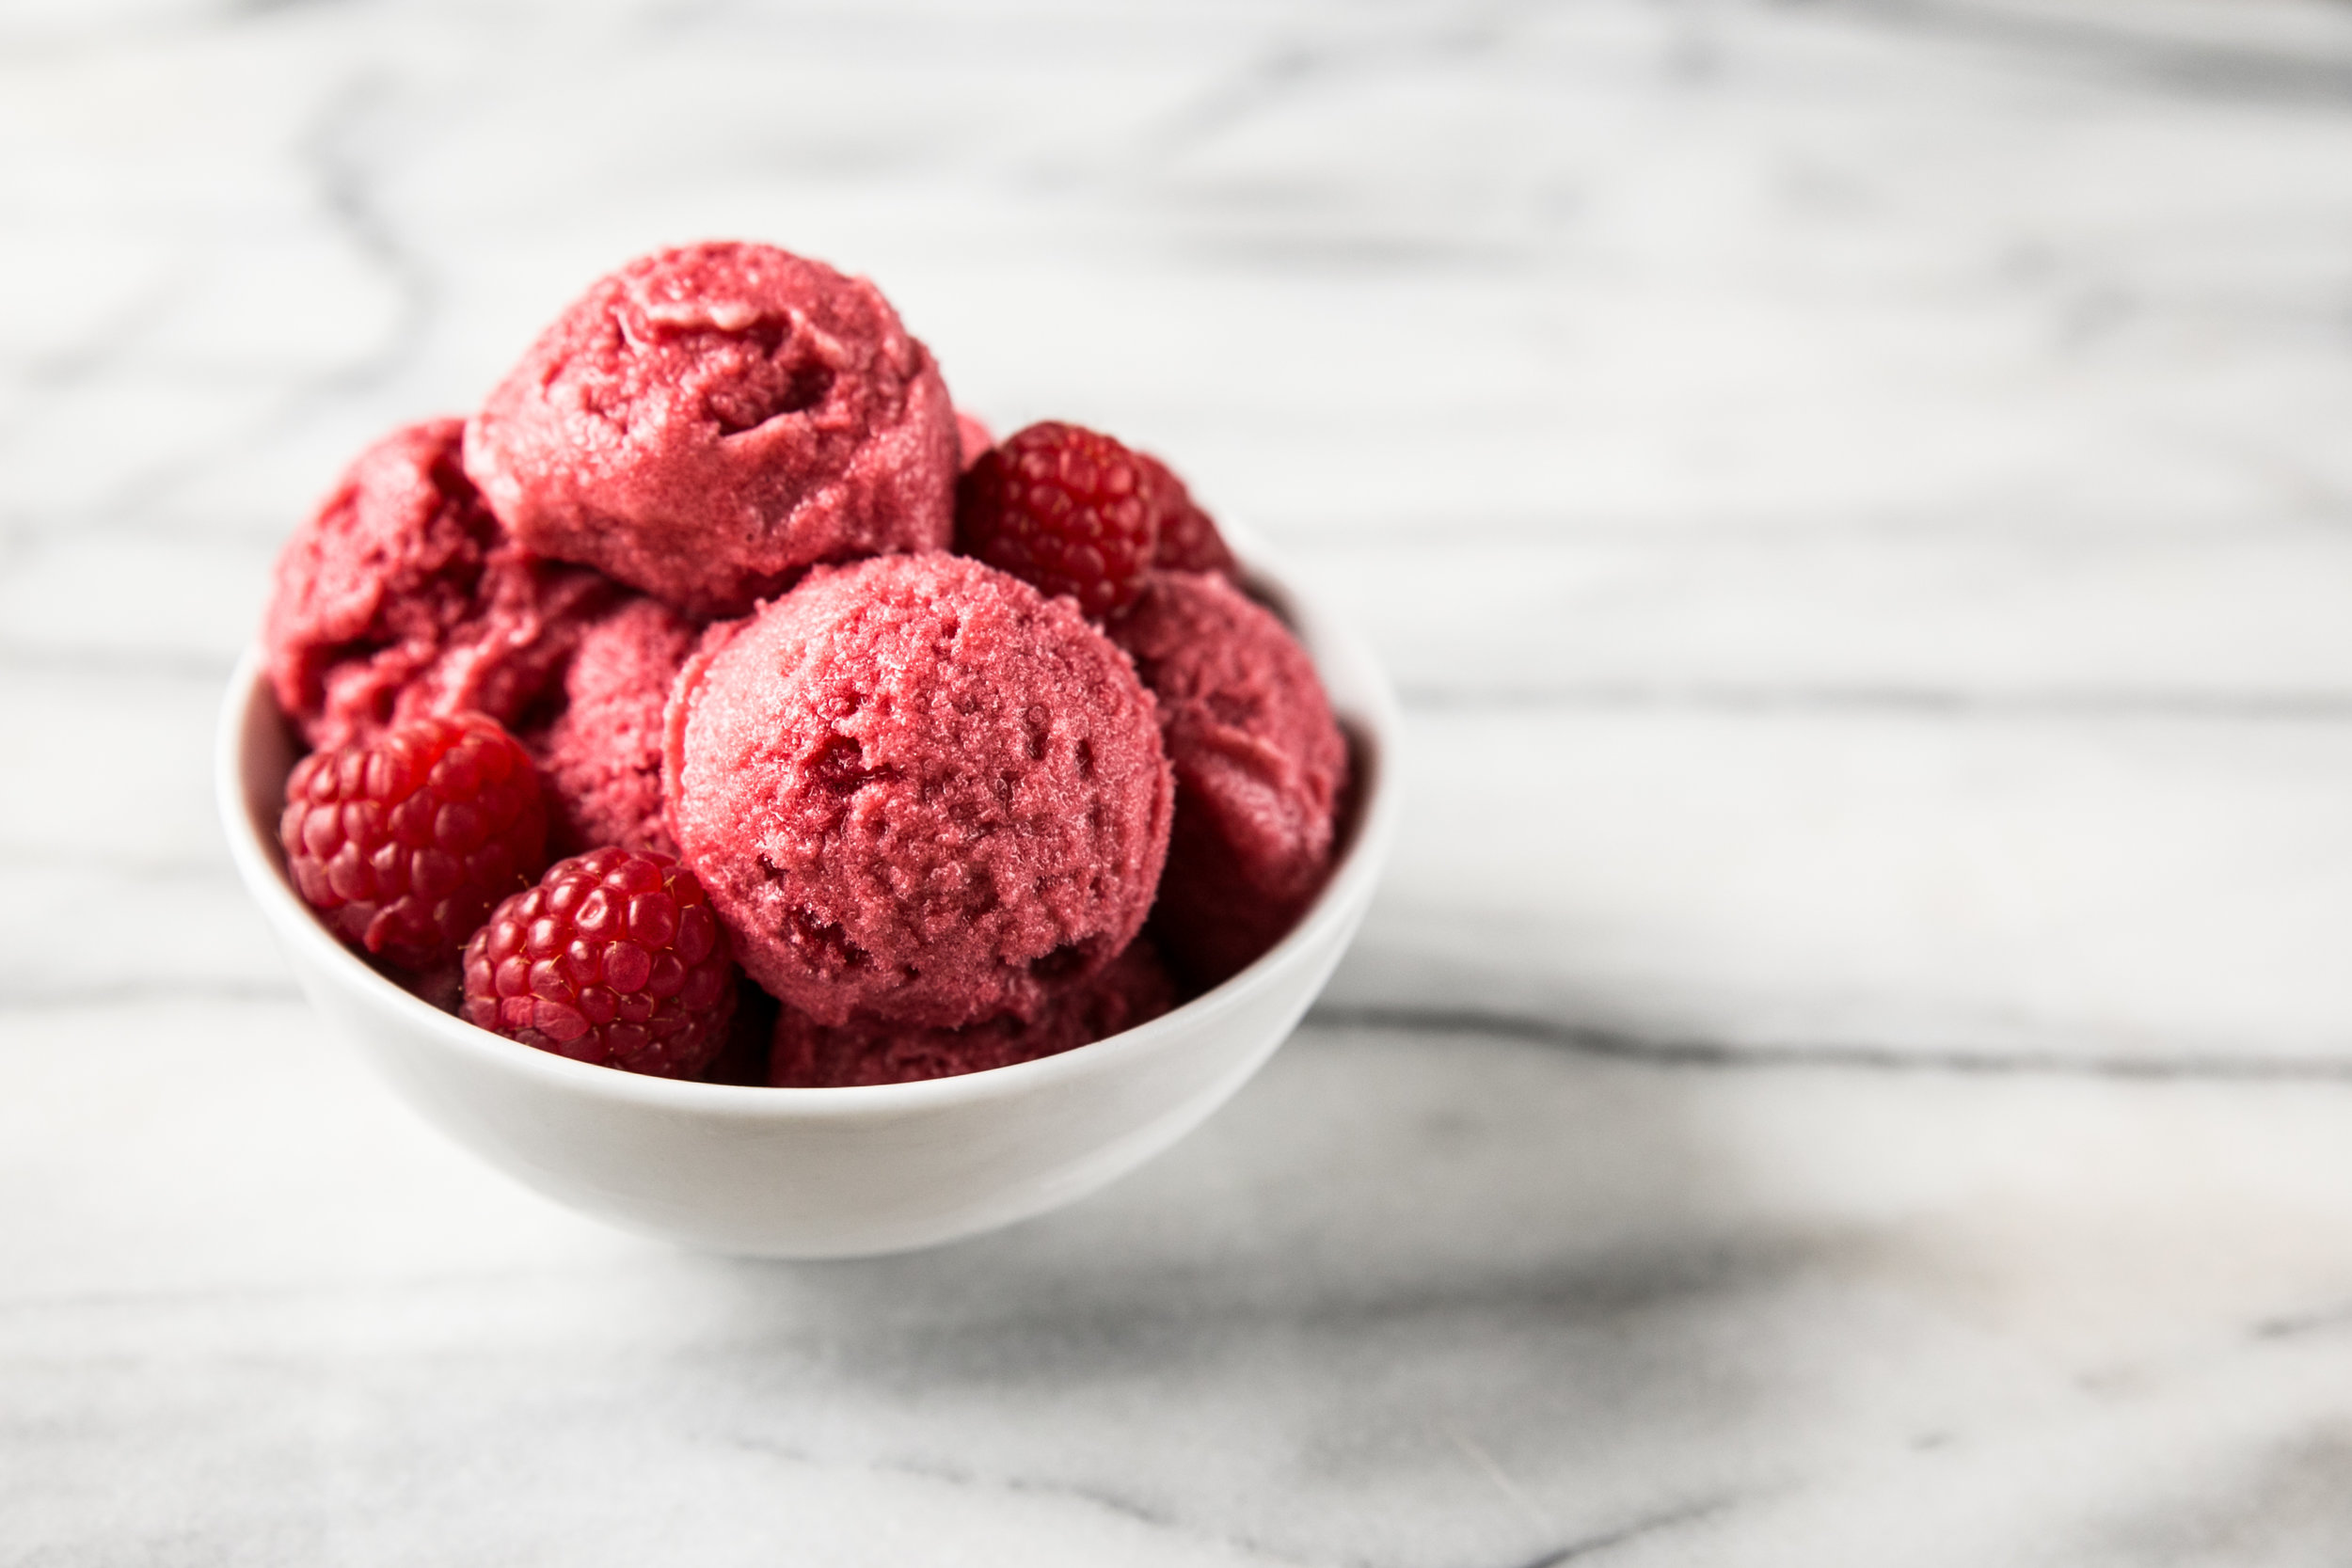
Two Years Ago: Coconut Sorbet and Cherry Almond Crumble
Three Years Ago: Strawberry Coconut Ice Cream, Mocha Almond Cupcakes, and Summer Berry Pavlova
Four Years Ago: Cauldron Cakes, Butterbeer, Butterbeer Cupcakes, and Cherry Almond Muffins
Five Years Ago: Mocha Frappuccino and Blueberry Lime Panna Cotta

Banana Peanut Butter Green Smoothie

Yields 1 large or 2 small servings

2 small (or 1 1/2 large) ripe bananas, frozen
1/2 ripe avocado
1 tablespoon creamy peanut butter
1 small handful spinach leaves
1-2 teaspoons honey, to taste
1 cup (225 grams) milk 
1 teaspoon chia seeds, optional
Ice, optional

Place all ingredients into a blender and blend until smooth. Pour into a glass and serve immediately.

Raspberry Rhubarb Sorbet

raspberryrhubarbsorbet1.jpg

In the heat of the summer afternoon, I can be spotted sitting in a deck chair in the sun, my nose buried in the pages of a good book. For someone who is eternally chilled, the oppressive heat is dreamy; I wish I could bottle up the feeling for another season. By far, this form of relaxation is my favorite summer activity, and I look forward to it greatly each year. This is my spa day, my indulgence, my unique form of pampering.

If only these days could last forever.

When the heat grows suffocating, I reluctantly head back indoors to cool off. Since it is one of the rare times the air conditioner feels welcoming against my skin, it would be a sin to turn on the oven to bake. Ultimately, this reasoning is how this sorbet came about. While rhubarb seems to be a fleeting spring trend in the food world, the Upper Midwest enjoys this vegetable all summer long. As a wonderful contrast against the sweetness of summer fruit, the tart rhubarb complements summer fruits and berries well. 

In this sorbet, rhubarb is paired with raspberry to produce a very brightly colored, flavorful dessert. Feel free to use fresh or frozen fruitI have done so with both and it has turned out equally well.

IMG_9289.jpg

The sorbet stays soft due to the use of honey as a sweetener. Honey does not contain enough water to freeze (it is a supersaturated sugar solution) and so it prevents the sorbet from freezing hard like other chilled desserts. While this sorbet is not ideal for ice cream cones, one of the benefits of the soft freeze is that the sorbet becomes an excellent base for cocktails. Simply add a scoop or two of sorbet, a shot of vodka, and top it off with a fizzy soda (such as lemon-lime or gingerale) for a sweet summer drink. 

Raspberry Rhubarb Sorbet is ideal for celebrating the summer months because it requires so few ingredients. Raspberries and rhubarb are boiled down into a sweet sauce and frozen into a soft sorbet. Honey is used as a natural sweetener, and it complements the fruit flavors well. While I suggest a full cup of honey, you can use less if you prefer a more tart sorbet. Simply taste as you go, and you will find your ideal sweetness.

One Year Ago: Cookies & Cream Ice Cream
Two Years Ago: Mint Sugar and Frozen Strawberry Bars
Three Years Ago: Peach & Blackberry Galette, Chocolate Cherry Cake, and Coconut Scones
Four Years Ago: Quinoa Pudding, Blueberry Hand Pies, Black Bean Salsa, and Harry Potter Treats
Five Years Ago: Margaritas and Chocolate Chip Oatmeal Raisin Cookies

Raspberry Rhubarb Sorbet

Yields about 1 quart

12 ounces (340 grams) rhubarb, chopped into 1-inch sections
6 ounces (170 grams) raspberries
1/2 cup (120 ml) water
1 cup (340 grams) honey 
1 teaspoon vanilla extract

In a large saucepan, combine rhubarb, raspberries, water, and honey and bring to a boil over medium high heat. Lower the heat, and simmer for 10-15 minutes, or until the rhubarb is soft and translucent. Remove from heat and stir in vanilla extract. 

Allow mixture to cool for 10-15 minutes before transferring to a blender or food processor. Process until smooth. Run mixture through a fine mesh sieve to remove seeds and fibers. Discard solids. Chill for 3-4 hours, or until cold.

Freeze mixture in ice cream maker, following the manufacturer's instructions. Transfer sorbet to an airtight container and freeze for 4-6 hours before serving. The sorbet will keep well for 2 weeks in the freezer.

S'mores Tarts

IMG_8919.jpg

Campfires and s'mores compose many of my childhood summer memories. As a Girl Scout growing up, s'mores were our reward after a long day of hiking, canoeing, and cooking dinner over flames at camp. We would sing silly songswith laughter as our melodyand toast marshmallows, stretching out these perfect moments with a just one more, please. I hold these memories particularly close when settling into the summer season.

It is fitting then, especially considering my own experience, that s'mores originated with the Girl Scouts. The first recipe for this dessert appeared in the handbook Tramping and Trailing with the Girl Scouts in 1927. The folklore says that when a girl had eaten one she would always ask for "some more." Over time, the popularity of the treat grew until it became the summer phenomena it is today. The dessert still holds ties to its roots, however. A s'more made over a roaring campfire will always be superior to any counterpart. The smoke, night sky, and good company are irreplaceable ingredients.

S'mores are not often thought of as an elegant dessert (as anyone with a crumb-filled lap and a sticky marshmallow face and fingers would agree). With these s'mores tarts, I wanted to find a little more of that sophistication while keeping the traditional flavors intact. Thus, a thin crust holds in a rich chocolate filling and is topped with an airy marshmallow topping. 

While I still adore a classic campfire s'more, I find them too sweet to eat more than one. With the tarts, I was able to cut back on the sugar by using dark chocolate and covering the tarts partially with the marshmallow topping. Of course, if the classic sweetness is your preference, please use your favorite milk chocolate and drown these tarts in as much toasted marshmallow as you desire. 

S'mores Tarts feature a rich chocolate filling surrounded by a cookie crust and topped with a vanilla flavored marshmallow topping. The marshmallow topping can be toasted using an oven broiler, but flame torches yield much more control with the finished product. I personally find kitchen torches to be small, disappointing, and overpriced. If you are up for a bit of adventure, acquaint yourself with your pyromaniac side, and pull out a full-size blow torch for these tarts. You'll be glad you did. 

One Year Ago: Mixed Berry Quinoa Crumble
Two Years Ago: Rhubarb Oatmeal, Dill Dinner Rolls, Sparkling Lemon Drop, and Berry Cheesecake Tarts
Three Years Ago: Vegan Chocolate Chunk Cookies, Cherry Cream Cheese Muffins, Blueberry Breakfast Quinoa, Vegan Brownies, and Banana Peanut Butter Protein Smoothie
Four Years Ago: Chocolate Almond Oat Bars, Tropical Vacation Cocktail, Blueberry Granola, and Bizcochitos
Five Years Ago: Blueberry & Raspberry Mini Tarts

S'mores Tarts

Yields 6 small tarts

Tart Dough
8 tablespoons (115 grams) butter, room temperature
1/3 cup (66 grams) granulated sugar
1 large egg
1 teaspoons vanilla extract
1/4 teaspoon salt
1 2/3 cup (210 grams) all-purpose flour

In a medium mixing bowl, place the butter and sugar. Beat until lighter in color and texture. Add the egg, vanilla, and salt and continue mixing until uniform, scraping down the sides as needed. Add the flour, mixing until the dough comes together and begins to gather in the bowl. A food processor can also be used to speed up the process, if available.

Remove dough and shape into a cylinder. Wrap in plastic wrap and refrigerate for a minimum of 30 minutes.

Preheat oven to 400 degrees F (205 degrees C). 

Unwrap dough and slice cylinder into 6 even pieces. On a lightly floured surface, roll out each slice into a circle 2-inches larger than the tart pan. Gently place dough into pan, pressing it along the edges. If necessary, additional dough can be used to cover up cracks or tears. Using a rolling pin, roll it along the top of the pan to cut off excess dough. Puncture a couple dozen holes into the bottom of the tart using a fork; this will prevent the dough from rising.

Bake for 15-20 minutes, or until they are dry in appearance and touch. Cool to room temperature.

Chocolate Filling
6 ounces (170 grams) milk, semi-sweet, or dark chocolate, finely chopped (as per preference)
1/2 cup (120 ml) heavy cream *

Place chopped chocolate in a bowl. Set aside.

On the stovetop or in the microwave, heat the cream until near boiling. Pour over the chopped chocolate and allow to sit for 5 minutes to melt the chocolate. Stir until smooth.

Divide chocolate filling evenly between the cooled tart shells, using an offset spatula to smooth the top of each tart.

Marshmallow Topping **
3 large egg whites
1/2 cup (100 grams) granulated sugar
1 teaspoon vanilla extract

Wipe a large bowl with a paper towel soaked in a small amount of lemon juice or vinegar to remove traces of grease. Add egg whites and sugar and, over a double boiler, whisk constantly over hot water until the sugar dissolves. When rubbed between your fingers, the egg whites should feel hot and smooth (approximately a temperature of 140 degrees F/60 degrees C). This will generally take 3-8 minutes, depending on the temperature of the water.

Using a mixer, whip the egg whites until thick, glossy peaks form. This may take anywhere from 8-10 minutes. Beat in the vanilla extract.

Using a pastry bag, pipe topping over each tart. The tarts may be covered partially (as shown) or fully covered. Alternatively, an offset spatula can be used to spread topping over the tarts. 

For a toasted look, use a kitchen torch (or a full-sized blow torch, as I did) to add the toasted look to the topping. I recommend practicing on leftover topping before starting on the tarts. Alternatively, an oven set to broil can be used to toast the topping. This is a little less precise, but will also yield a toasted appearance.

Store and serve at room temperature. The marshmallow topping may "weep" slightly on the second day, but it does not affect the flavor or texture of the tarts.

* I have also used soy milk (dairy-free) to great effect.

** The recipe yields enough marshmallow topping to completely cover the tarts, if desired.