Chocolate Cream Pie

Holiday baking is in full force in my kitchen. It has become a tradition to bake and decorate cut-out cookies for the holiday season while watching utterly cheesy, although delightful, holiday films. This year produced a trio of cutout flavors—classic sugar cookies, chocolate sugar cookies, and gingerbread cookies. The entire process typically takes place over three days (one to mix up the dough, another to cut-out shapes, and a third to decorate). While continuing the cookie tradition seems like such a good idea in the beginning, after six straight hours of decorating, I'm ready to toss in the pastry bag.

Yet, I persevere. The cookies are not for me. Boxed up and wrapped in ribbon, these cookies are shared with friends, family, and coworkers alike—a gift of holiday cheer.

IMG_5494-2.jpg

My grandmother's holiday baking features a smattering of sprinkled, chocolate dotted, and powder sugar dusted cookies, but her standout dessert is a classic chocolate cream pie. For fifty years, the pie has made its appearance at the holidays, right after the food has been eaten and the dinner plates have been cleared. It has grown into a family favorite, beginning with my father's obsession when he was young and gradually capturing the hearts of the rest of the family. Now we argue over who gets the largest slice.

Traditions form the bedrock of holidays. Baking cookies (and eating pie) is one I hold dear. Without dusting the entire kitchen in an immovable layer of flour, the holidays would somehow feel a little less spirited.

Have a happy holiday season, dear friends.

Chocolate Cream Pie is a rich, sweet dessert to be shared. Chocolate pudding is made with whole milk and thickened with egg yolks and cornstarch. A baked pie shell is filled with the pudding and chilled to set. Just before serving, each slice is topped with whipped cream and chocolate shavings. Use your favorite high quality chocolate for best results—the chocolate flavor is bold. This pie is a great choice to serve after dinner with friends and family.

One Year Ago: Swedish Tea Ring
Two Years Ago: Chocolate Sugar Cookies 
Three Years Ago: Peppermint Marshmallows and Sugar Cookies
Four Years Ago: Almond Cardamom Rolls, Red Wine Chocolate Truffles, Gingerbread Cookies, & Candy Cane Cupcakes 
Five Years Ago: Peppermint Pinwheels, Candy Cane Popcorn, & Chocolate Clementine Cupcakes
Six Years Ago: Candy Striped Meringues, Chocolate TrufflesGingerbread Cheesecake, & Peppermint Ice Cream

Chocolate Cream Pie
Adapted from King Arthur Flour

Yields 9-inch pie

1/2 recipe for double crust pie dough
2 tablespoons butter
9 ounces (255 grams) semisweet chocolate, coarsely chopped*
1 1/4 cups (250 grams) granulated sugar
1/4 cup (28 grams) cornstarch
2 tablespoons cocoa powder
1 teaspoon espresso powder, optional
1/8 teaspoon salt
3 large egg yolks
3 cups (700 mL) whole milk
1 teaspoon vanilla extract
Whipped cream, for topping
Chocolate shavings or curls, for garnish

On a lightly floured surface, roll out pie dough into a 14-inch round. Wrap dough lightly around rolling pin and transfer to a 9-inch pie pan. Gently press dough into the bottom and sides of the pan. Trim the dough to allow a 1-inch overhang. Pinch dough between thumb and forefinger to make an edge around the rim. Refrigerate until chilled, about 30 minutes.

Preheat oven to 400 degrees F (218 degrees C).

Line the crust with foil or parchment paper, and fill it with pie weights or dried beans to prevent the pie crust from changing shape while baking. Bake the crust for 15-20 minutes. Remove it from the oven, and gently remove foil or parchment with the weights or beans. Return the crust to the oven for 10-20 minutes, or until golden brown. Allow to cool completely before filling.

For chocolate filling, place the coarsely chopped chocolate and butter in a medium bowl. Set aside.

In a medium saucepan, whisk together the sugar, cornstarch, cocoa powder, espresso powder, salt, egg yolks, and 1 cup milk. When the mixture is uniform, whisk in the additional milk and heat over medium heat until it comes to a boil, about 7-10 minutes, stirring frequently. When the mixture reaches a boil, turn the heat to low and whisk continuously for 1-2 minutes, or until the filling is as thick as a pudding and the whisk leaves tracks when stirring. Remove from heat and stir in the vanilla extract. 

Pour filling over chocolate and butter and whisk until uniform. Cover with plastic wrap to prevent a film from forming and chill.

To assemble, place chocolate filling in baked pie crust and smooth the top. Chill until ready to serve. Top with whipped cream and chocolate curls.

*For best results, use high quality chocolate.

Coconut Matcha Chia Pudding

A new year has dawned, carrying with it optimistic aspirations and a hopeful outlook. For the first time in a long time, I feel like I can breathe. The future carries a rosy tint; the months ahead no longer feel so heavy and intimidating. As a third year teacher, I am finally in a place where I no longer need to spend each evening lesson planning and writing exams. After the past several years of spending what feels like all my time and energy trying to stay afloat, this change feels as if an enormous burden has been lifted off my shoulders.

My time is finally, finally becoming my own.

Heading into this year, I intend to work on a work-life balance. After so many years of the scale tipping heavily in the work direction, I allowed life to take precedence the past few months. I was greedy with my personal time, devouring books and television shows by the series, relishing being unplugged in the evenings. The freedom was seductive. I faded from here during those months, certain you'd be able to forgive the brief absences once I could reason them.

The work-life balance will need continual adjustments, but with one heavy weight removed, it feels possible for the scale to even out.

Among wishes of a dedicated exercise routine and not leaving dishes in the sink to "soak," eating more greens often nears the top of my resolution list. With the color spot on, I believe that this matcha pudding also qualifies as a green. After delighting in the pairing of green tea and coconut in this iced latte, it was time to bring the flavors together again in another form. The pudding itself uses only a bowl and whisk, making it nearly effortless to bring together.

Go ahead, eat more "greens."

IMG_0373.jpg

Coconut Matcha Chia Pudding is simple to make and visually striking. The matcha pudding is thickened with chia seeds and topped with a coconut whipped cream mixed with shredded coconut. The sweet, creamy nature of the coconut contrasts well against the earthy flavor of the green tea. The pudding and whipped cream balance each other beautifullyone should not be served without the other.

Matcha is powdered green tea and can be found at most tea shops and health food stores.

One Year Ago: Chocolate Sugar Cookies and Coconut Almond Quinoa
Two Years Ago: Almond Date Banana Smoothie 
Three Years Ago: Chocolate (DF) Ice Cream, Peanut Butter Banana OatmealRaspberry White Chocolate Scones, and Lemon Poppy Seed Rolls
Four Years Ago: Candy Cane Popcorn, Chocolate Clementine CupcakesPeppermint Hot Chocolate, Green Tea Coconut Ice Cream, Chocolate Lavender Cupcakes, and Sugar Cookies
Five Years Ago: Gingerbread Cheesecake, Peppermint Ice Cream, Banana Muffins, Vanilla Pear MilkSalted Caramels, and Chocolate Salted Caramel Cookies

Coconut Matcha Chia Pudding

Yields four 1/2-cup servings

14.5 ounces (1 can or 428 mL) canned coconut milk
1 1/2 teaspoons matcha powder
1 teaspoon vanilla extract
1-2 tablespoons maple syrup (to taste)
1/4 cup (50 grams) chia seeds
1 recipe Coconut Whipped Cream
1/3 cup (30 grams) shredded coconut

In a food processor or blender, blend together the canned coconut milk, matcha powder, vanilla, and maple syrup. Transfer to a medium bowl and whisk in chia seeds. Cover and refrigerate for one hour. Then whisk the pudding once and return it to the refrigerator to set overnight.

 Before serving, stir shredded coconut into coconut whipped cream. Set aside.

Divide pudding evenly between serving containers. Top with a generous amount of whipped cream and serve.

Berry Topped Angel Food Cake

Berry Topped Angel Food Cake

Berry Topped Angel Food Cake

Two big moments quietly arrived last week—Pastry Affair's 4th birthday and my own 26th birthday. Pastry Affair's momentous occasion arrived with little to no fanfare, forgotten at first, and sheepishly remembered a few days later. It feels so natural for me to identify as a blogger now, to spend hours each week in the kitchen and behind the camera creating. The event just slipped my mind. I should be celebrating these moments with more of a flourish (they do come few and far between); next year I hope to remedy this problem.

Pastry Affair and I struggled this past year (how much this showed, I do not know). As a first year high school teacher, I often felt emotionally drained, devoid of free time, and guilty for not being able to balance blogging with a new career. I knew this space would grow quieter once school began, my recipes decreasing from three times a week, to two, to one. I didn't, however, realize that my feelings towards blogging would change. Instead of being my safe haven, my escape from the world, it felt more like work than it ever had before. I began to avoid this space.

Berry Topped Angel Food Cake Berry Topped Angel Food Cake

More than once this winter, I wanted to throw in the towel and say goodbye to this space—not indefinitely, but for awhile. I felt stuck, struggling with writer's block and a lack of inspiration. Despite these feelings, I pushed through to come out on the other side. My relationship with Pastry Affair is slowly on the mend. Baking and photography have stayed a constant love in my life; I am drawn back to it if I stay away for too long. With summer vacation starting next week (and more free time than I'll know what to do with), I imagine that our relationship will make strides. I am ready to love this space again.

Thank you for staying here, for your comments and emails, for your endless support. You are the ones who keep me coming back to this space, inspiring me to create new recipes, pushing me to grow as a photographer. Whether you realized it or not, this year I needed to feel your support the most and you certainly did not disappoint. Thank you, truly.

Berry Topped Angel Food Cake

Strawberry Topped Angel Food Cake has been my birthday cake of choice since I was very young. I remember looking through an old Taste of Home cookbook as a child, seeing a picture of this cake in the centerfold pictures. It may not be brightly colored or adorned in frosting, but its simplicity was perfect for me. My mother made it for my birthday then and nearly every year since. The combinations have varied slightly, drowned in chocolate syrup some years, and left plain for others, but the heart of the cake has never changed. To tell you that I adore this cake simply would not express the memories or joy behind it.

As a newly defined 26 year old, I made my own birthday cake this year. I had a quiet celebration with my boyfriend, feeling more like an adult than I have in years past. I have a career, I keep up financial spreadsheets, I have a greater understanding of who I am. Even so, I haven't left young adulthood completely behind. I still binge watch my favorite television shows, I eat popcorn for dinner more often than I should, and I rarely make my bed. Mid-twenties, I have found, are an interesting harmony between youth and adult, a harmony that deserves cake.

Berry Topped Angel Food Cake Berry Topped Angel Food Cake

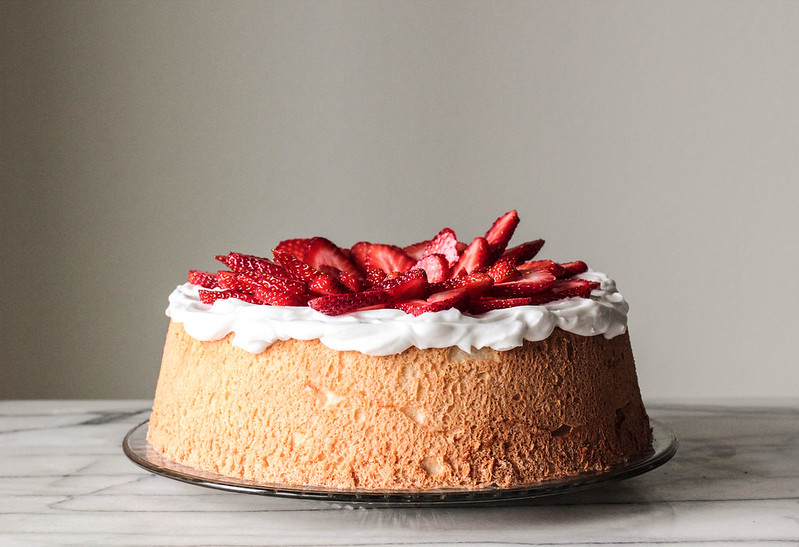
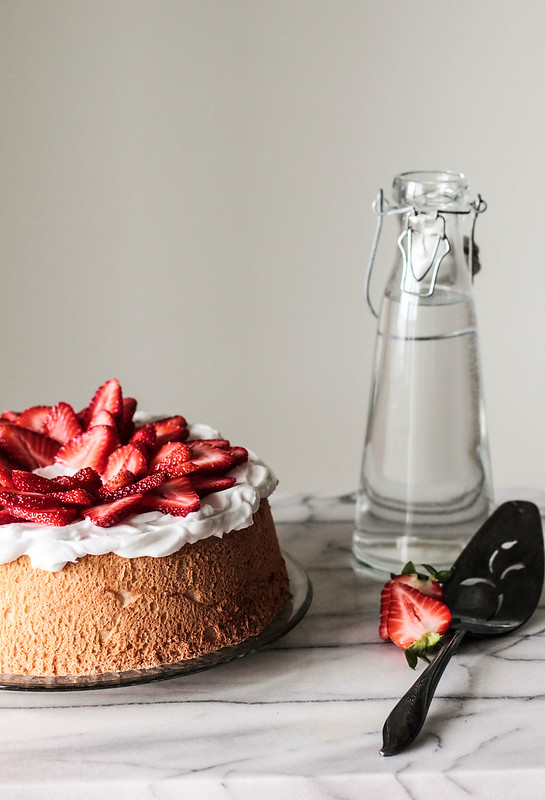
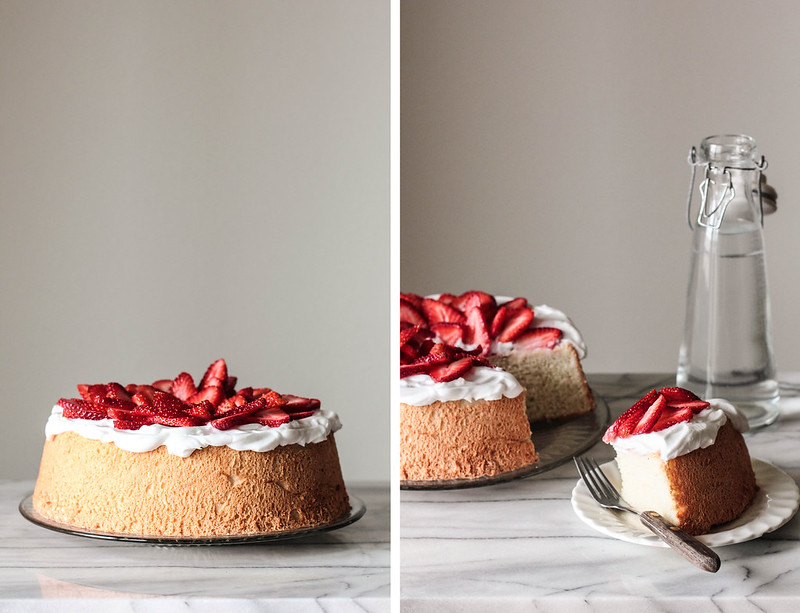
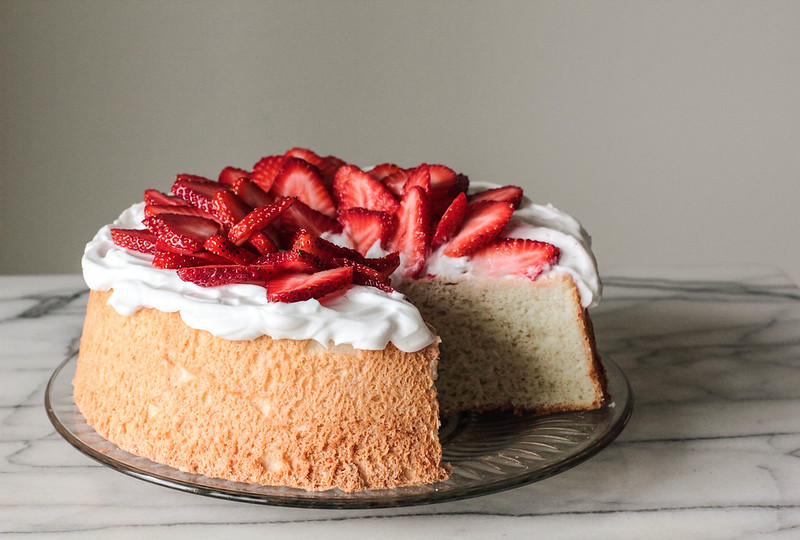
Berry Topped Angel Food Cake has been and will always be my ideal cake. The cake is feather light with an incredible sponge. With a spread of whipped cream and a topping of ripe strawberries, the cake is complete. While any berry would be appropriate, I prefer the cake with sweet strawberries. This cake is a keeper, no matter how old or young you may be. Serve it with extra berries, macerated in their own juices, for those like me who would prefer berries with every bite.

Read More