Chocolate Almond Cake

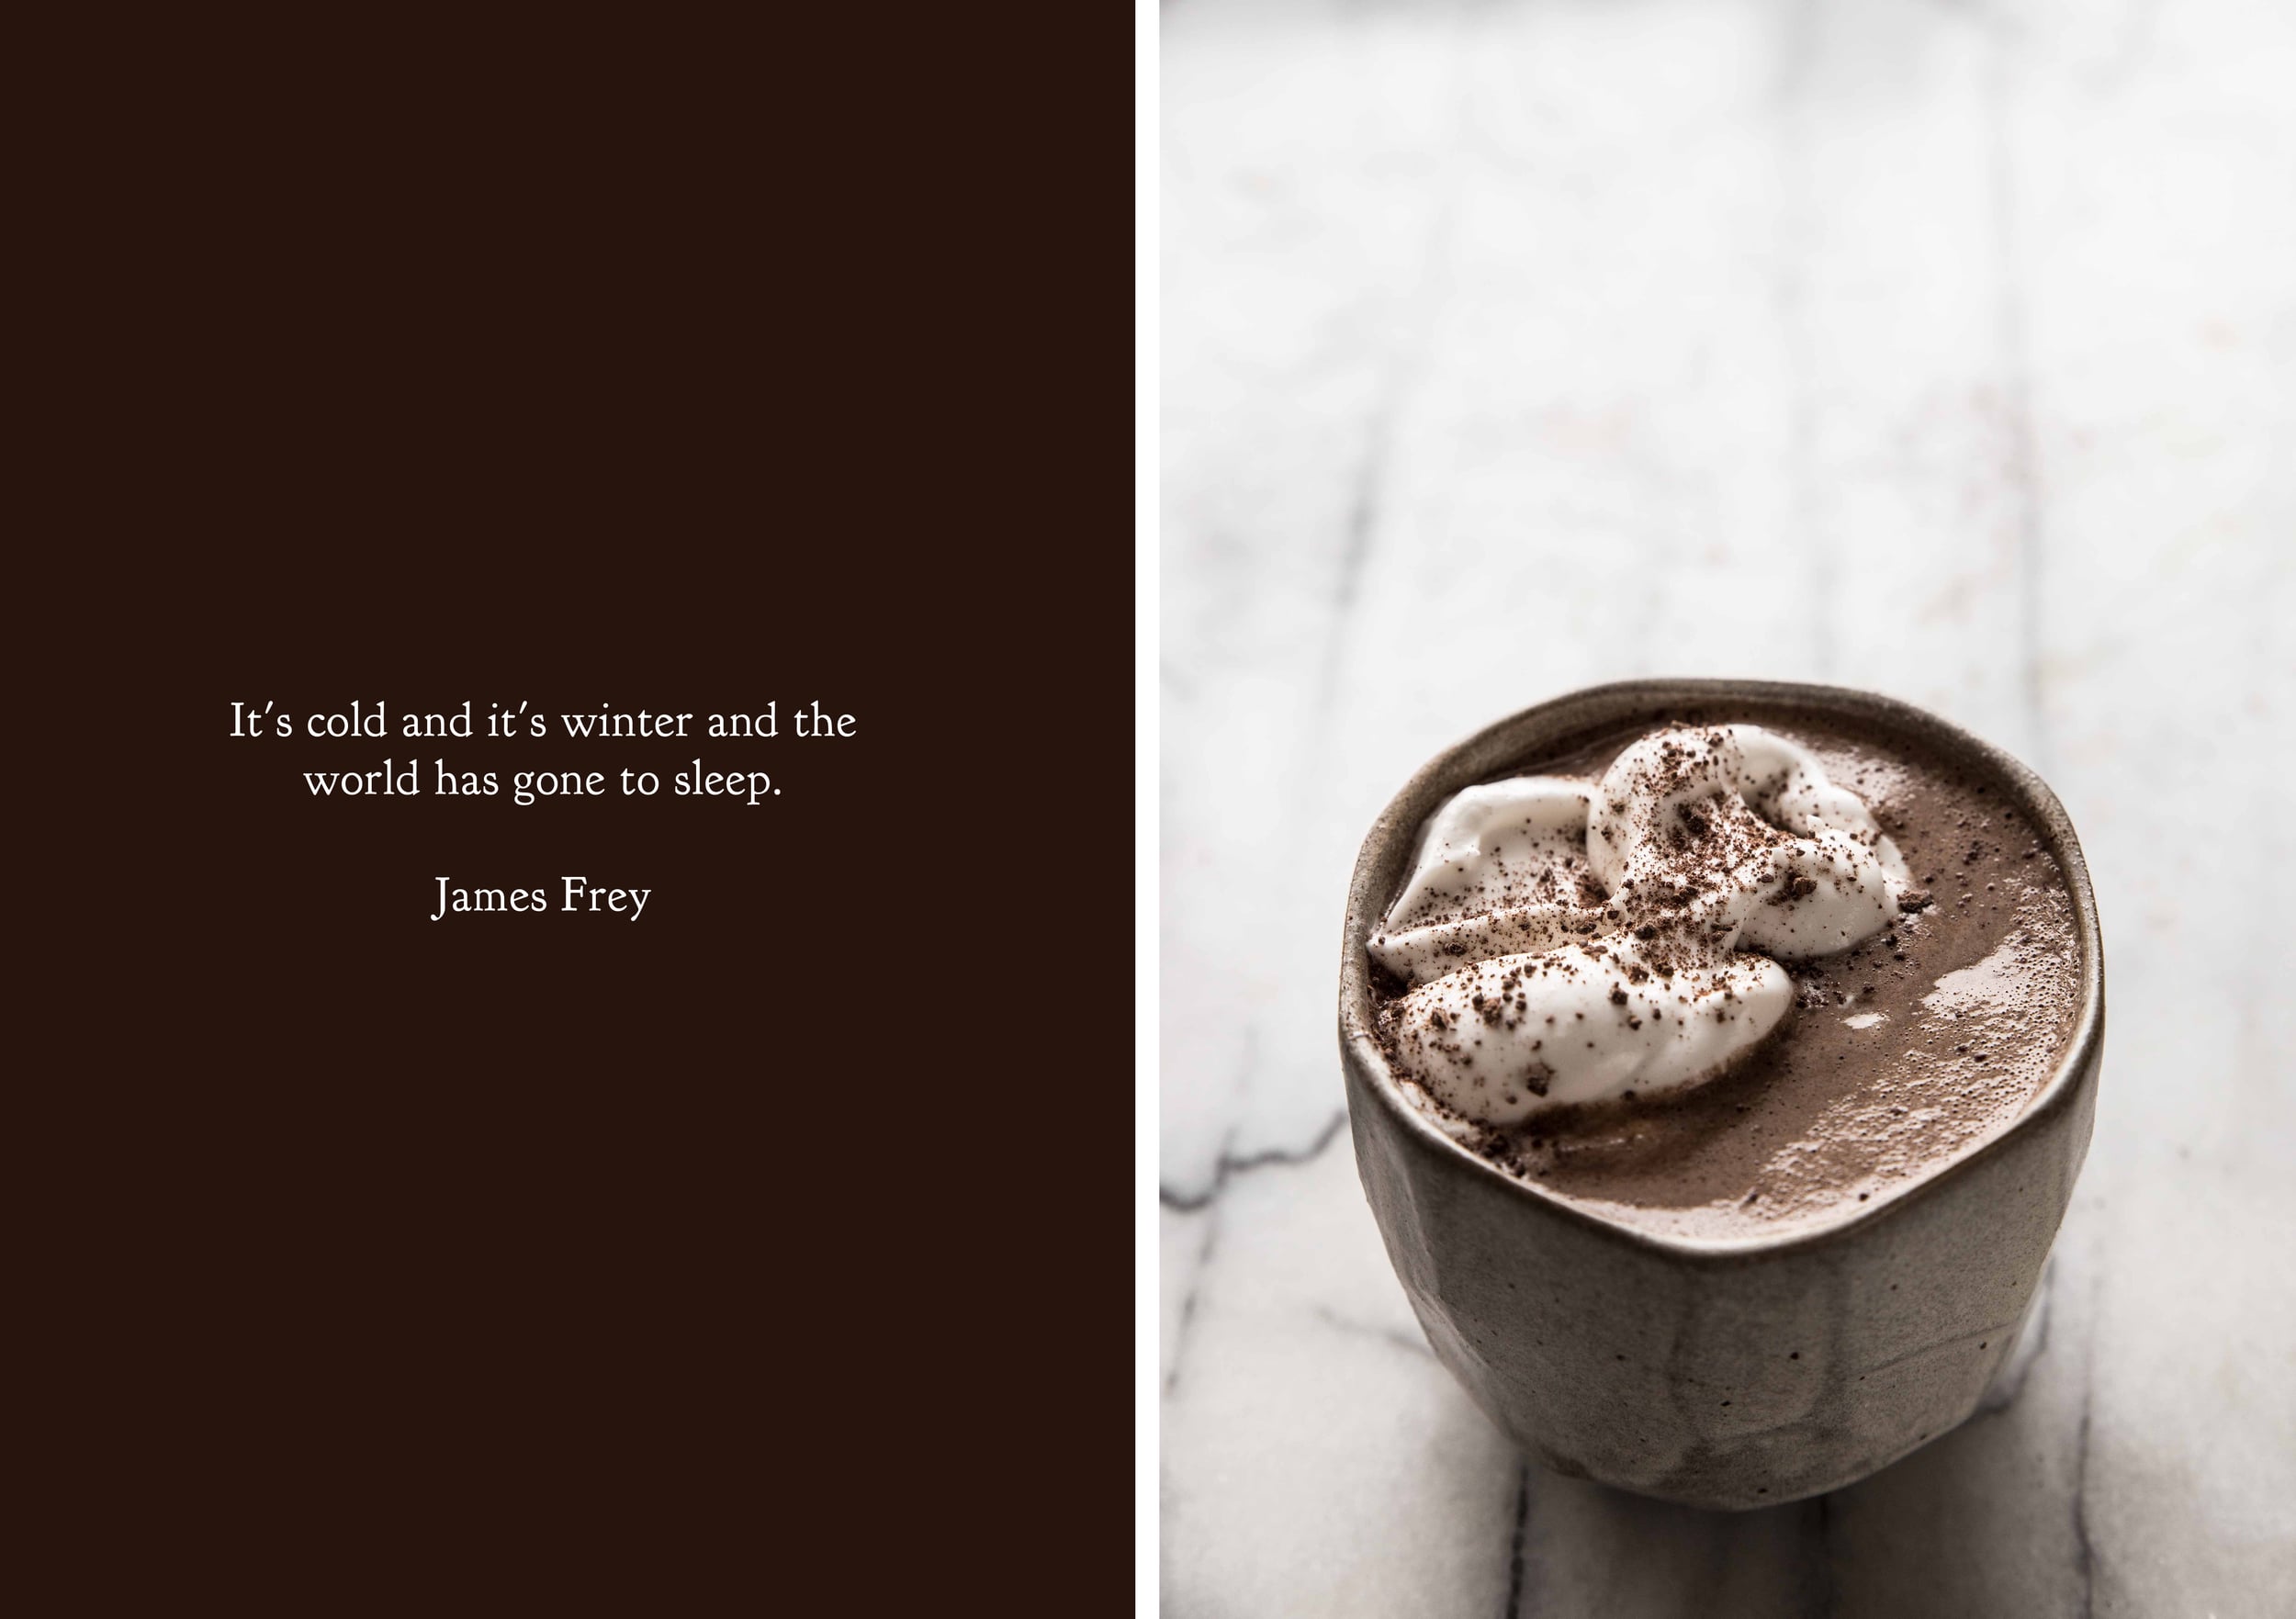
Time is the most precious commodity we possess. These words of advice have been somewhere in the back of my mind for awhile, but they didn't genuinely register until earlier this year. The way we spend our time is an expression of what we find truly important. Is the way I am spending my time a reflection of who I want to be?  

In school this week, the students were tasked with filling in a pie chart of their daily routine, marking how much of their time is spent on various activities. How much time do you spend on your phone? In front of the television? On sports or hobbies? After filling in the charts, they were given a second pie chart. What do you wish it looked like?

Even though the lesson wasn't meant for me, the changes have been on my mind since. I would call my parents more, just to talk about the mundane details of day-to-day life. I would take a few minutes each day to clean up after myself. I would give each of my students my undivided attention. I would spend less time sitting on the couch.

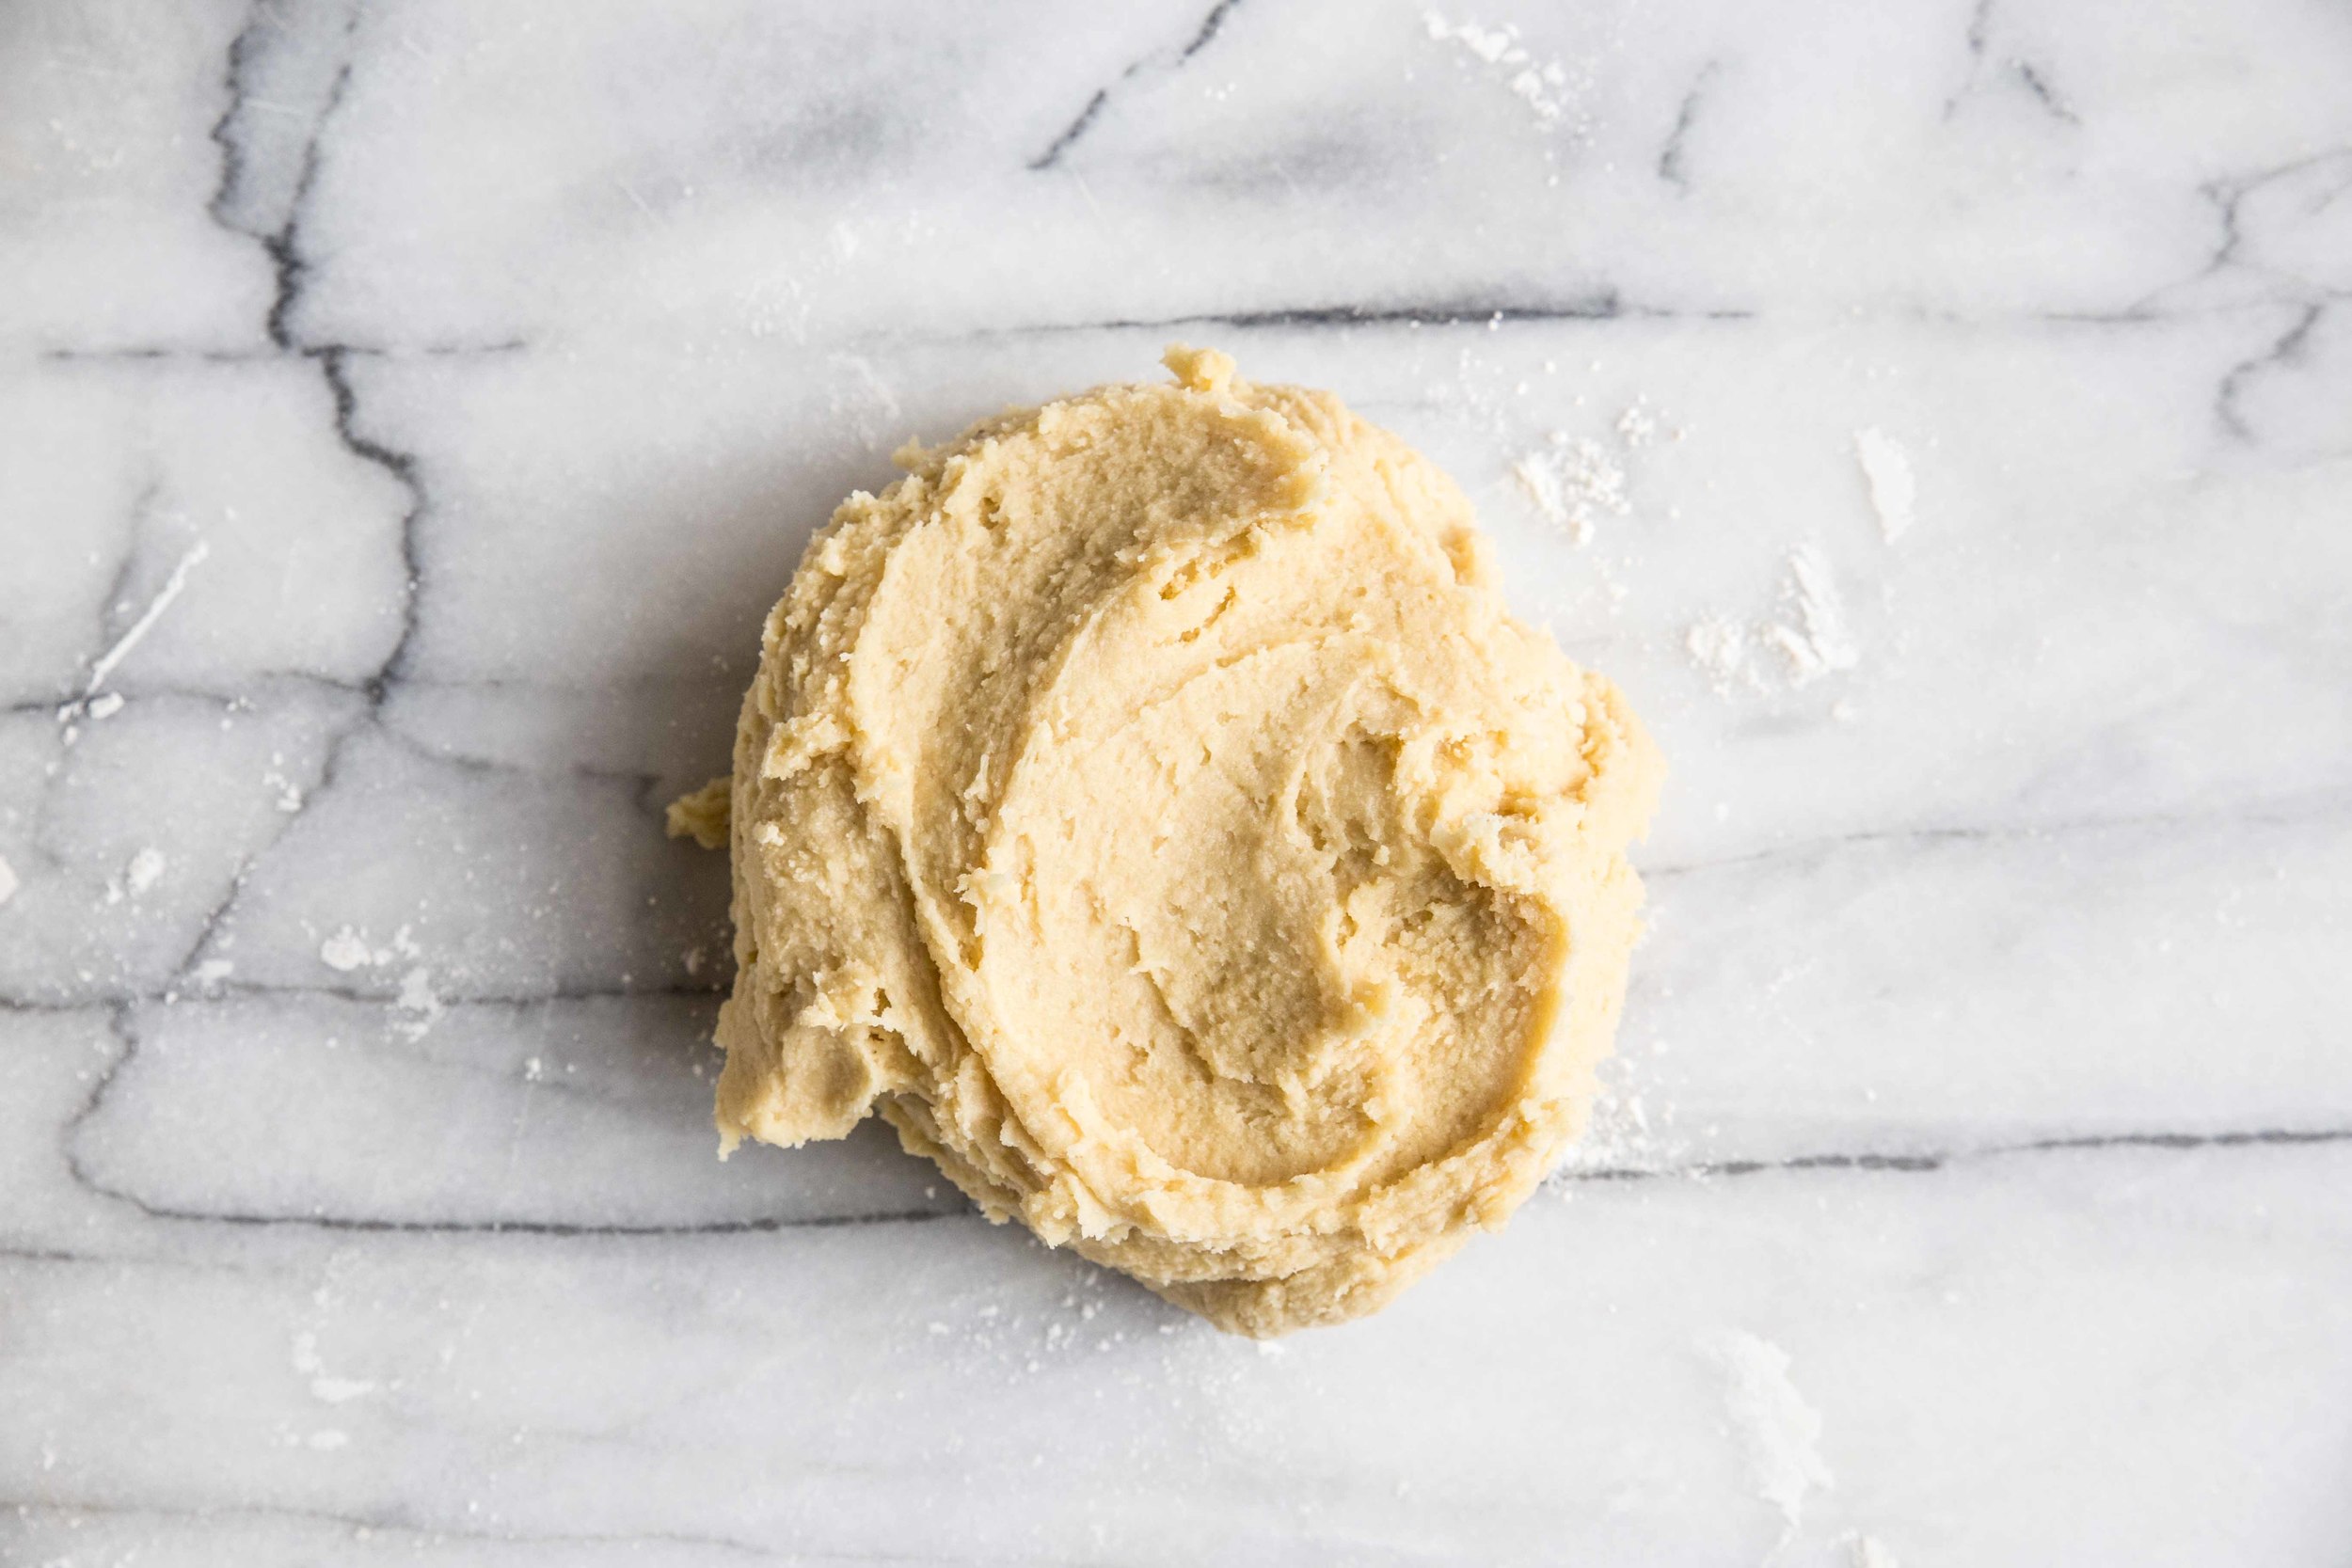
I would spend more time in the kitchen, enjoying the feeling of dough beneath my fingers. 

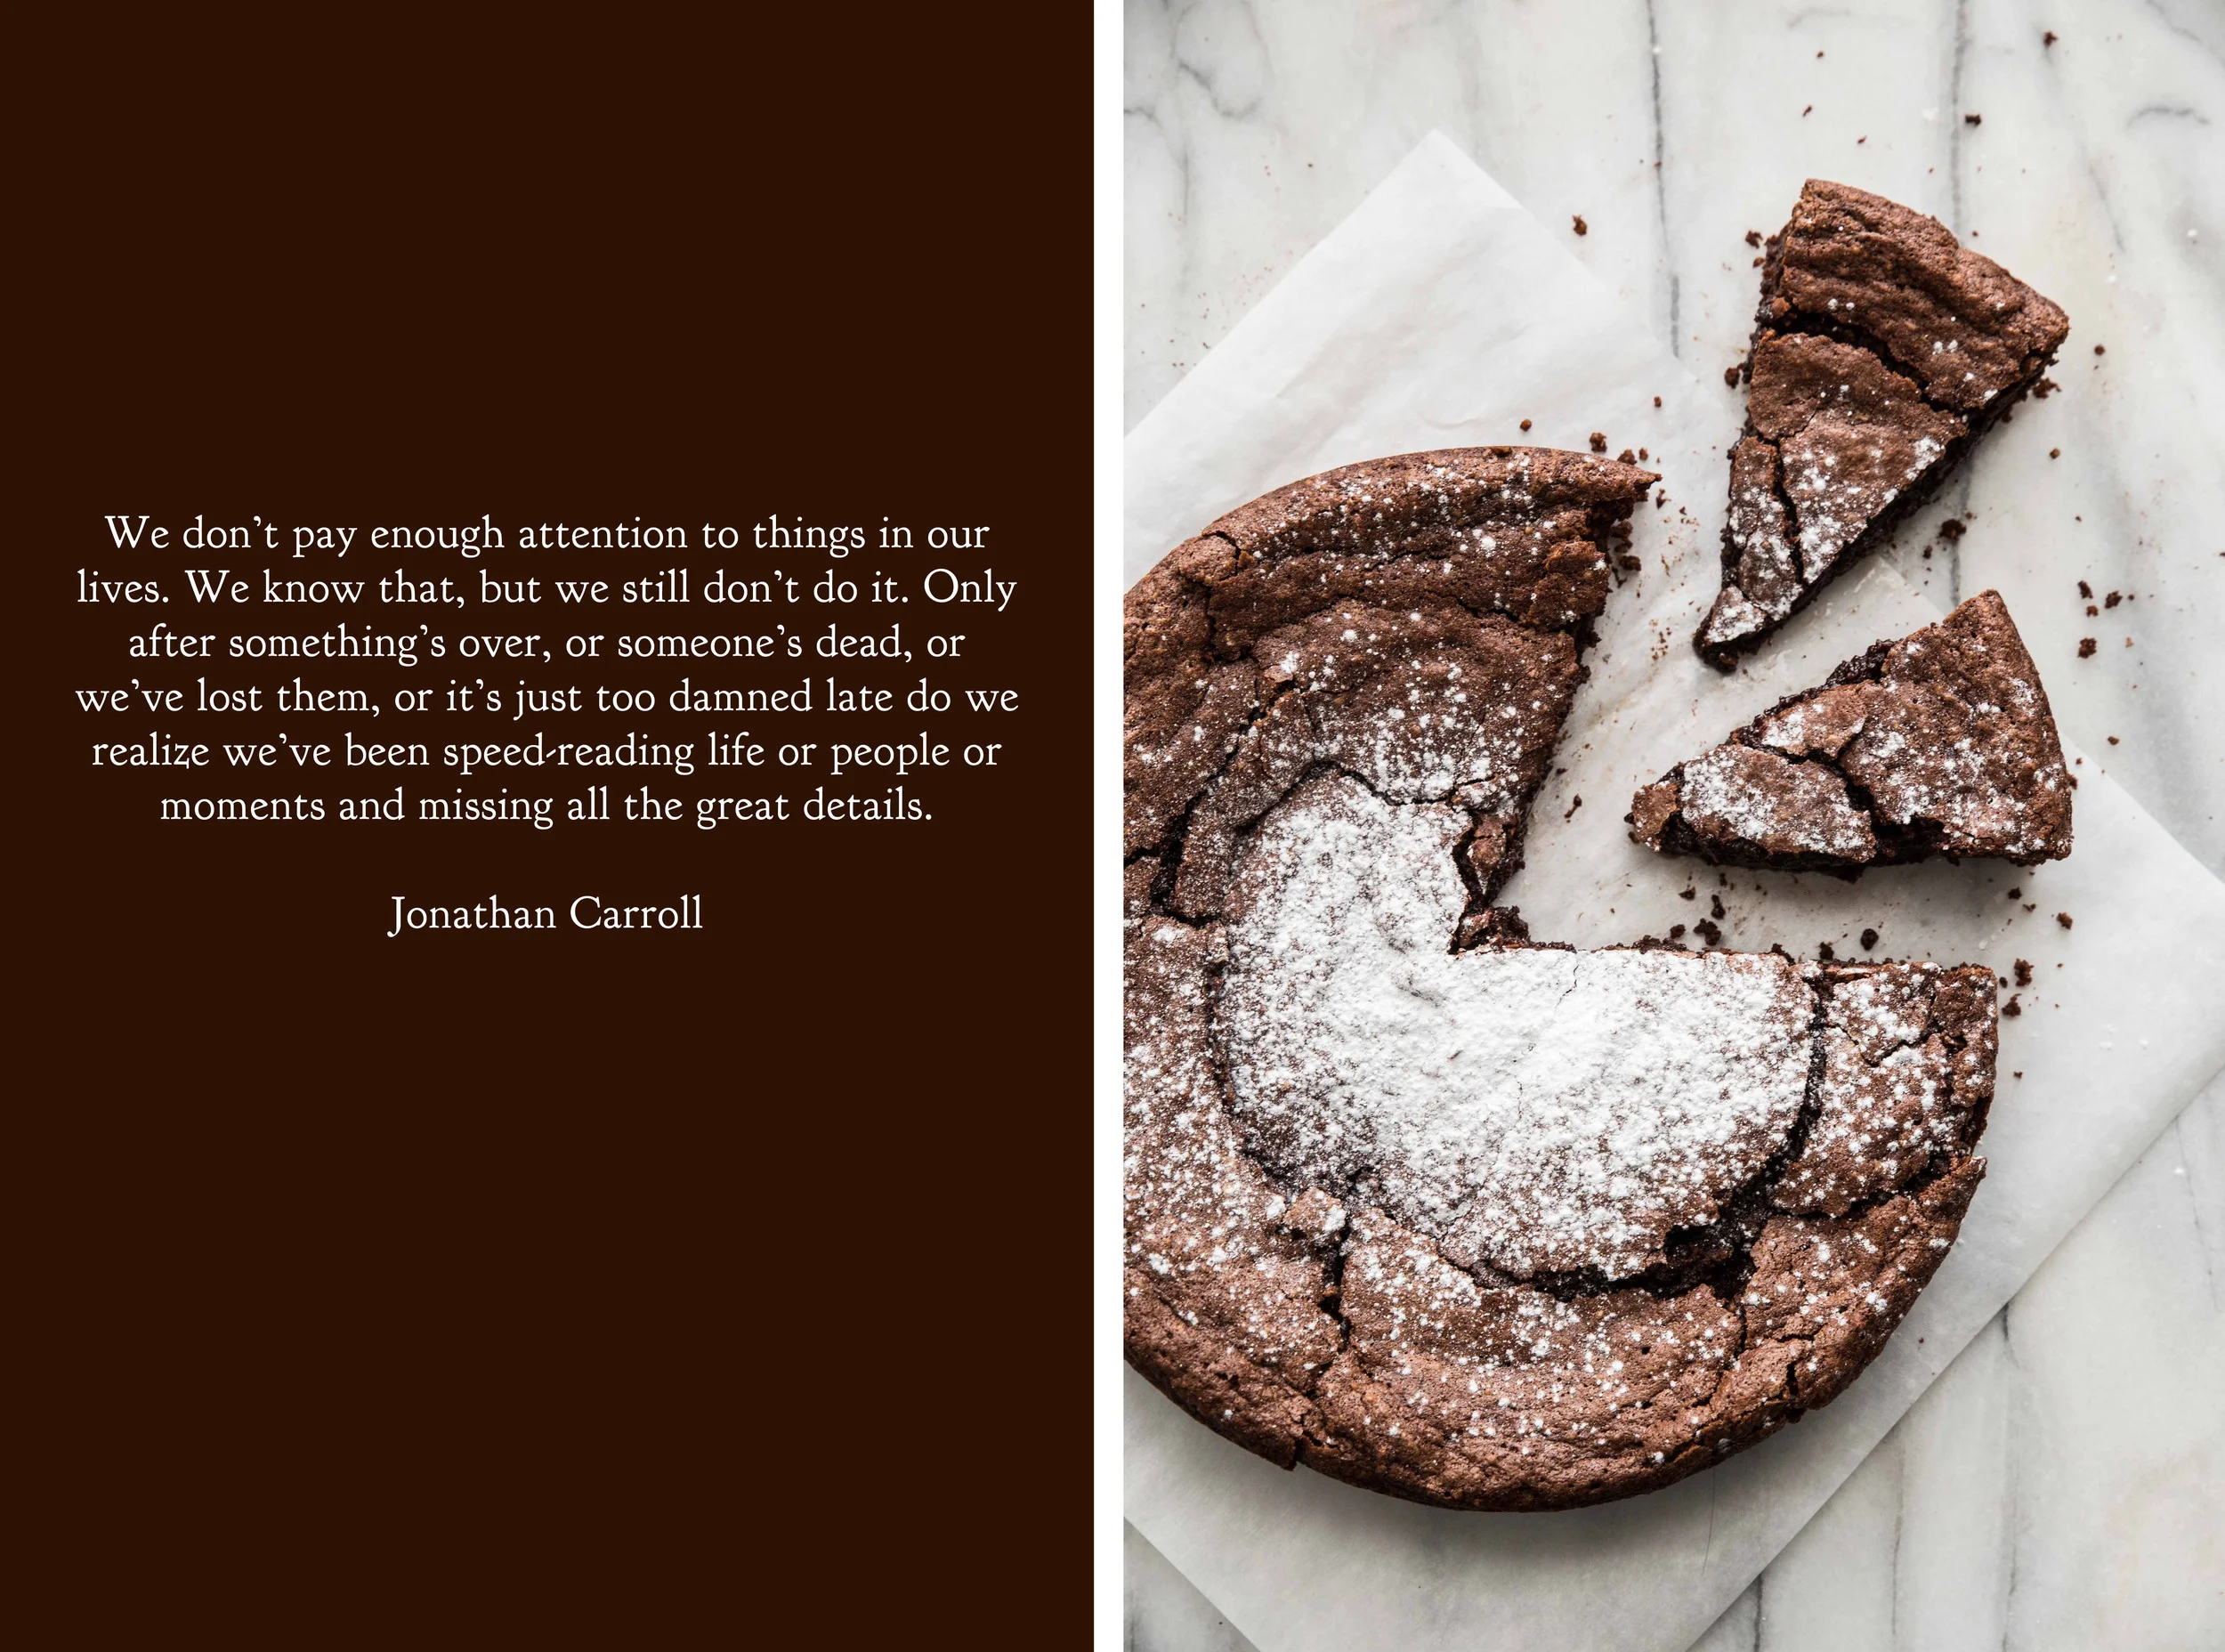
This chocolate almond cake was the result of a chocolate craving that couldn't be curbed. With a deep chocolate flavor, it is well suited for the chocolate lover in your life. I prefer to heat each slice for 15 seconds in the microwave before serving. When heated, the warm cake takes on a gooey texture reminiscent of fudge brownies and cookies fresh from the oven.

As a bonus, the cake is naturally gluten-free.

IMG_0855.jpg

This gluten-free Chocolate Almond Cake relies on almond flour to hold it together and give the cake texture. Dark, semi-sweet, or milk chocolate acts as a base for the cakefollow your preference here. Several eggs are used, which help to set it up similar to a thick custard. Serve for the chocolate lover in your life (especially if that person happens to be you).

Two Years Ago: Honey Oat Bread and Banana Cacao Nib Buckwheat Muffins
Three Years Ago: Bruleed Grapefruit and Bacon Chive Beer Bread
Four Years Ago: Cheddar Dill Biscuits, S'mores Brownies, and BBQ Bacon Water Chestnuts
Five Years Ago: Chocolate Frosted Yellow Cake and Vanilla Rum French Toast

Chocolate Almond Cake

Yield 9-inch cake

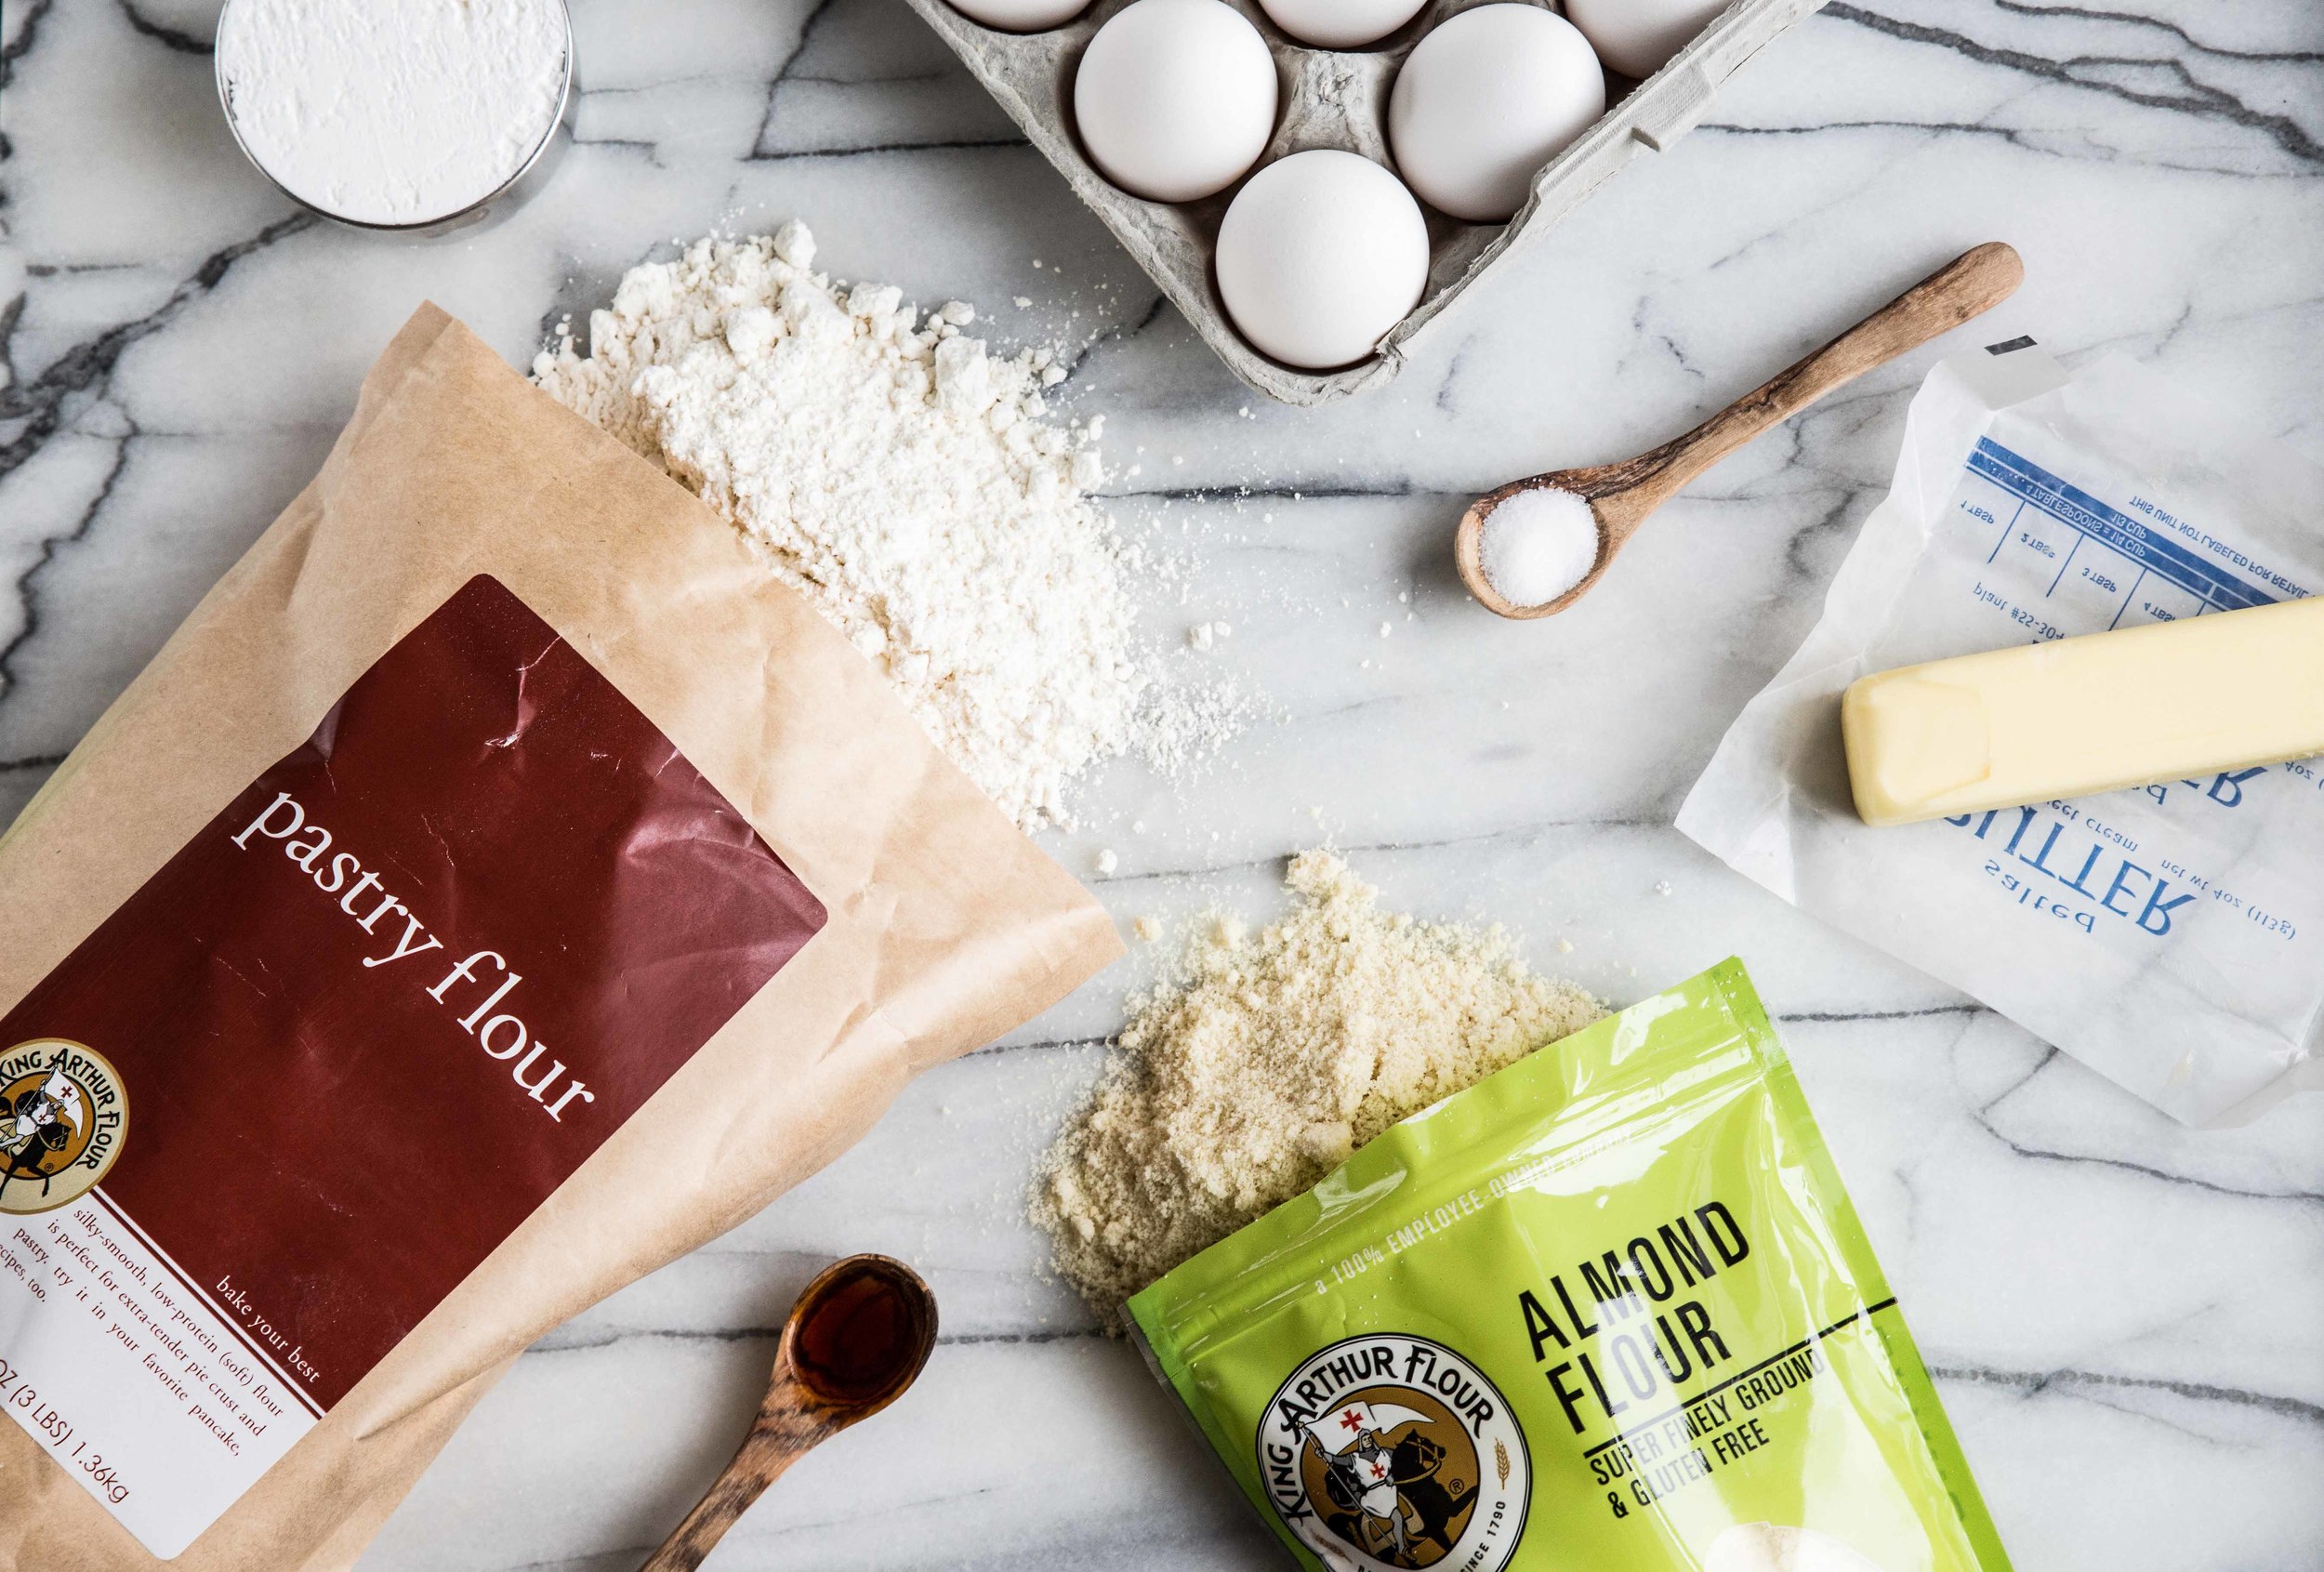
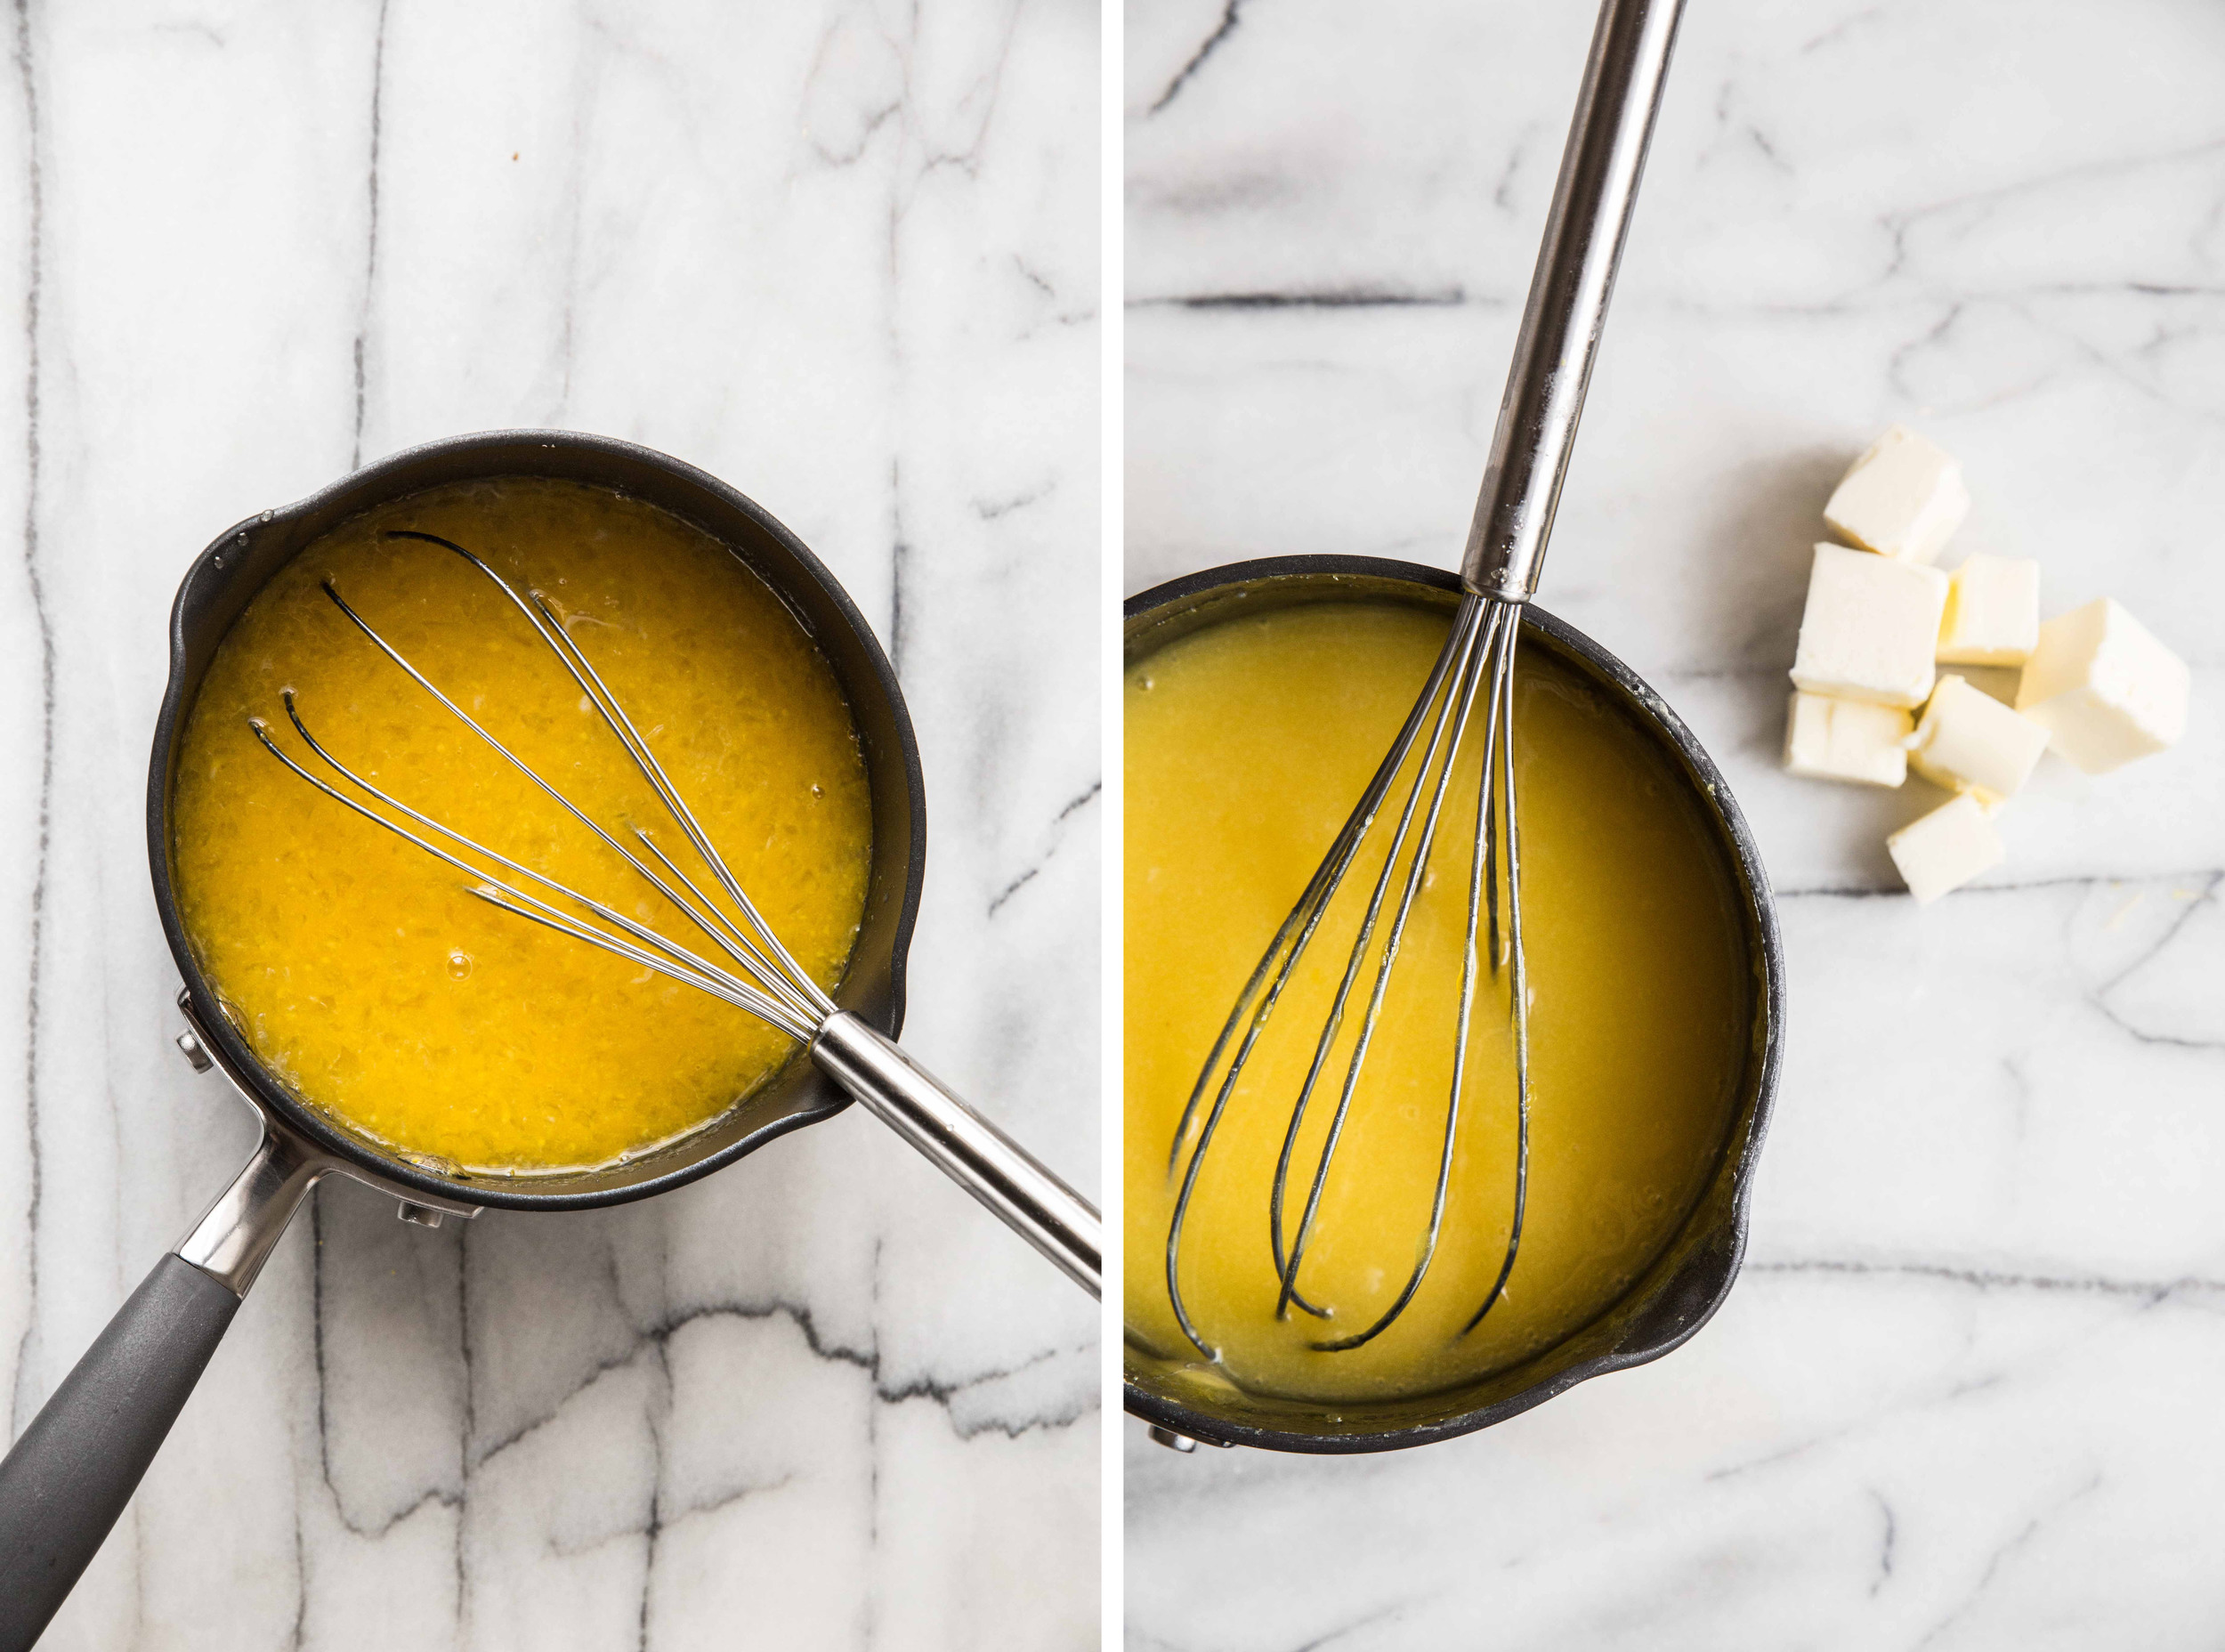
8 tablespoons (113 grams) butter, melted
9 ounces (250 grams) dark. semisweet, or milk chocolate, melted
4 large eggs, separated
1 teaspoon vanilla extract
1 tablespoon espresso powder
1/2 teaspoon salt
3/4 cup (150 grams) granulated sugar
1 1/2 cups (200 grams) almond flour
1/2 teaspoon baking powder
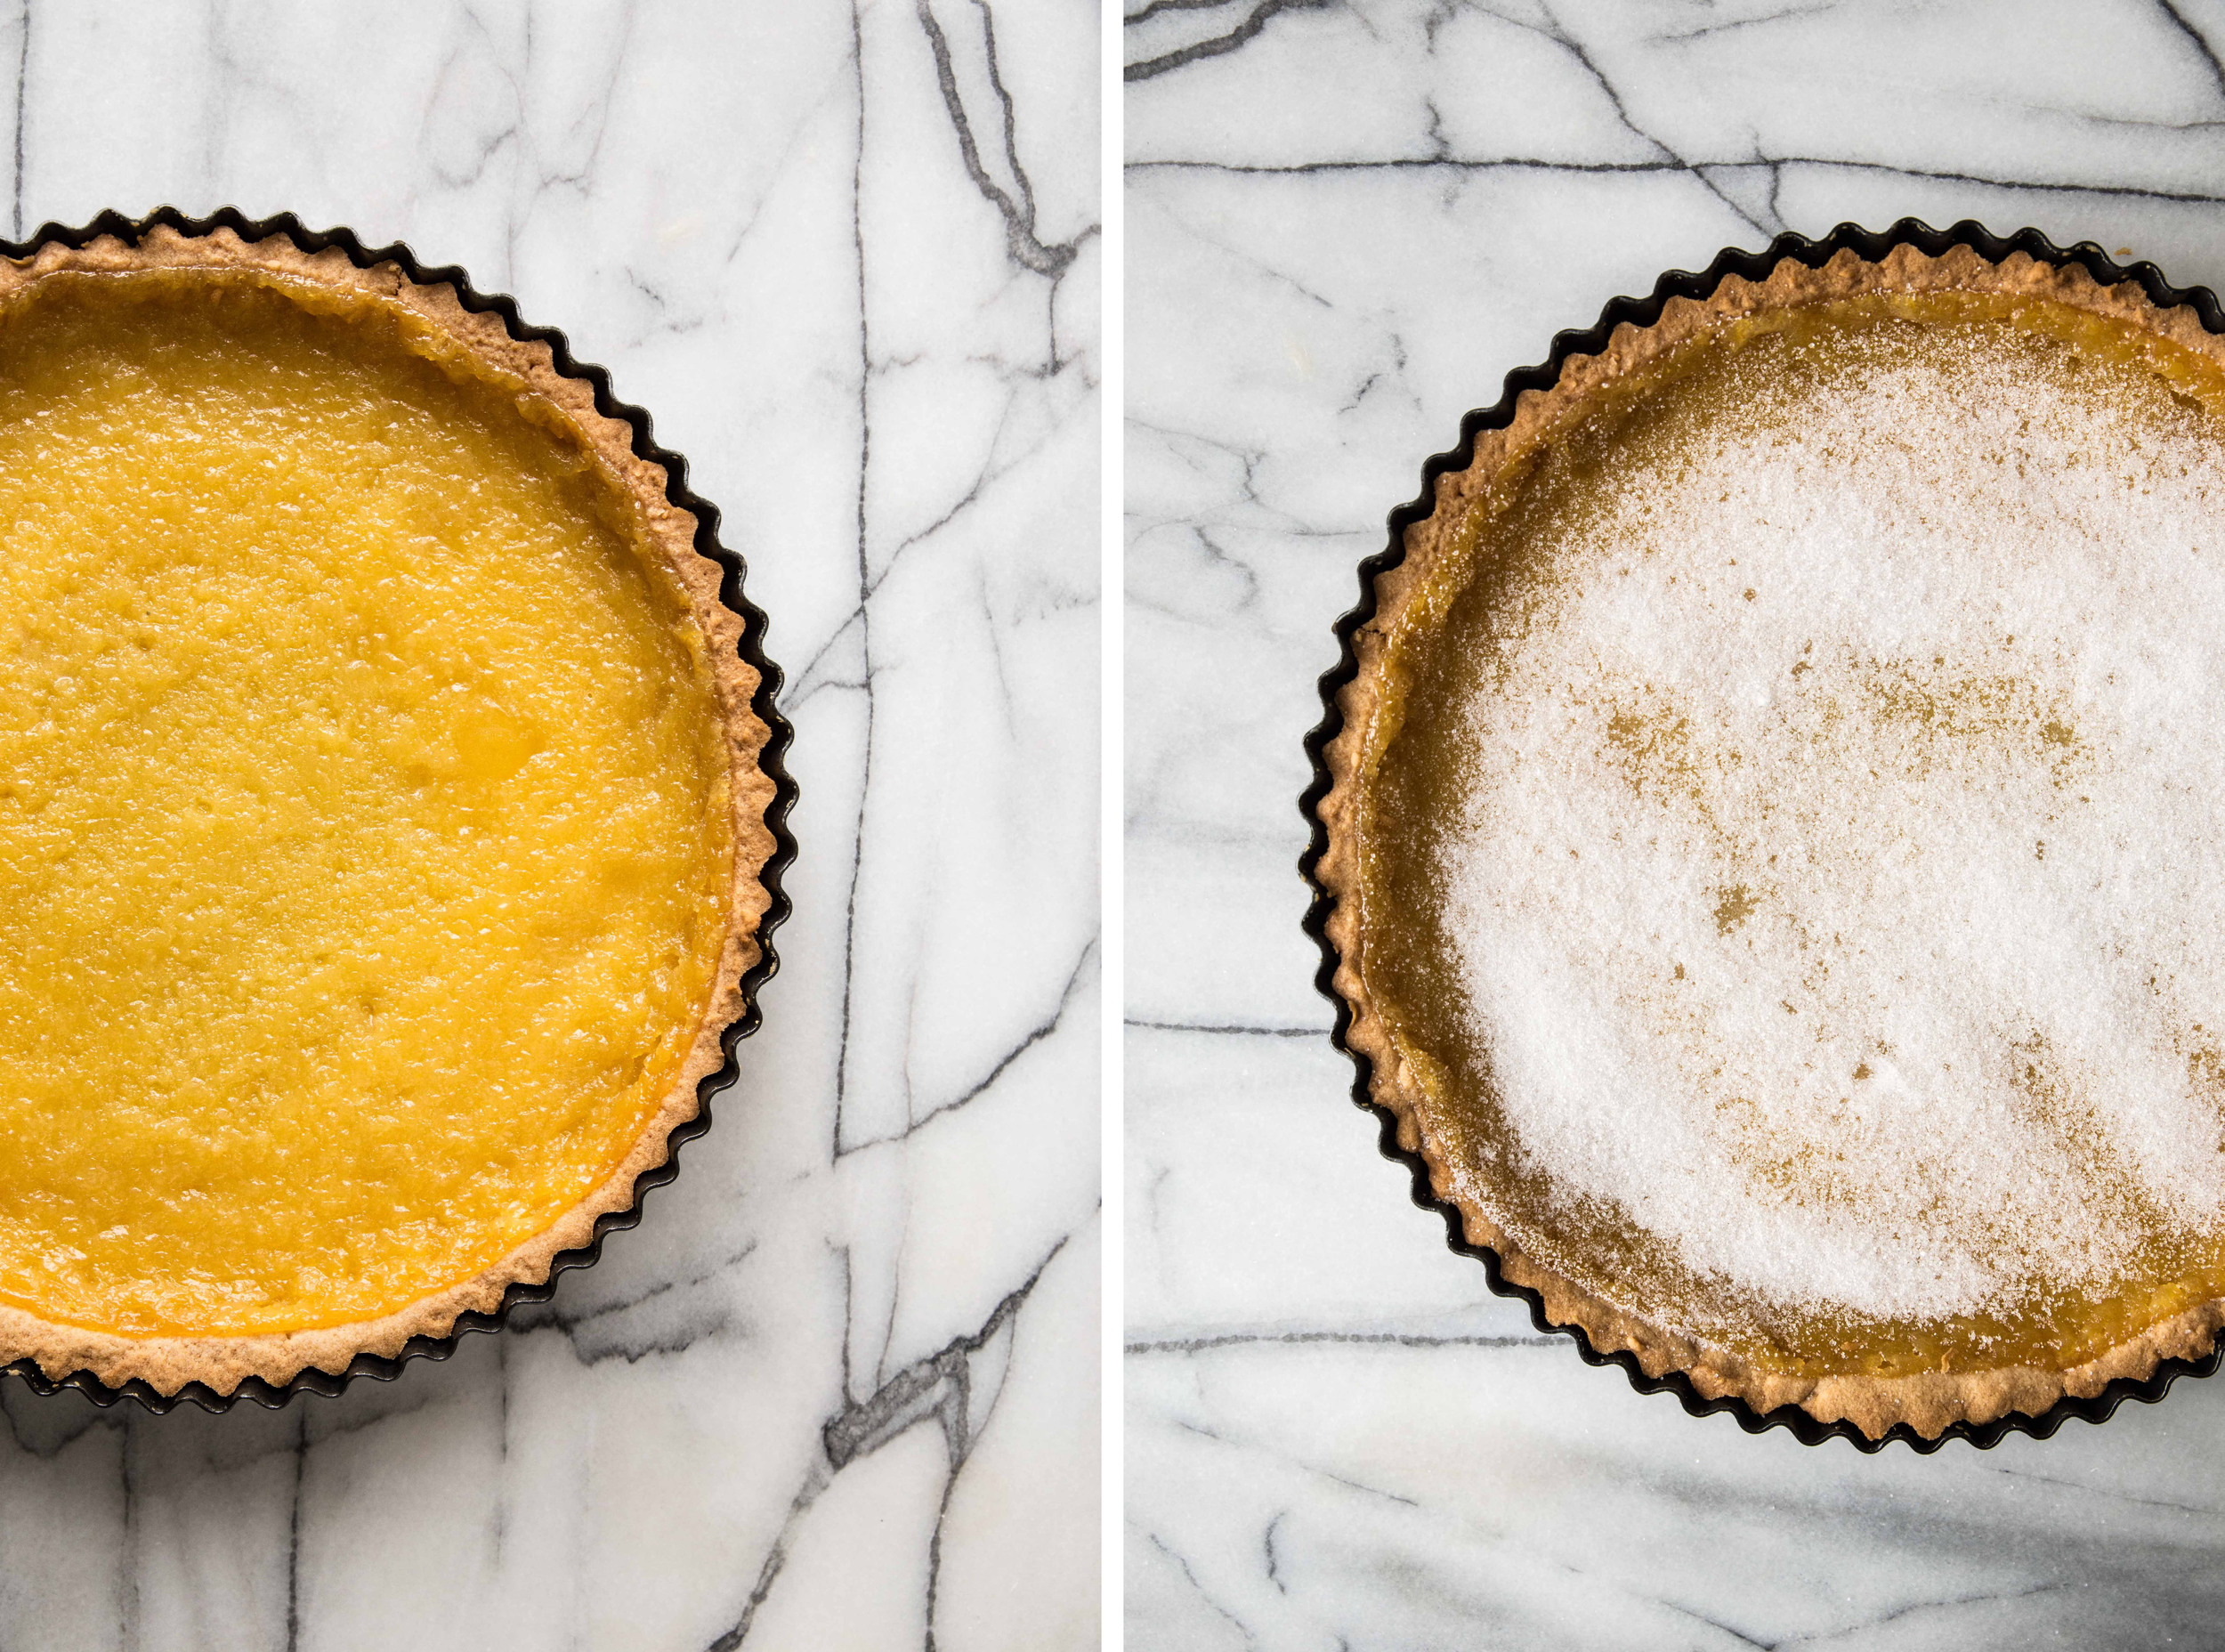
Powdered sugar, for sprinkling (optional)

Preheat oven to 350 degrees F (180 degrees C). Grease a 9-inch cake pan and set aside.

In a medium bowl, whisk together the melted butter, melted chocolate, 4 egg yolks, espresso powder, vanilla, and salt until uniform. Set aside.

In a large mixing bowl, beat the egg whites until frothy. Gradually add the sugar, and continue beating until the egg whites form stiff peaks, about 8-10 minutes. Fold in the almond flour and baking powder. Carefully stir in the chocolate mixture,  

Transfer batter to the prepared pan and bake for 25-30 minutes, or until the middle of the cake barely wiggles. Take care not to over-bake the cake or it will be dry.

Before serving, sprinkle with powdered sugar. I prefer to heat each slice in the microwave for 15 seconds until the cake is warm and gooey. You'll want to do this too.

Brûléed Lemon Tart

The cold weather that winter brings provides the perfect reason to turn on the oven. Warming the home with the scent of butter and sugar lifts spirits, countering the doldrums that can follow when we hibernate indoors. In winter, I turn to pastries with bright and bold flavors to counter the rich comfort food. With citrus fruit in peak season during the winter months, lemons are next pick on my menu.

In partnership with King Arthur Flour, each month I want to challenge you with a new recipe, filled with step-by-step explanations and techniques, to help you grow and develop as a baker. This month we're taking on a brûléed lemon tart.  Lemon tarts, or tarte au citron, are a classic French dessert, combining a tart lemon filling with a buttery crust. This version of a lemon tart blends the French classic with a burnt sugar top to add a new textural dimension.  

The tart dough combines a mixture of pastry and almond flour. Pastry flour naturally creates tender baked goods. Pastry flour has less protein than all-purpose flour, which means that less gluten forms in the dough. Almond flour is also added to the dough; the subtle nutty flavor complements the bright citrus fruit, and adds to the crust’s delightful texture. To counteract the lower amount of gluten in the flours, an egg is added as a binder. With powdered sugar for sweetness and butter for tenderness, the tart dough comes together in a similar fashion to cookie dough.

By using these nontraditional flours, the baked crust takes on a crumbly, melt-in-your-mouth quality that matches the silkiness of the lemon filling.

The tart dough will have a texture similar to cookie dough when prepared. Because the dough is too soft to roll out into a sheet, it is directly pressed into the tart pan with the heel of your hand. I find it easiest to tear the dough into pieces and spread them out evenly on the bottom of the pan. This technique makes it relatively simple to press the dough into a uniform thickness. I also reserve a small amount of dough to fill in thin spots after pressing, especially along the sides of the pan where it tends to be an irregular thickness.

The dough is then poked with a fork along the bottom of the pan to release air when it is baked. This prevents the dough from rising, helping keep its original shape.

Before baking, the tart dough is chilled in the refrigerator for 30-60 minutes. By chilling the dough, it allows the gluten in the dough to relax, which minimizes shrinking during the baking process. Chilling also hardens the butter, will contribute to the crust's flaky texture when baking. Overall, chilling the dough is a win-win situation when it comes to pastry.

The lemon filling is made in a similar fashion to lemon curd. To start, lemon zest is rubbed into granulated sugar with your fingers, releasing the oils in the peel to create additional flavor. Freshly squeezed lemon juice is mixed in with a few eggs, which are used to thicken the filling. The picture on the left shows the filling before heating.

While heating, the filling should be whisked constantly to prevent the eggs from curdling. After 8-10 minutes, the eggs will have thickened the mixture enough so that the whisk will leave tracks in the filling. This is when you will know it is done. I prefer to run the filling through a fine mesh strainer to remove the zest and remaining solids to give the filling a silky smooth finish. This is shown in the picture on the right.

Butter is added one cube at a time to the filling to lend a rich creaminess. Each cube of butter should be fully melted and incorporated into the filling before adding another. This slow process of adding the fat in the butter to the water in the filling creates an emulsion, making the filling stable.

The tart crust is baked separately before adding the filling. This prevents a soggy tart crust and produces a crust that is tender and buttery instead. Then the filling is added and finishes baking until set. The tart is left to cool to room temperature for several hours to set up the filling. For the perfect slices with clean edges, I suggest covering the tart after it has cooled and allowing it to sit overnight at room temperature.

Just before serving, sprinkle the top with a generous amount of granulated sugar and use a torch to melt it into a crisp topping. While a kitchen torch will do, I like to bring out the full-sized blowtorch for this job (I was gifted one for Christmas several years ago, and love finding excuses to use it). To prevent the sugar from burning, start by holding the torch a good distance away from the tart, slowing moving closer, until you find the right height to caramelize, but not burn the sugar. Also keep the torch away from the edge of the tart crust; it will burn if you are not careful.

If serving a few pieces instead of the entire tart, just sugar and torch those individual slices. The sugar topping will not stay crisp once stored.

Brûléed Lemon Tart is a bright, citrus dessert to add color and flavor to these cold winter days. A tender crust holds in a creamy lemon filling, which balances the tart lemon with the sweetness of sugar. The tart is burnt using a torch to add a crisp, textured topping. Serve the whole tart at once for family and friends, or individual slices one at a time for you and the ones you love.

One Year Ago: Pear Vanilla Sorbet
Two Years Ago: Pear Chocolate Scones
Three Years Ago: Chocolate Chunk Ginger Cookies and Vanilla Bean Marshmallows
Four Years Ago: Dark Chocolate Oatmeal
Five Years Ago: Zuppa Toscano and Quick Chocolate Cake

Bruleed Lemon Tart

Yield 8-12 servings

Tart Dough
8 tablespoons (113 grams) unsalted butter, room temperature
1/2 cup (60 grams) powdered sugar
1 large egg
1 teaspoon vanilla
1/2 teaspoon salt
2 cups (225 grams)
King Arthur Pastry Flour
1/2 cup (50 grams) King Arthur Almond Flour

Lemon Filling
Zest of 3 lemons
1 1/4 cups (250 grams) granulated sugar, divided
1/2 cup (120 mL) fresh lemon juice
3 large eggs
6 tablespoons (85 grams) unsalted butter, cubed

In a large mixing bowl, beat together the butter and powdered sugar until light. Add the egg, vanilla, and salt and continue mixing until uniform, scraping down the sides as needed. Add the flours, mixing until the dough comes together and begins to gather in the bowl.

Press dough into an 10-inch ungreased tart pan evenly on the bottom and sides. Poke a fork into the bottom to release air while baking. Refrigerate for 30 minutes to 1 hour.

To make the lemon filling, combine the lemon zest and 1 cup sugar in a saucepan. Mix together with your fingers until fragrant. Whisk in the lemon juice and eggs.

Cook the mixture over medium to medium-high heat, whisking constantly, until it thickens (you should be able to make tracks in the mixture with your whisk). This will take about 8-10 minutes. Use a fine mesh strainer to remove the zest. Add the butter, one cube at a time, whisking until it is fully incorporated before adding another. Set aside.

Preheat oven to 350 degrees F (180 degrees C).

Bake chilled tart dough for 15-20 minutes, or until dry in appearance and touch. Add lemon filling and continue baking for 25-30 minutes, or until filling has set. Cool to room temperature.

Just before serving, sprinkle the remaining 1/4 cup sugar over the tart.* Using a torch, melt the sugar and form a crisp top. Serve immediately.

*If serving a few pieces instead of the entire tart, only sprinkle and torch the pieces going to be served. The sugar topping will not stay crisp once stored.

This post is sponsored through a partnership with King Arthur Flour. All thoughts and opinions are my own.


Cacao Hot Chocolate

Like so many of us do, I hibernate when the weather grows cold. I find reasons to stay inside, snuggled underneath heavy blankets, bathed in the soft glow of the television. This time of year is quiet; a waiting period between seasons. Comfort  is found in simple things—baking cookies to warm the apartment, and reading a good book before bed.

Isolated in our homes, we keep warm, dormant and sedate, until the white of winter fades.

My sister brought me back a package of cacao powder when she was in the Dominican Republic. After being served an incredible hot chocolate brewed from it, she knew I would find my own uses for it. I originally discovered  cacao several years ago while looking for dairy-free chocolate alternatives. Cacao is a raw, less processed form of chocolate; it is the ingredient from which chocolate and cocoa powder originate. Cacao is perhaps known most famously as the drink of the Aztecs. While the Aztec drink was medicinal in nature—bitter, and tremendously spicy —the version I have concocted for you is much more tame.

Brewed into almond milk, spiced with cinnamon, and sweetened with maple syrup, the cacao transforms into a dark chocolate drink that suits these cold winter evenings.

IMG_0787.jpg
IMG_0763.jpg

Cacao Hot Chocolate is a variation on the traditional hot chocolate. Cacao powder is brewed in warm milk and blended until uniform. With additions of cinnamon and maple syrup, the bitterness of the cacao fades and is replaced by a deep, dark chocolate flavor. Serve with whipped cream or marshmallows when the snow flies.

Cacao powder can be found in most health food stores and online.

One Year Ago: Cranberry Orange Muffins
Two Years Ago: Double Chocolate Brownies
Three Years Ago: Rosemary Sandwich Bread and Cranberry Flaxseed Muffins
Four Years Ago: Cinnamon Sugar Cake, Vanilla Bean Pudding, and Soft & Chewy Chocolate Chip Cookies
Five Years Ago: Chocolate Marbled Banana Bread, Cherry Chocolate Oat Cookies, and Cranberry Wine Spritzer

Cacao Hot Chocolate

Yields 2 servings

2 cups (475 mL) almond milk (or milk of choice)
2 tablespoons cacao powder
1/2 teaspoon ground cinnamon
2 teaspoons maple syrup
Coconut Whipped Cream (optional)

In a saucepan, whisk together all ingredients and heat over medium-high heat until hot, but not boiling. Remove from heat and transfer to a blender. Carefully blend for several seconds until uniform. Pour through a fine mesh strainer to remove any remaining solids.

Divide evenly between two mugs and top with coconut whipped cream.