Roasted Banana Muffins

I am a creature of routine, embracing my daily schedules as if they were written in stone. Routine builds structure in my life, surrounding me in the familiar. Routine provides a way to form good habits and to keep them. Routine eases the burden of making decisions, something I find paralyzing on the most difficult of days. While I love (and need) routine, the schedule has grown stifling in the last year. My weekdays blur together in a stream of repetitiveness—I eat the same breakfast each morning; I settle in front of the television at the same time each evening; I fill my fridge with the same foods week after week. Lather, rinse, repeat.

In the past year, I have been working towards building spontaneity into the routine (the irony in this arrangement is certainly not lost on me. By definition, spontaneity fits in no schedule). My routine is filled with so many self-imposed rules (no going out on school nights, no eating past 8 pm, no staying up late on the weekend) that I feel like I'm smothering myself with monotony. I know the rules are there to benefit me, but some days I wonder how I've written myself to a single script. On a given day, the players may be interchanged, the infections of voice may be different, but the words fail to change. 

It's the spirit behind spontaneity that interests me, the freedom to break from routine and do something unanticipated. Last year I separated from routine only a handful of times. Once, while signing up for a six week woodworking course (of which I have two handsome Adirondack chairs to show for my efforts), and another when booking last minute plane tickets to Montana. It was exhilarating to "break the rules," to allow myself the power to leave the familiar, if only for a few hours at a time.

With a new year upon us, I am trying to set myself up for a year where routines have more room to bend without fear of breaking. I signed up for a month long community education pottery class to bring me joy (even if I am terrible when it comes to clay), I attend yoga class twice a week to clear my head, and I have plans to see a movie on a Tuesday, when seats are cheap and I have school the next day.

The new year feels like permission to start over—to leave the past in the past and start with the slate clean. My intention this year is to be open, open towards new ideas, unexpected plans, and a break in the daily routine. What are your intentions for the new year?

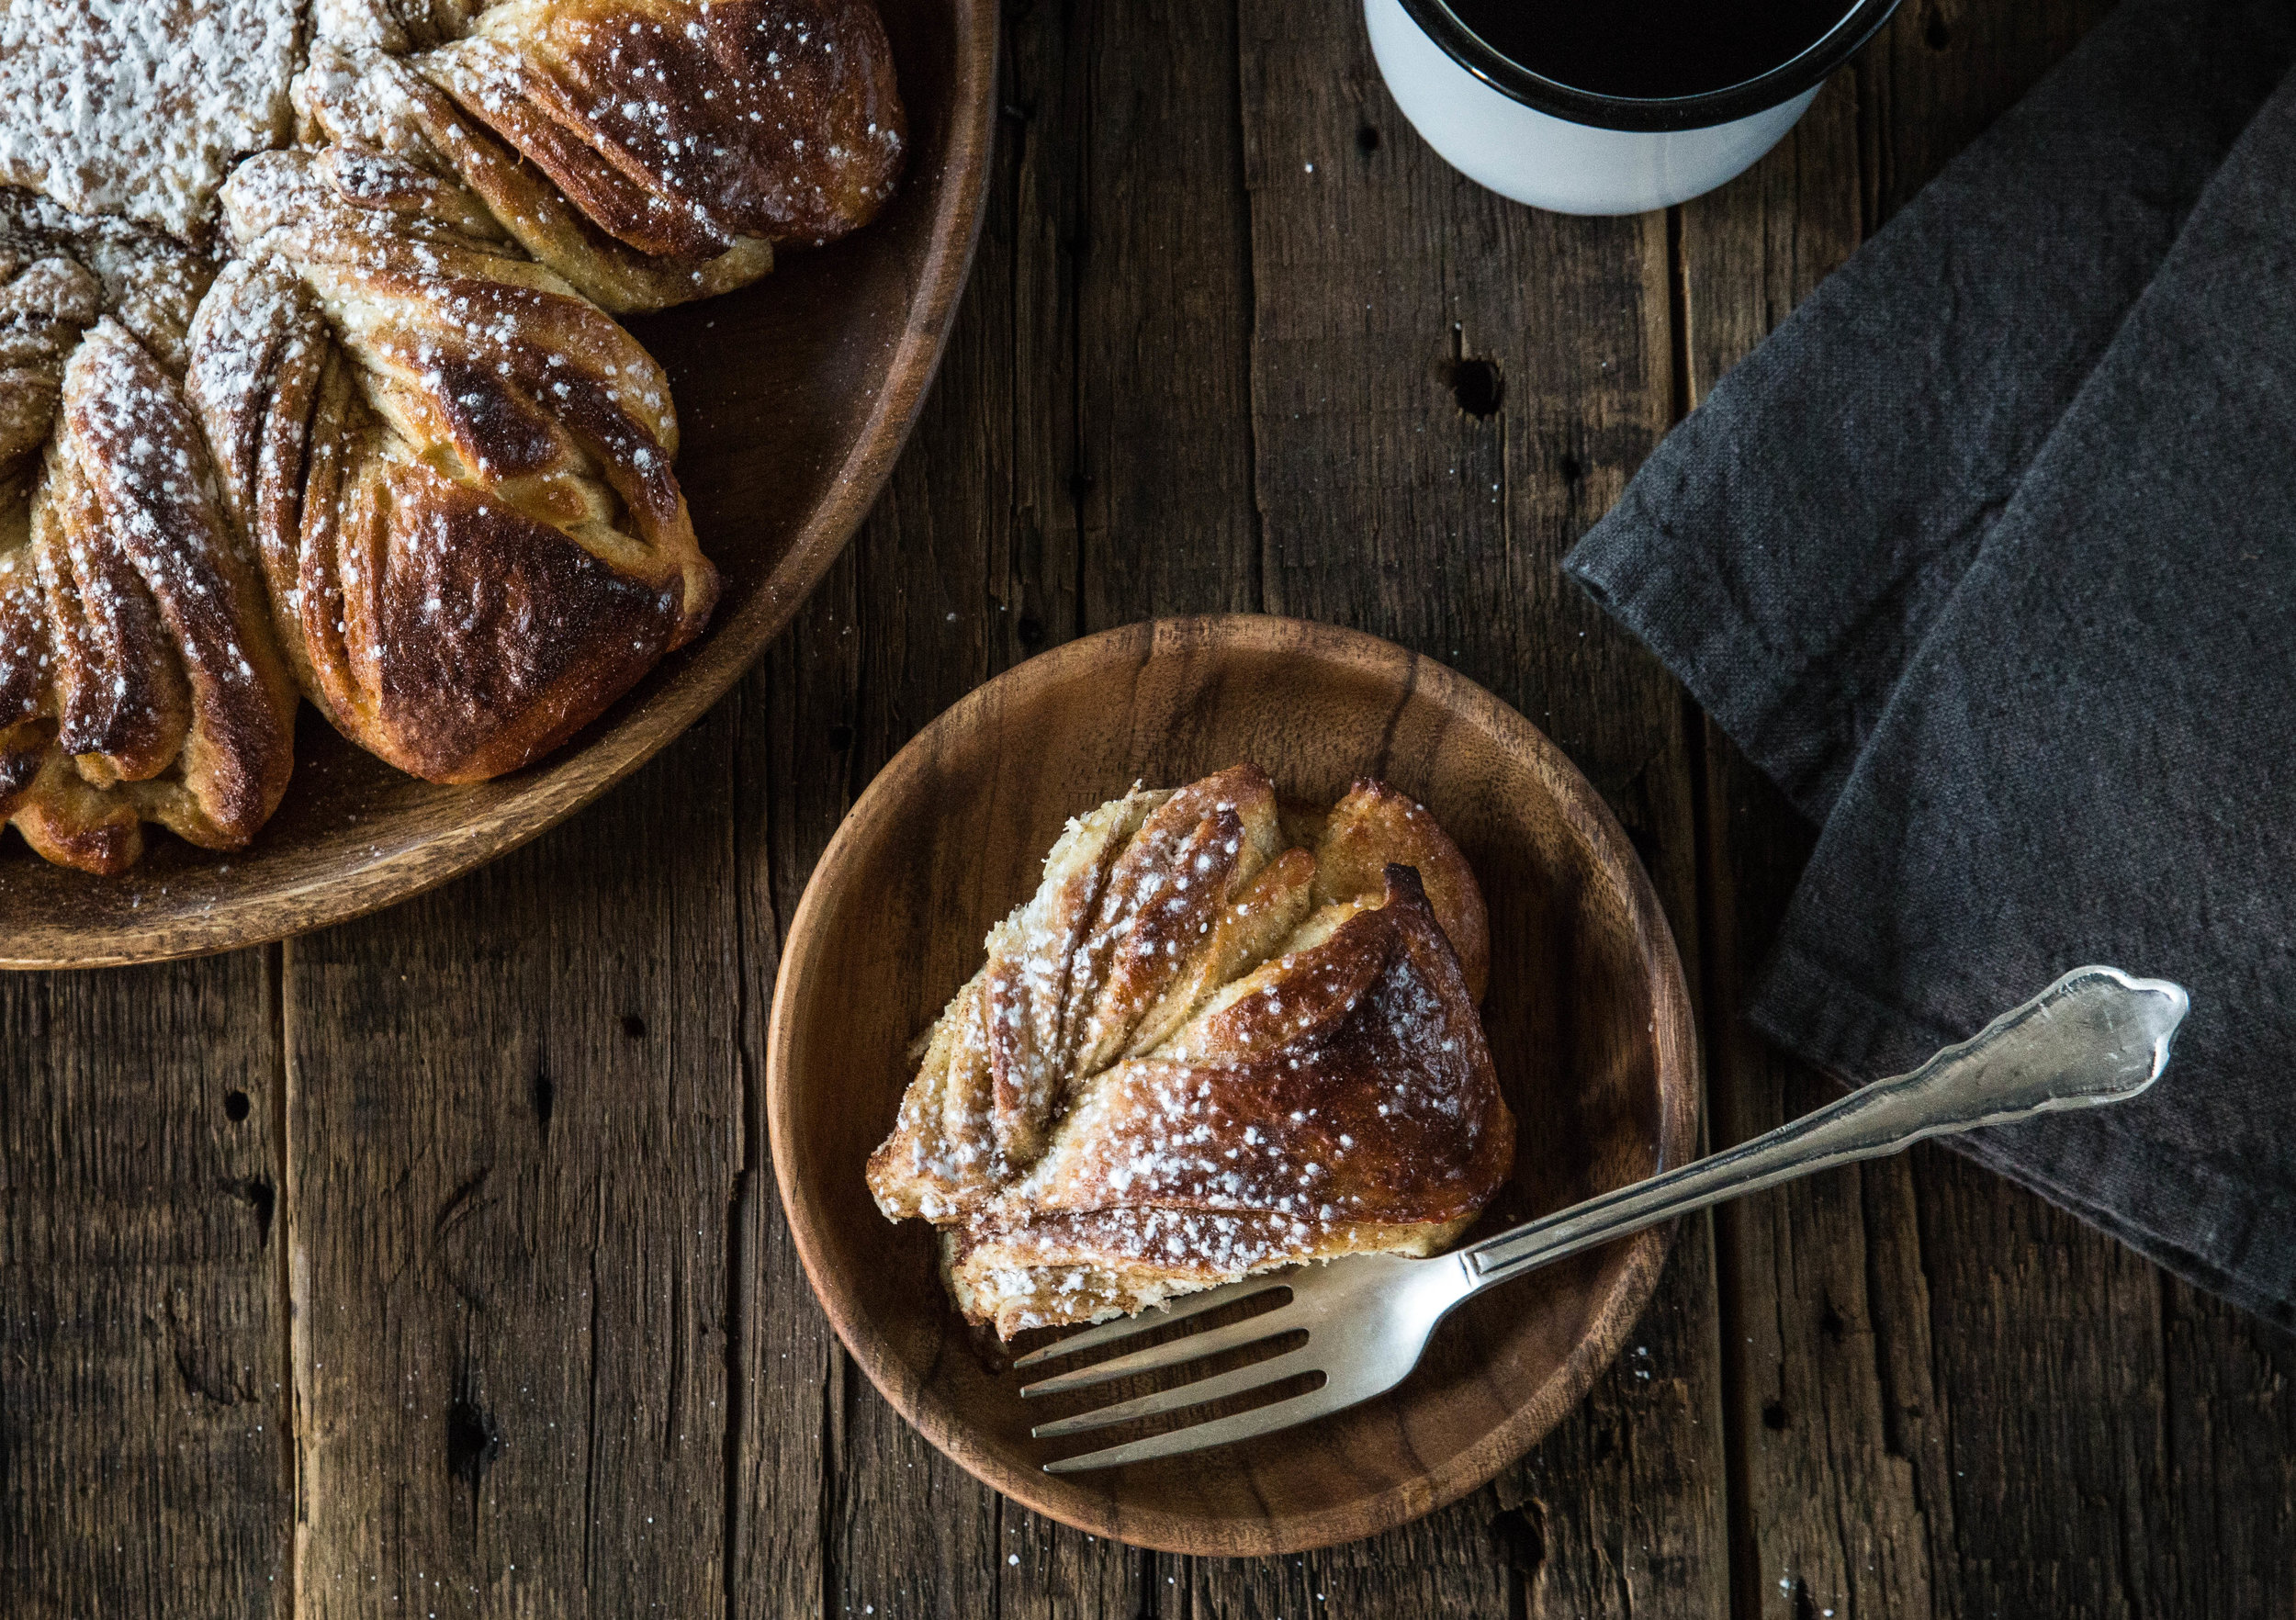
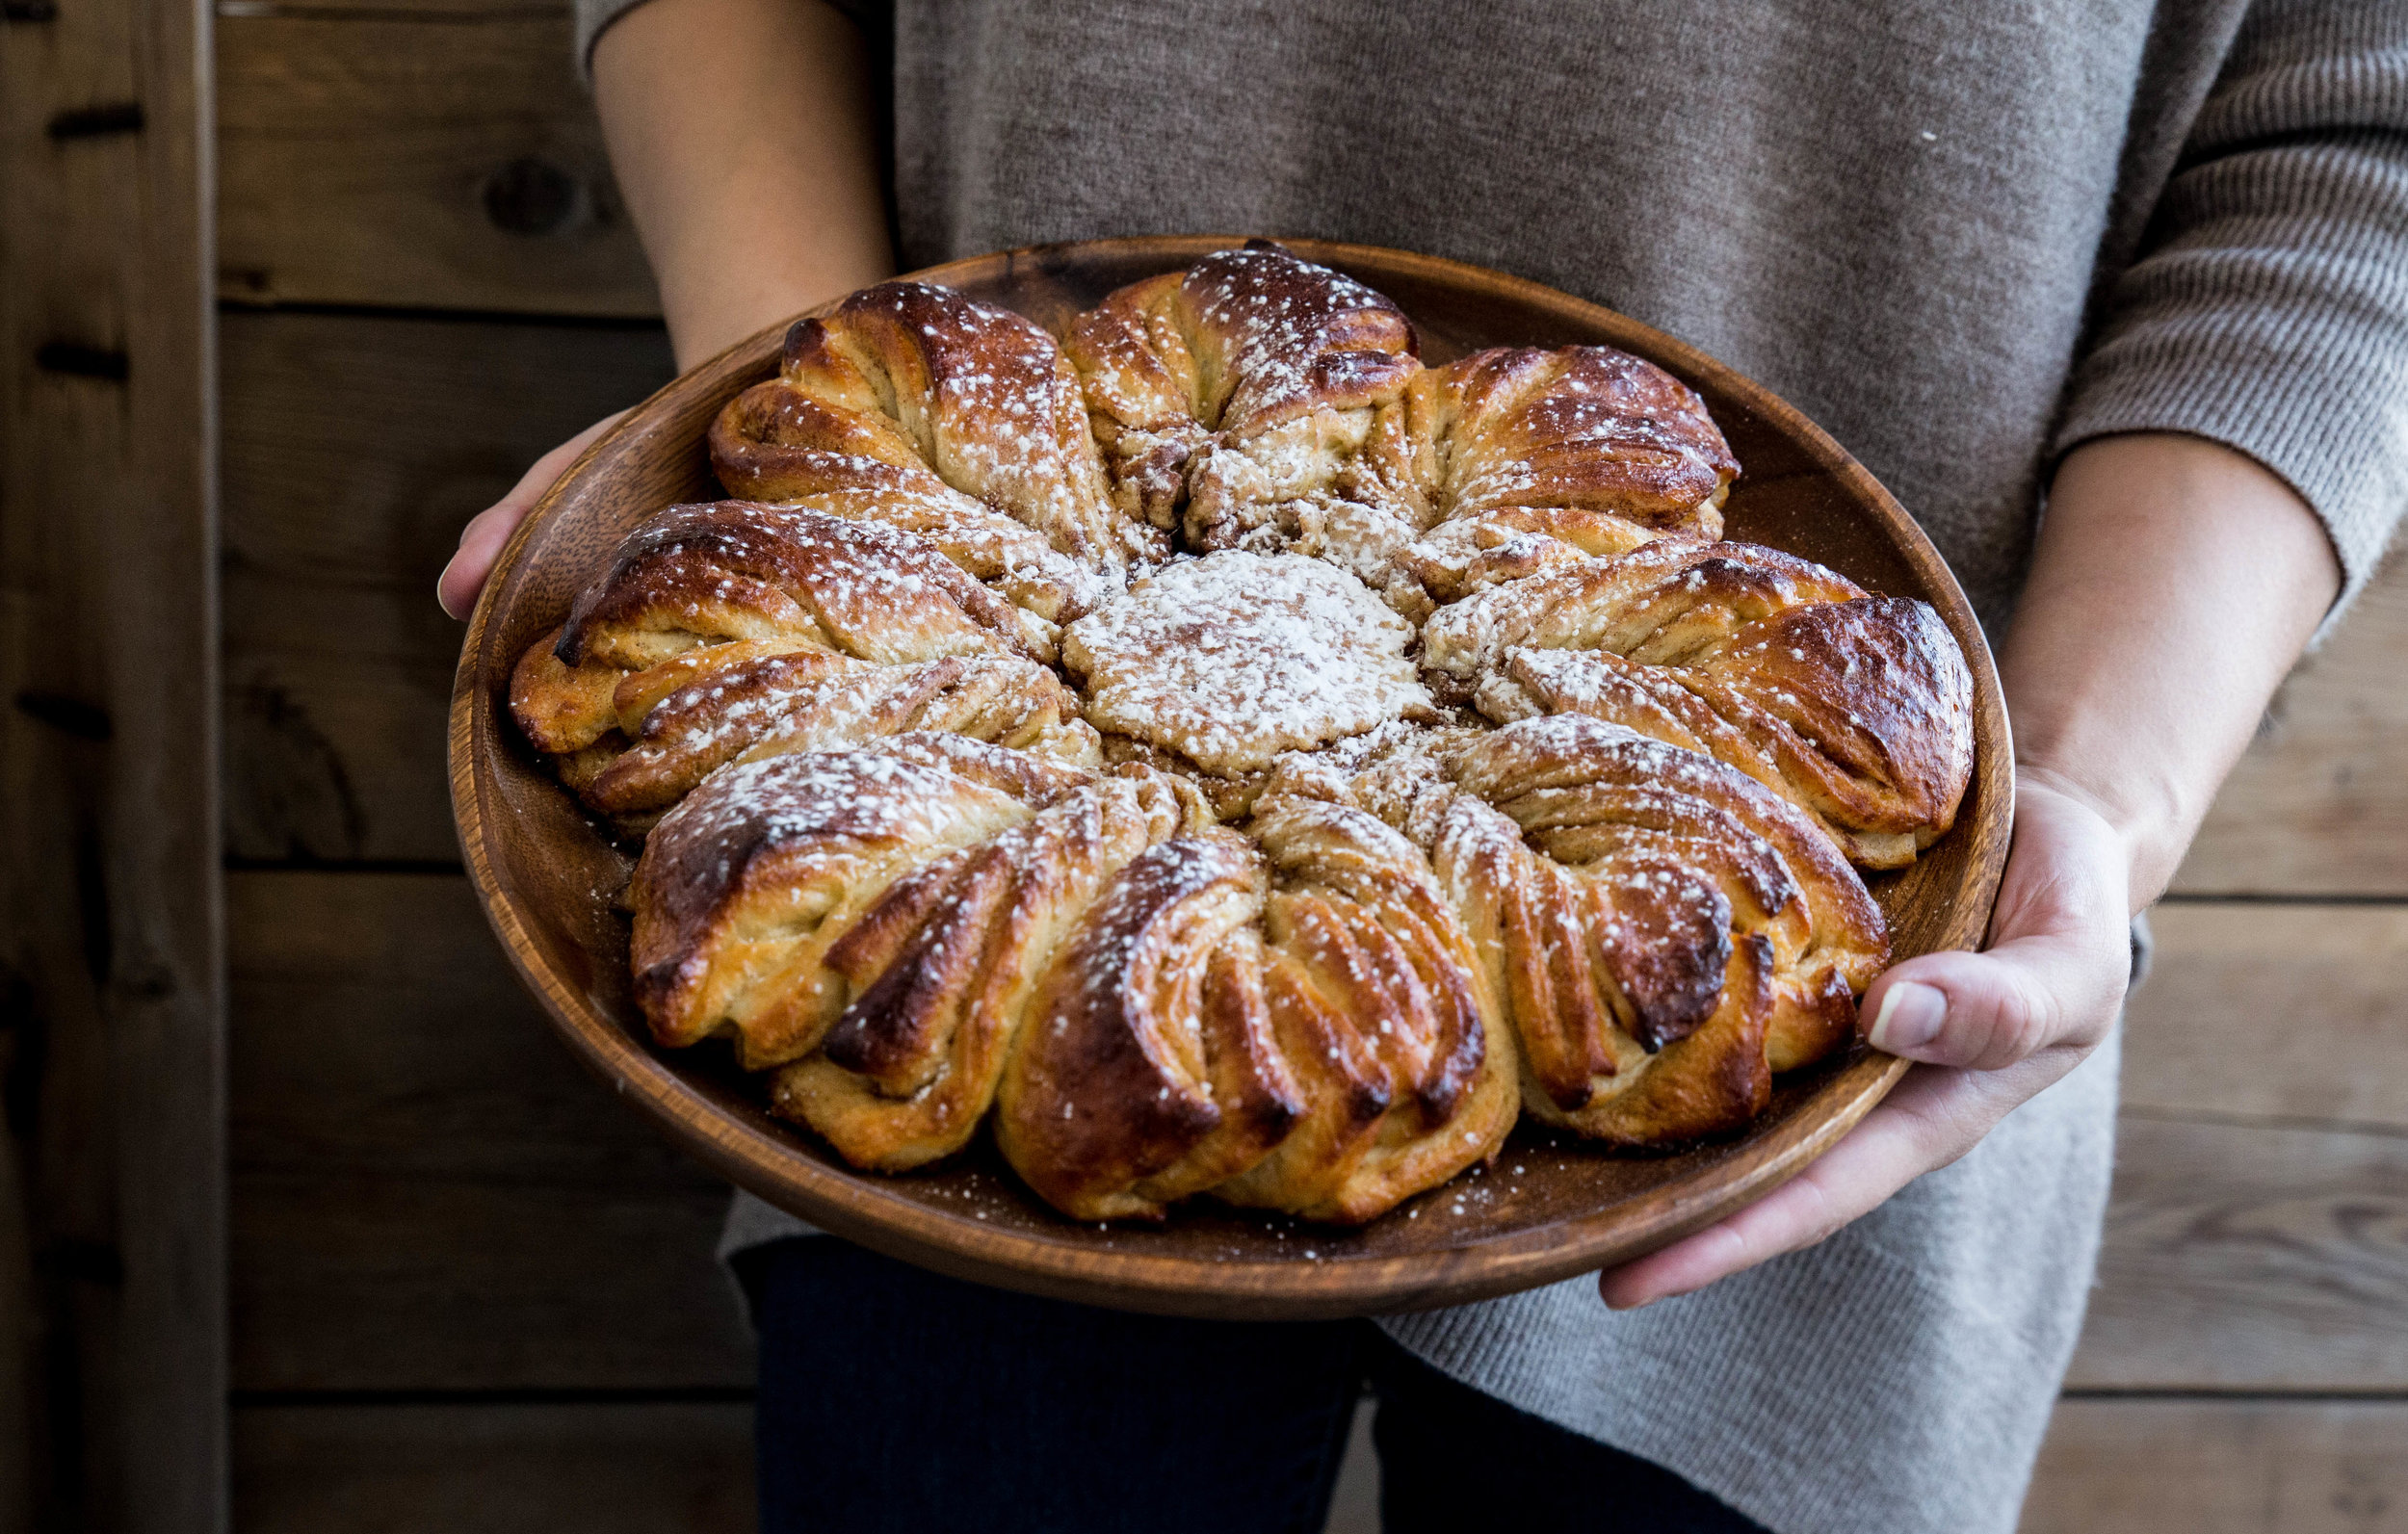
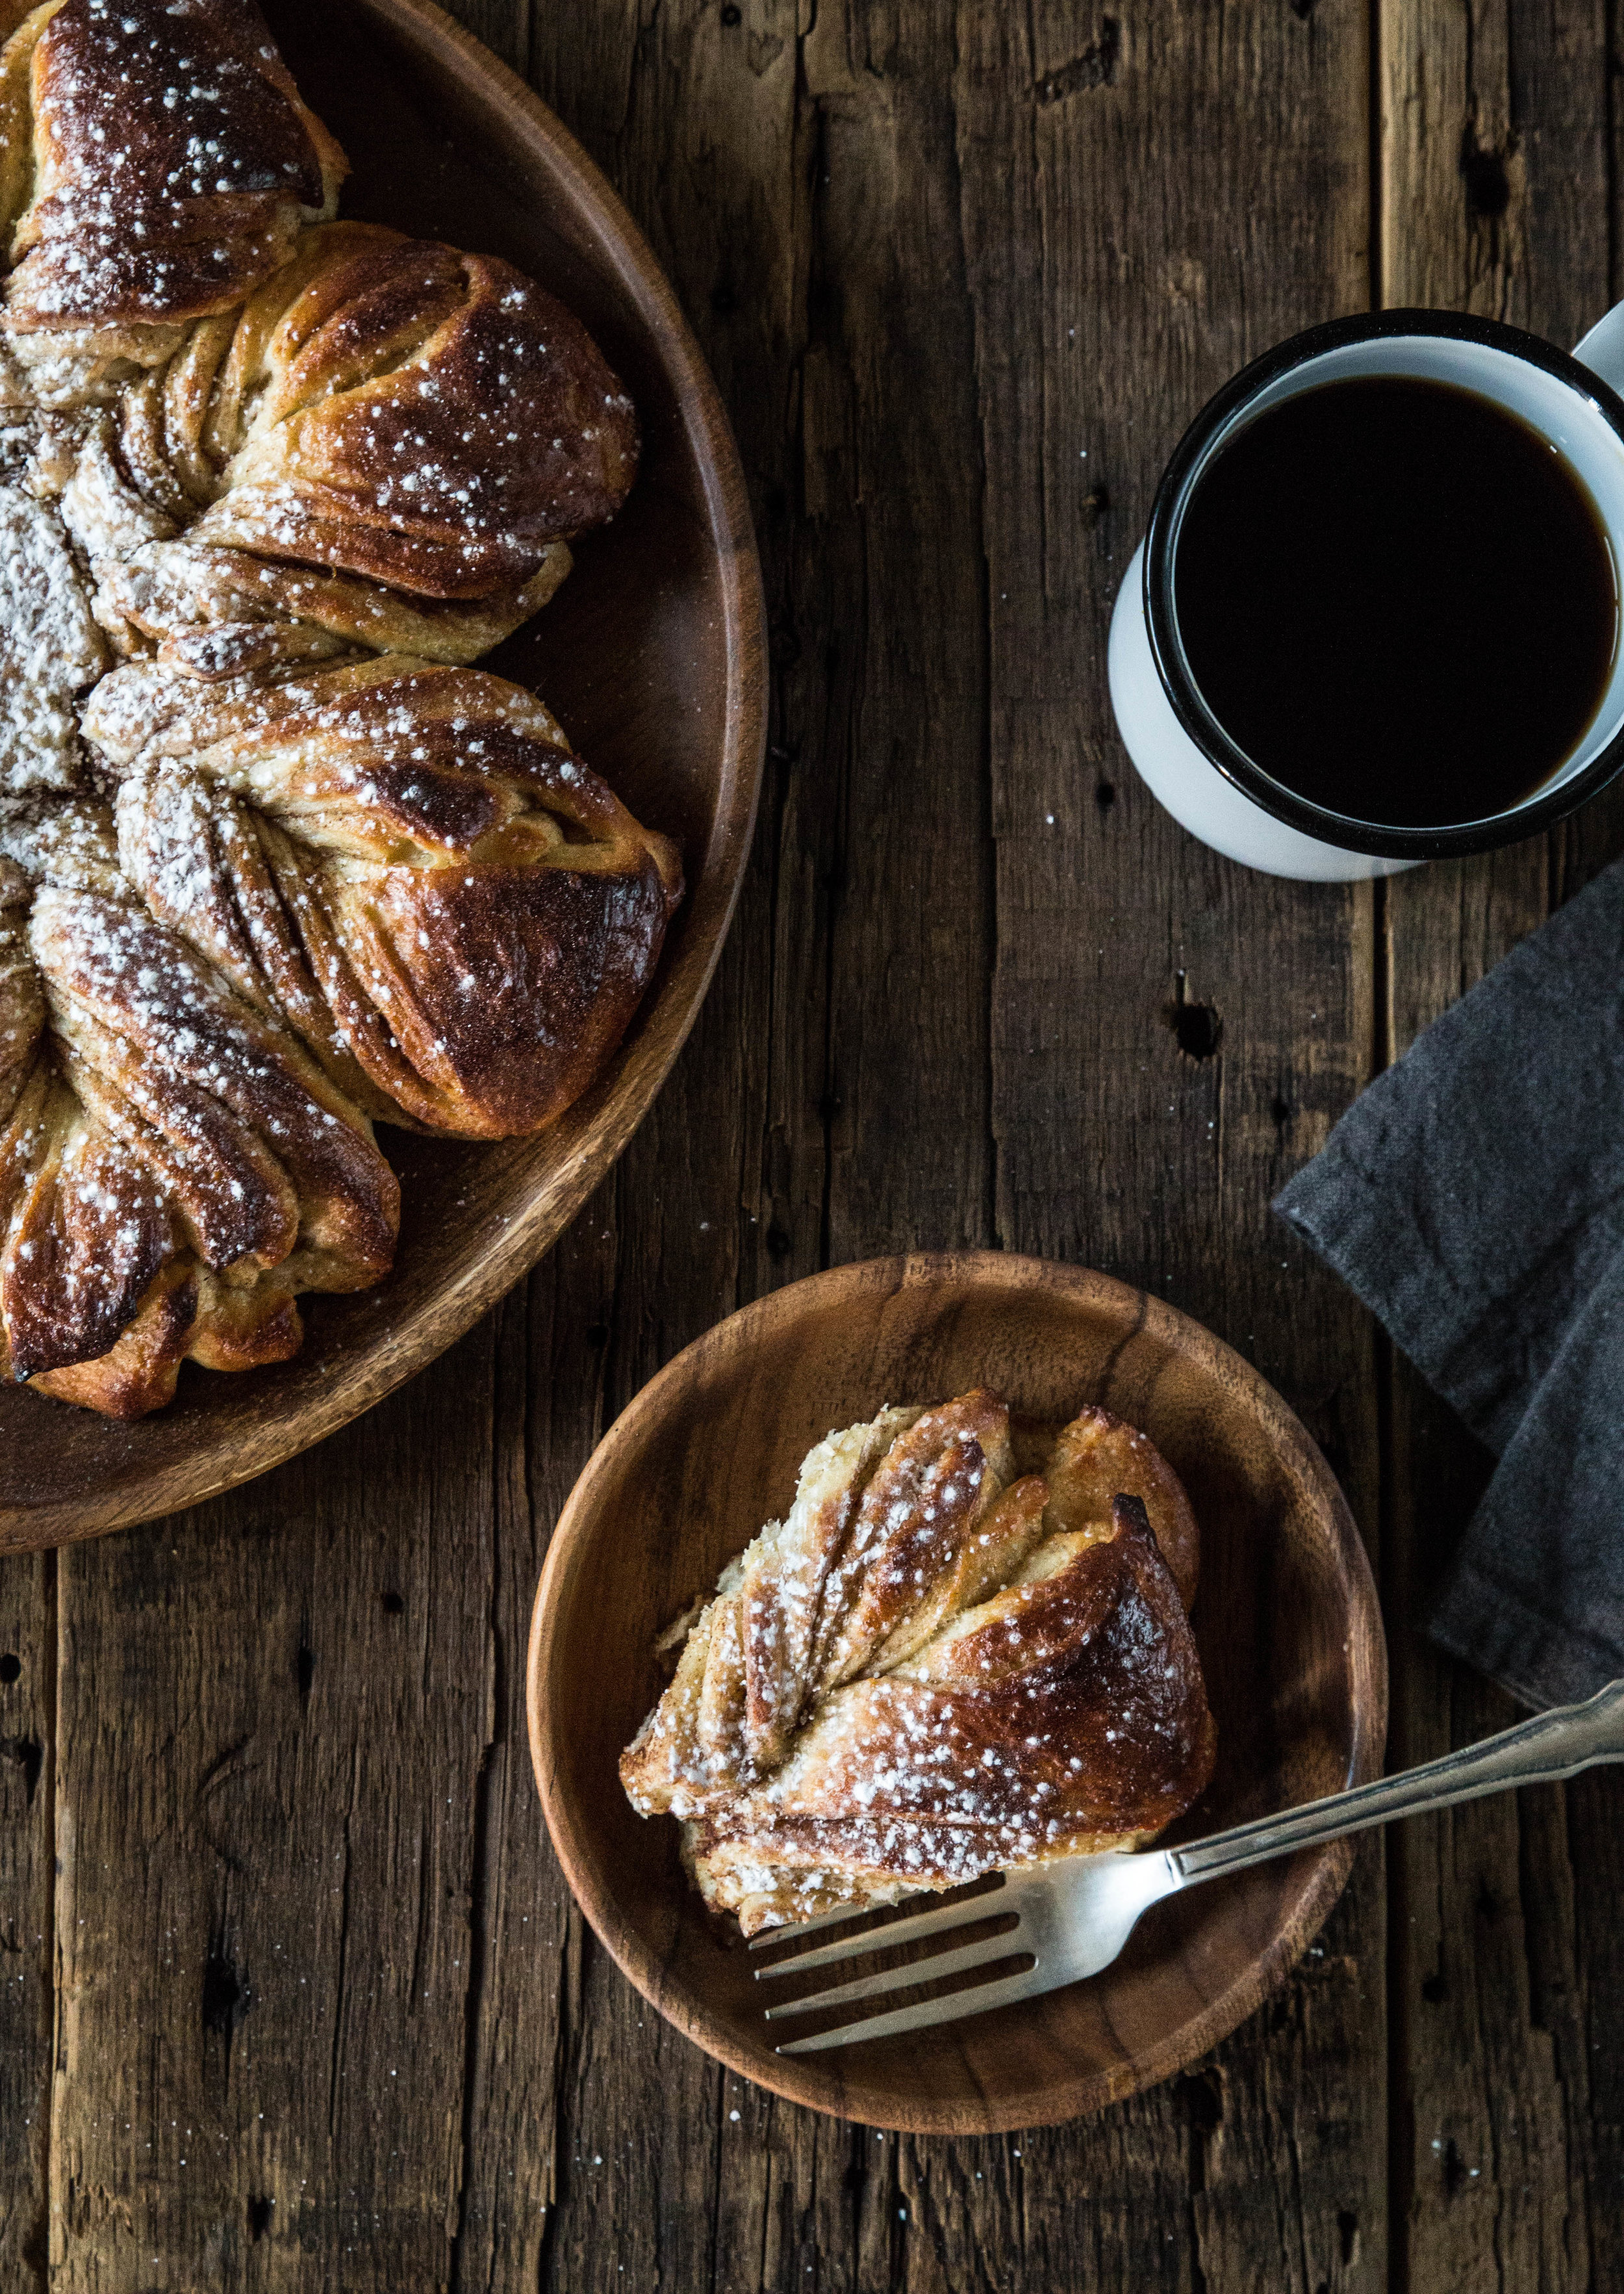
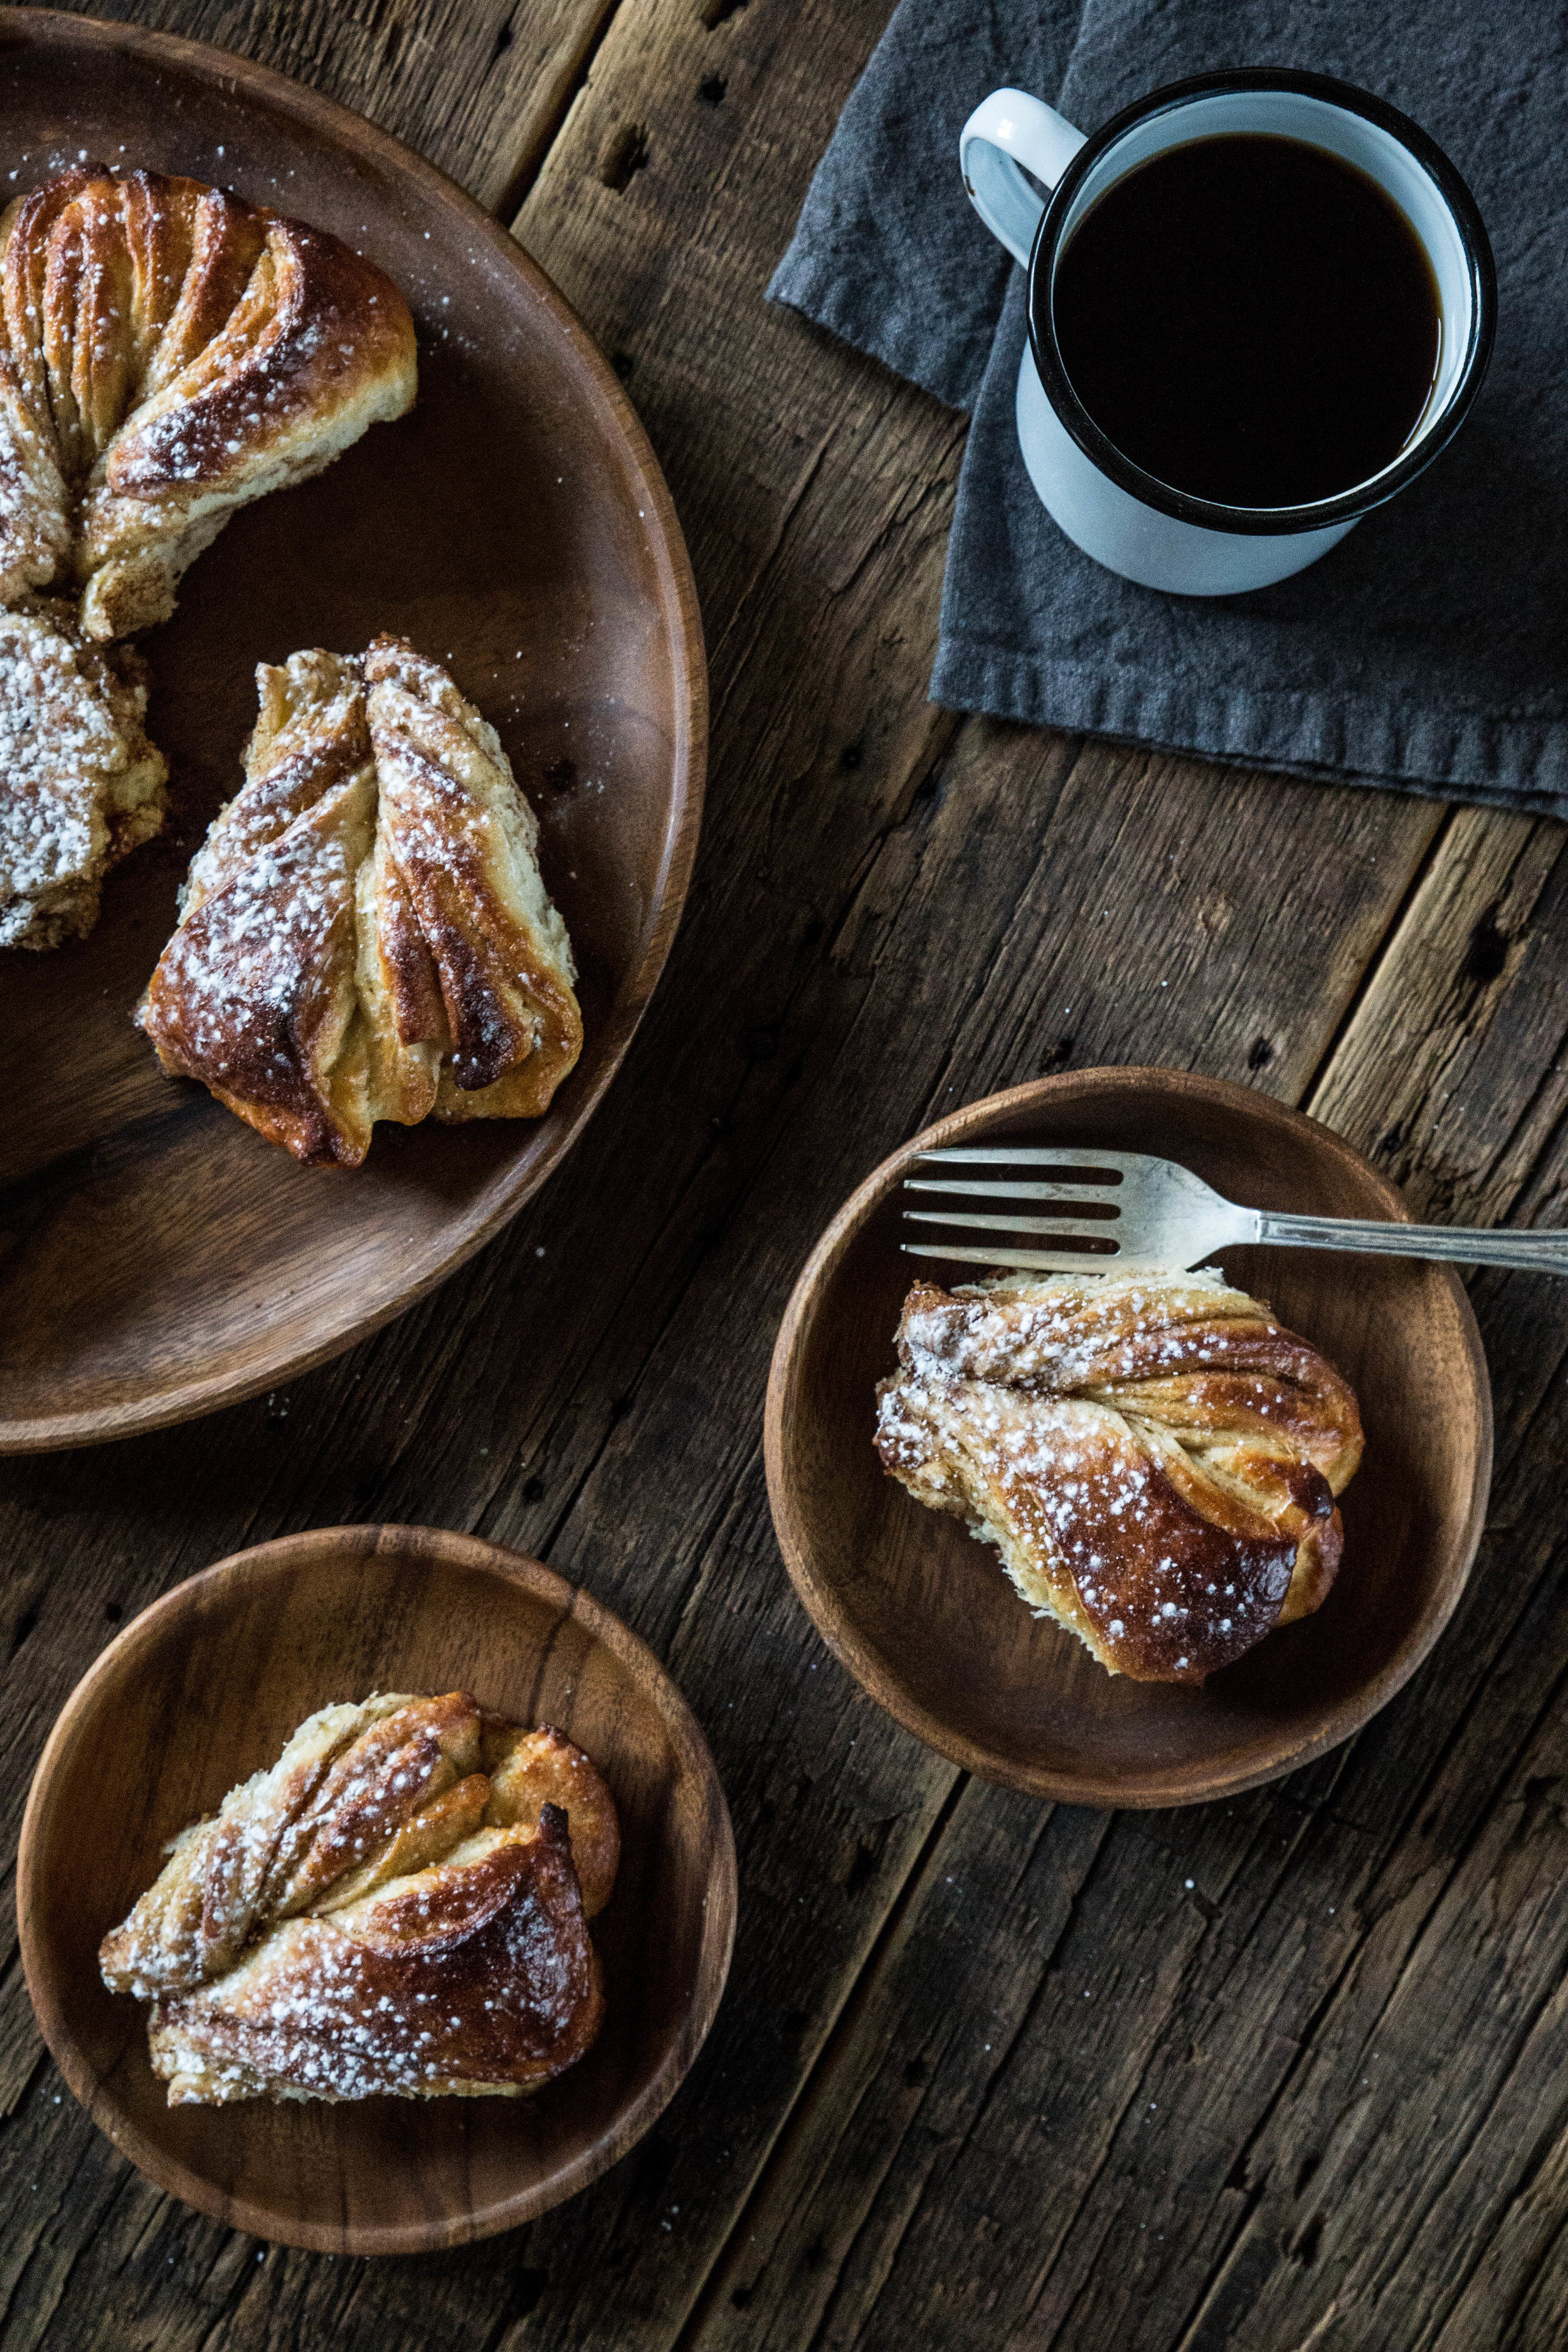
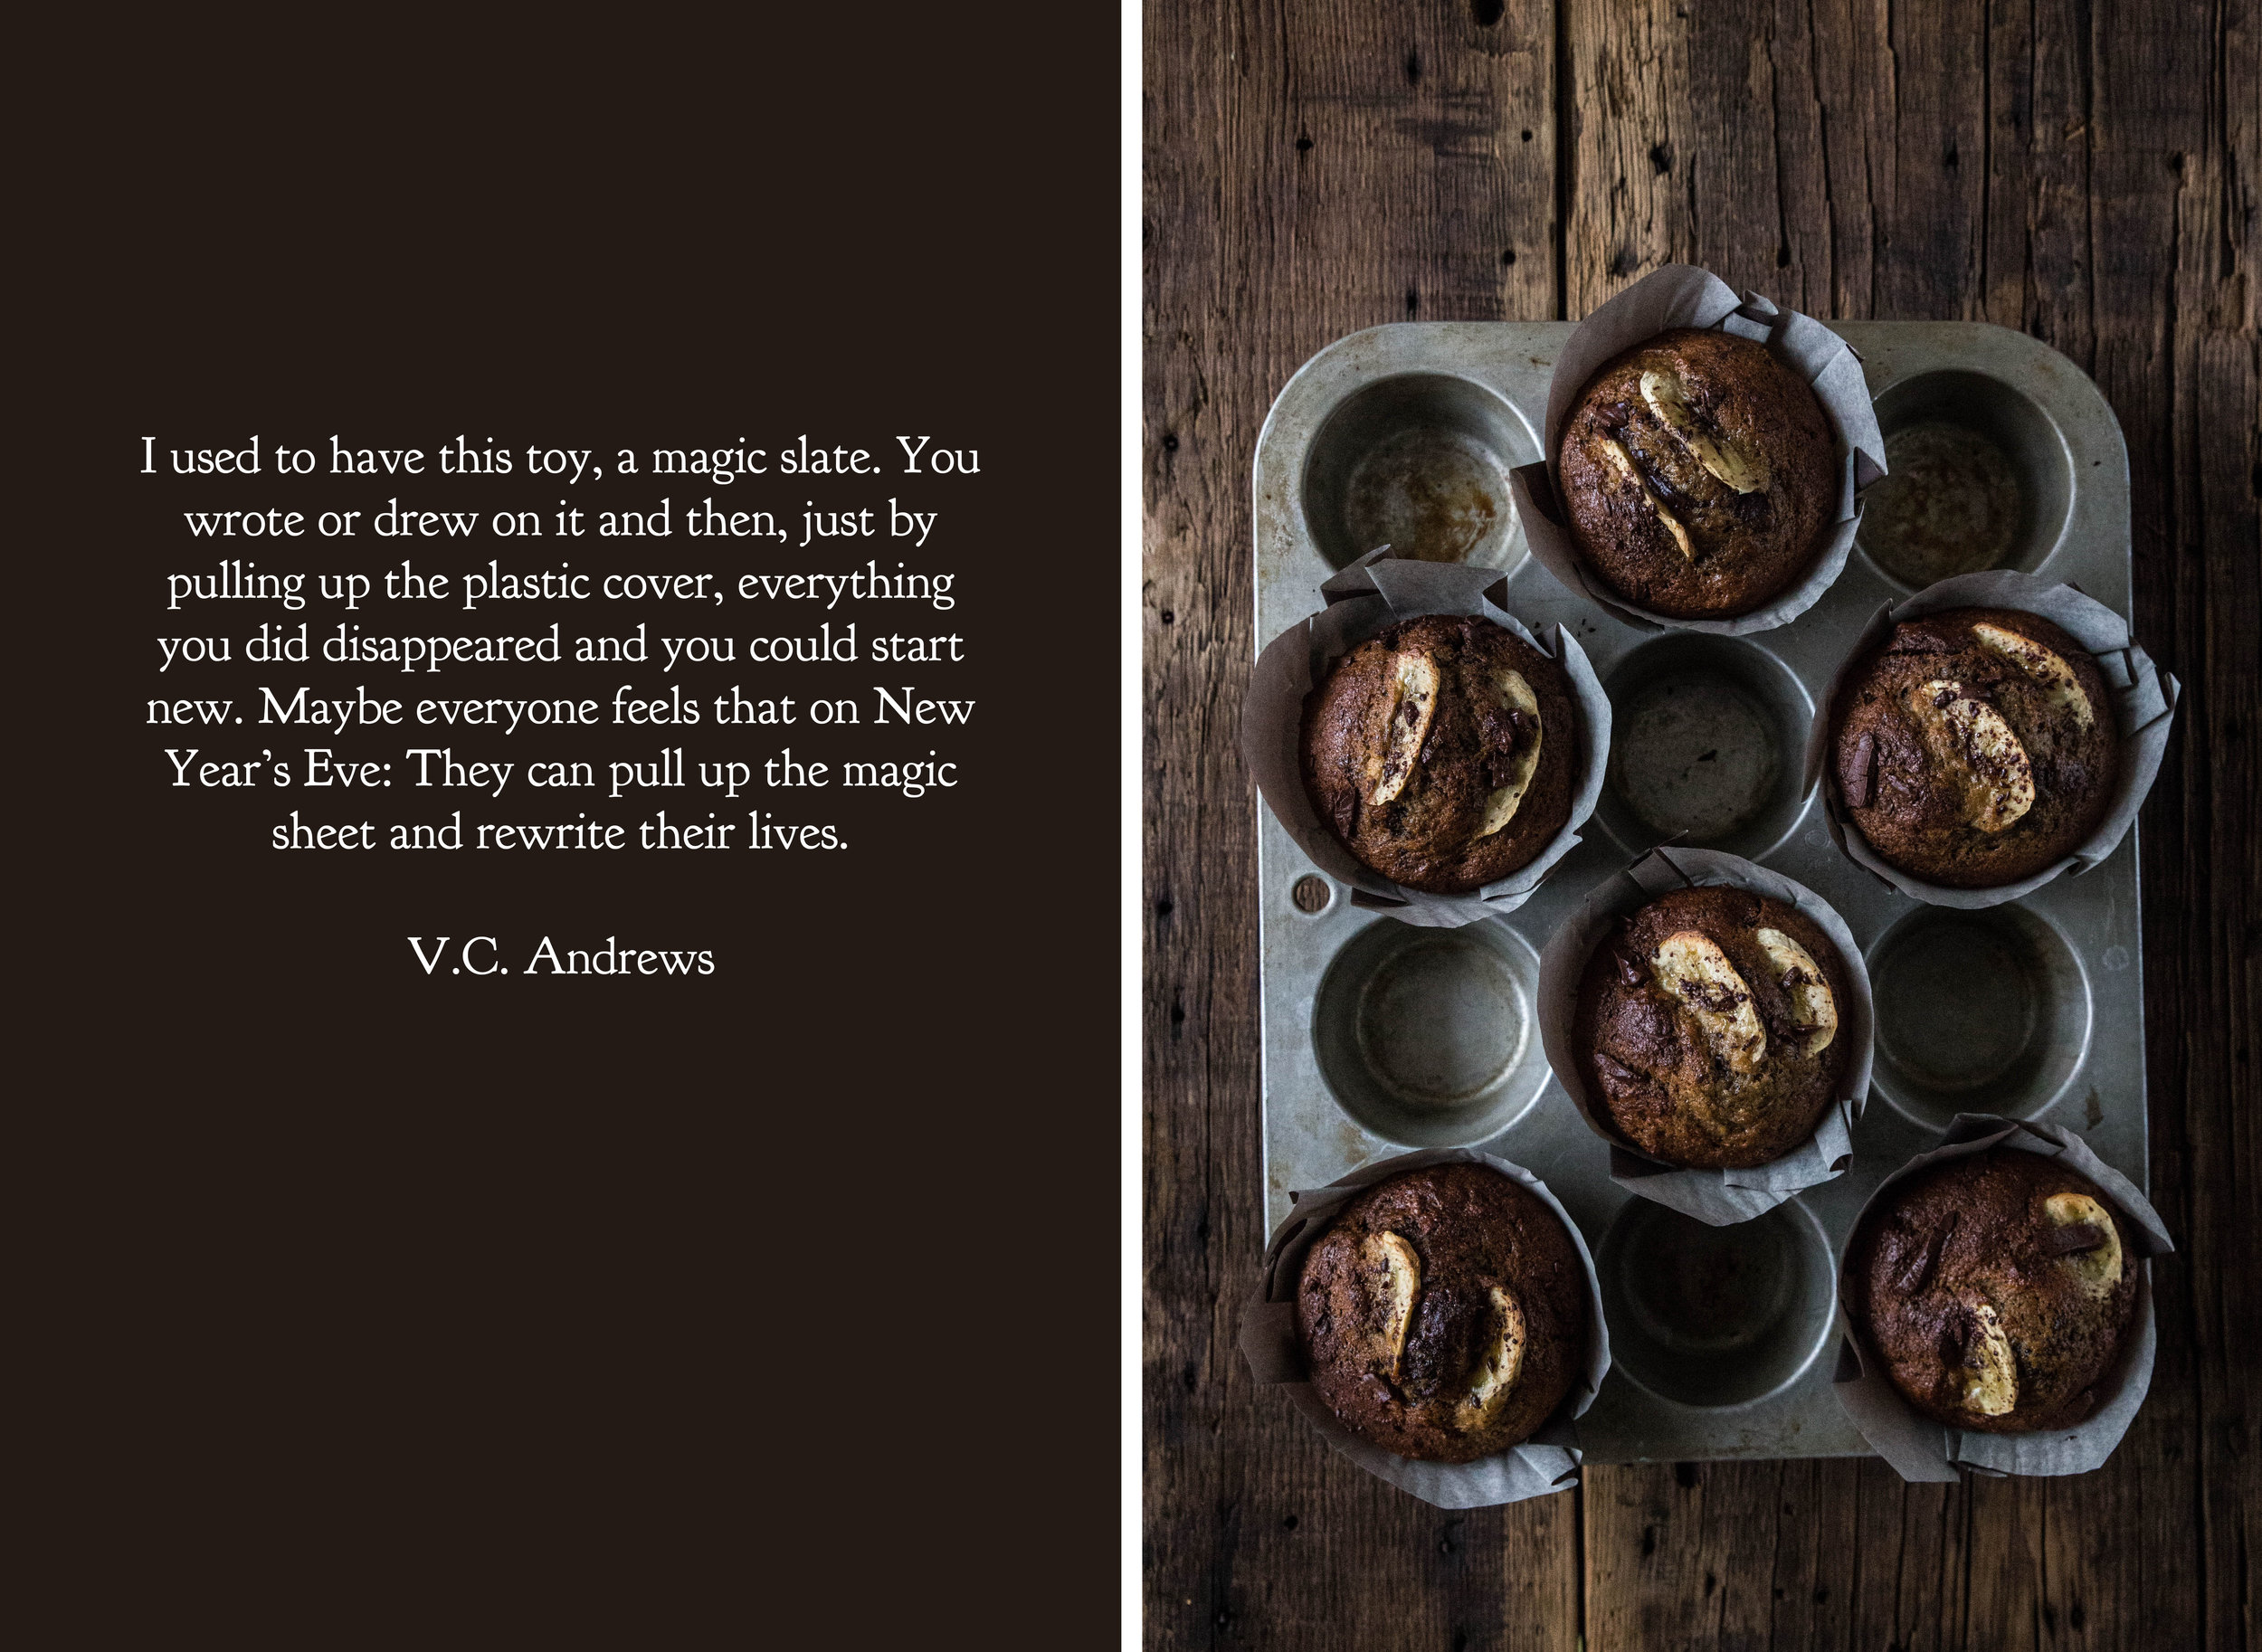
Dark spotted, fragrant bananas are ideal for baking, adding bold flavor to banana muffinsbanana bread, and banana cake. The problem with banana desserts is that when the desire to bake with bananas arrives, the bananas are not the right ripeness. Instead of waiting a few more days for the bananas to ripen, the bananas can be roasted in the oven to bring out the bright, familiar flavor. With extra vanilla extract and a sprinkling of chopped chocolate, these Roasted Banana Muffins are a simple treat for breakfast or afternoon snack.

One Year Ago: Coconut Matcha Chia Pudding
Two Years Ago: Coconut Almond Quinoa 
Three Years Ago: Almond Date Banana Smoothie 
Four Years Ago:  Chocolate (Dairy-Free) Ice Cream, Peanut Butter Banana Oatmeal, & Raspberry White Chocolate Scones
Five Years Ago: Peppermint Hot Chocolate, Green Tea Coconut Ice Cream, & Chocolate Lavender Cupcakes
Six Years Ago: Banana Cinnamon Muffins, Vanilla Pear Milk, Cranberry Chocolate Muffins, & Salted Caramels

Roasted Banana Muffins

Yields 6 large or 12 standard muffins

3 medium-large bananas
2/3 cup (133 grams) granulated sugar
1/3 cup (80 mL) vegetable oil
1 large egg
2 teaspoons vanilla extract
1 1/2 cups (180 grams) all-purpose flour
1 1/2 teaspoons baking soda
1/2 teaspoon salt
1/3 cup (80 mL) milk
2 ounces (60 grams) semisweet chocolate, coarsely chopped
Banana slices, for garnish
Chocolate shavings, for garnish

Preheat oven to 350 degrees F (180 degrees C). Place unpeeled bananas on a foil covered baking pan and roast for 20-25 minutes, depending on ripeness of the bananas. Remove the banana from the peels and mash. Set aside and let cool for several minutes.

Keep the oven running. Line a muffin pan with paper liners.

In a large mixing bowl, stir together sugar and oil. Whisk in the egg, vanilla, and mashed bananas until combined. Slowly add the flour, baking soda, and salt and mix until smooth. Stir in the milk and chopped chocolate.

Fill muffin liners 3/4 full. If desired, place two thin banana slices on top of the muffin batter and sprinkle with chocolate shavings for garnish. Bake for 20-25 minutes, or until a toothpick inserted into the center comes out clean. 

Chocolate Cream Pie

Holiday baking is in full force in my kitchen. It has become a tradition to bake and decorate cut-out cookies for the holiday season while watching utterly cheesy, although delightful, holiday films. This year produced a trio of cutout flavors—classic sugar cookies, chocolate sugar cookies, and gingerbread cookies. The entire process typically takes place over three days (one to mix up the dough, another to cut-out shapes, and a third to decorate). While continuing the cookie tradition seems like such a good idea in the beginning, after six straight hours of decorating, I'm ready to toss in the pastry bag.

Yet, I persevere. The cookies are not for me. Boxed up and wrapped in ribbon, these cookies are shared with friends, family, and coworkers alike—a gift of holiday cheer.

IMG_5494-2.jpg

My grandmother's holiday baking features a smattering of sprinkled, chocolate dotted, and powder sugar dusted cookies, but her standout dessert is a classic chocolate cream pie. For fifty years, the pie has made its appearance at the holidays, right after the food has been eaten and the dinner plates have been cleared. It has grown into a family favorite, beginning with my father's obsession when he was young and gradually capturing the hearts of the rest of the family. Now we argue over who gets the largest slice.

Traditions form the bedrock of holidays. Baking cookies (and eating pie) is one I hold dear. Without dusting the entire kitchen in an immovable layer of flour, the holidays would somehow feel a little less spirited.

Have a happy holiday season, dear friends.

Chocolate Cream Pie is a rich, sweet dessert to be shared. Chocolate pudding is made with whole milk and thickened with egg yolks and cornstarch. A baked pie shell is filled with the pudding and chilled to set. Just before serving, each slice is topped with whipped cream and chocolate shavings. Use your favorite high quality chocolate for best results—the chocolate flavor is bold. This pie is a great choice to serve after dinner with friends and family.

One Year Ago: Swedish Tea Ring
Two Years Ago: Chocolate Sugar Cookies 
Three Years Ago: Peppermint Marshmallows and Sugar Cookies
Four Years Ago: Almond Cardamom Rolls, Red Wine Chocolate Truffles, Gingerbread Cookies, & Candy Cane Cupcakes 
Five Years Ago: Peppermint Pinwheels, Candy Cane Popcorn, & Chocolate Clementine Cupcakes
Six Years Ago: Candy Striped Meringues, Chocolate TrufflesGingerbread Cheesecake, & Peppermint Ice Cream

Chocolate Cream Pie
Adapted from King Arthur Flour

Yields 9-inch pie

1/2 recipe for double crust pie dough
2 tablespoons butter
9 ounces (255 grams) semisweet chocolate, coarsely chopped*
1 1/4 cups (250 grams) granulated sugar
1/4 cup (28 grams) cornstarch
2 tablespoons cocoa powder
1 teaspoon espresso powder, optional
1/8 teaspoon salt
3 large egg yolks
3 cups (700 mL) whole milk
1 teaspoon vanilla extract
Whipped cream, for topping
Chocolate shavings or curls, for garnish

On a lightly floured surface, roll out pie dough into a 14-inch round. Wrap dough lightly around rolling pin and transfer to a 9-inch pie pan. Gently press dough into the bottom and sides of the pan. Trim the dough to allow a 1-inch overhang. Pinch dough between thumb and forefinger to make an edge around the rim. Refrigerate until chilled, about 30 minutes.

Preheat oven to 400 degrees F (218 degrees C).

Line the crust with foil or parchment paper, and fill it with pie weights or dried beans to prevent the pie crust from changing shape while baking. Bake the crust for 15-20 minutes. Remove it from the oven, and gently remove foil or parchment with the weights or beans. Return the crust to the oven for 10-20 minutes, or until golden brown. Allow to cool completely before filling.

For chocolate filling, place the coarsely chopped chocolate and butter in a medium bowl. Set aside.

In a medium saucepan, whisk together the sugar, cornstarch, cocoa powder, espresso powder, salt, egg yolks, and 1 cup milk. When the mixture is uniform, whisk in the additional milk and heat over medium heat until it comes to a boil, about 7-10 minutes, stirring frequently. When the mixture reaches a boil, turn the heat to low and whisk continuously for 1-2 minutes, or until the filling is as thick as a pudding and the whisk leaves tracks when stirring. Remove from heat and stir in the vanilla extract. 

Pour filling over chocolate and butter and whisk until uniform. Cover with plastic wrap to prevent a film from forming and chill.

To assemble, place chocolate filling in baked pie crust and smooth the top. Chill until ready to serve. Top with whipped cream and chocolate curls.

*For best results, use high quality chocolate.

Cinnamon Star Bread

When the weather turns cold and the snow starts to fly, I use my oven to fill my home with the scents of the season—warm vanilla, spiced cinnamon, and intoxicating cocoa. The kitchen is my sanctuary, a place of peace and shelter from the stress the holidays can create. Baking is one of the ways I show and share my love towards friends and family. During this time of year, there is a lot of love to go around.

As a holiday tradition, each year I look for a new recipe to serve on Christmas morning. Since the days leading up to the holidays can be busy, the recipe needs to be simple, sweet, and easy to accomplish—there is no time to spend hours in the kitchen. When I found this recipe for Cinnamon Star Bread from King Arthur Flour, I knew it was the perfect fit. Though this twist on the classic cinnamon roll may not suggest simplicity, the reality is that this recipe does come together easily. While the bread takes about three hours from start to finish, only about a half hour of that time is active. While the dough rises, you are free to move about the house and do other things. Perhaps, best of all, the pull-apart shape of the bread is already suited for sharing. 

The sweet bread dough comes together quickly and easily. All dough ingredients are tossed into a mixing bowl and mixed either by hand (I prefer using a dough scraper) or machine until the dough comes together. Then, the dough is kneaded—again, either by hand or machine (using a dough hook with a stand mixer or bread machine)—for several minutes until it takes on a soft, smooth appearance. The process is simple, and the dough itself is very forgiving.

I prefer using all-purpose flour in this recipe because it yields a more tender dough. Traditional bread flour forms a more structured dough because bread flour has more protein than all-purpose flour, and forms more gluten when kneaded. Therefore, using a flour with less gluten, like all-purpose flour, creates a softer dough. In addition to the flour, nonfat dry milk and potato flour (or instant mashed potato flakes) are also added to create a tender bread. Don't worry—the potato doesn't add any flavor here; it just helps the bread retain moisture after baking. 

Once kneaded, the dough is placed in a lightly greased bowl, covered with a clean kitchen towel, and left to rise at room temperature for one hour, or until it doubles in size.

Once the dough has risen, divide the dough into four equal parts. Form the dough into balls and let rest for 15 minutes. Don't skip this step—the resting process relaxes the gluten in the dough and makes the dough easier to roll out. When time is up, roll out the dough into four 10-inch circles. I realize that sounds intimidating (I have a difficult time rolling out anything to a perfect size), but there's a quick trick that can help with the job. Trace the outline of a 10-inch springform or tube pan onto parchment paper, cut out the circle, and use it as a guide when rolling out the dough. It not only helps you visualize the size you need, but you can periodically place the parchment circle on the dough to check your progress.

The best part of the bread is the sweet, cinnamon sugar layers that saturate the loaf. To assemble the layers, place one 10-inch circle of dough onto a sheet of parchment paper. Brush the dough with a thin layer of beaten egg and sprinkle on 1/3 of the cinnamon sugar mixture, taking care to leave a 1/4-inch border around the edges. Repeat this process two more times, placing each layer on top of the other and adding the cinnamon sugar mixture. Place the last circle of dough on top, leaving it bare.

After making this bread several times, I found it is easier to twist the layers of dough if the dough circles are even. Even though you may have made best attempts to make perfect 10-inch circles, it's likely they still vary slightly on the edges—and that's okay. Simply place your parchment circle on top and use a pizza cutter to trim the very edge of the layers to an even size. 

Once the dough is stacked and layered with the cinnamon sugar mixture, it is time to cut the dough into strips to twist. Place a 2 1/2 to 3-inch round cutter on the center of the dough to use as a guide (if you don't have this size cutter, a canning jar lid will work as well). Use a bench knife or sharp knife to cut the dough into strips. Start by cutting the circle into fourths, and then cut each fourth in half and then in half once more to create 16 even strips. 

To twist the layers into the star pattern, take two adjacent strips and twist them away from each other twice (twist one clockwise, twist the other one counterclockwise). Since I do not have the fine motor skills to do both strips at the same time, I twist them separately and then pinch them together along the ends to hold them together. I also found it is easier to twist the dough if you lift it up slightly so it does not brush against the other strips of dough. 

Using the parchment paper, transfer the star to a baking sheet, cover with a clean kitchen towel and let it rise for another 45 minutes, or until noticeably puffy. While the loaf rises, preheat the oven. Just before baking, brush the loaf with a thin layer of beaten egg and bake until golden brown, about 12-15 minutes.

To serve the bread in the morning, I recommend baking the loaf the evening before and reheating the loaf in the oven the next morning at 350°F for 5-10 minutes, or until heated through. This bread is not a good candidate to raise overnight because the cinnamon sugar has a tendency to leak out of the loaf in a thin syrup if left too long. Since we want to keep as much flavor in the loaf, it is best to bake it on schedule. Reheating the bread in the oven will keep the texture and retain the moisture.

Sprinkle with powdered sugar after baking and serve warm. If you are feeling particularly festive, serve the bread alongside a mug of hot cocoa. In fact, I recommend it. 

For more of my favorite seasonal recipes from King Arthur Flour and additional baking tips, join me at their Holiday Table.

Cinnamon Star Bread is a pull-apart style bread that gives a twist to the classic cinnamon roll. The bread is layered with cinnamon sugar and twisted into a star shape. As the loaf bakes, the cinnamon sugar caramelizes the outside edges while the interior stays soft and tender. Sprinkle with powdered sugar and serve warm. Your friends and family will adore this sweet addition to your holiday table.

Cinnamon Star Bread
Recipe from King Arthur Flour

Yields 1 star loaf, or 8-12 servings

Dough
3/4 cup + 2 to 4 tablespoons (198-227 mL) lukewarm water, enough to make a soft, smooth dough
2 cups (241 grams) King Arthur Unbleached All-Purpose Flour
1/4 cup (4 tablespoons or 57 grams) unsalted butter, at room temperature
1 teaspoon Buttery Sweet Dough Flavor, optional; for enhanced flavor
2 teaspoons instant yeast, SAF Gold instant yeast preferred
2 tablespoons granulated sugar
1 teaspoon salt
1/4 cup (35 grams) Baker's Special Dry Milk or nonfat dry milk
1/4 cup (46 grams) potato flour or instant mashed potato flakes

Filling
1 large egg, beaten
1/3 cup (64 grams) cinnamon-sugar, or your own mix of cinnamon sugar*

To make the dough: Combine all of the dough ingredients and mix and knead — by hand, mixer, or bread machine — to make a soft, smooth dough. Place the dough in a lightly greased bowl, cover, and let it rise for 60 minutes, until it's nearly doubled in bulk.

Divide the dough into four equal pieces. Shape each piece into a ball, cover the balls, and allow them to rest for 15 minutes.

On a lightly greased or floured work surface, roll one piece of dough into a 10" circle. Place the circle on a piece of parchment, brush a thin coat of beaten egg on the surface, then evenly sprinkle with 1/3 of the cinnamon-sugar, leaving 1/4" of bare dough around the perimeter.

Roll out a second circle the same size as the first, and place it on top of the filling-covered circle. Repeat the layering process — egg, cinnamon sugar, dough circle — leaving the top circle bare.

Place a 2 1/2" to 3" round cutter in the center of the dough circle as a guide. With a bench knife or sharp knife, cut the circle into 16 equal strips, from the cutter to the edge, through all the layers.

Using two hands, pick up two adjacent strips and twist them away from each other twice so that the top side is facing up again. Repeat with the remaining strips of dough so that you end up with eight pairs of strips. Pinch the pairs of strips together to create a star-like shape with eight points. Remove the cutter.

Transfer the star on the parchment to a baking sheet. Cover the star and let it rise until it becomes noticeably puffy, about 45 minutes.

While the star is rising, preheat the oven to 400°F (or 205°C).

Brush the star with a thin coat of the beaten egg. Bake it for 12 to 15 minutes, until it's nicely golden with dark brown cinnamon streaks; the center should register 200°F (or 93°C) on a digital thermometer.

Remove the loaf from the oven and allow it to cool for about 10 minutes before serving.

* Stir together 1/3 cup granulated sugar with 4 teaspoons ground cinnamon for a homemade cinnamon sugar blend.

This post is sponsored through a partnership with King Arthur Flour. All thoughts and opinions are my own.